Traditional origami is generally made from a single sheet of paper without cutting or gluing, with the folds themselves creating the final form. The practice developed in Japan into a distinct artistic tradition, although paper-folding traditions also developed in other parts of the world.
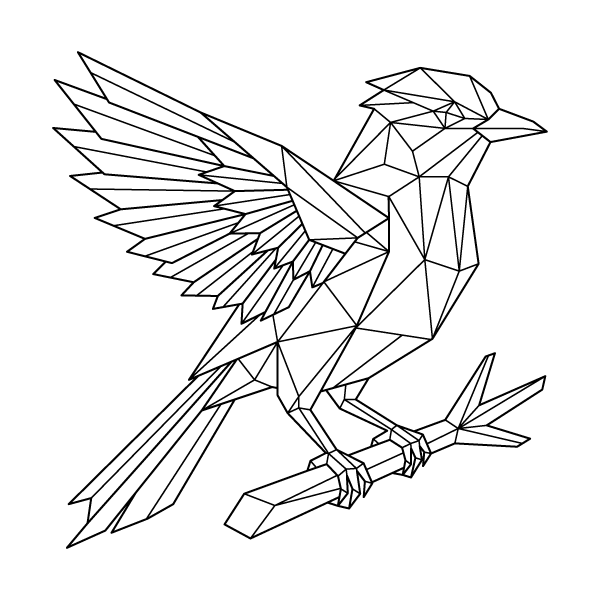
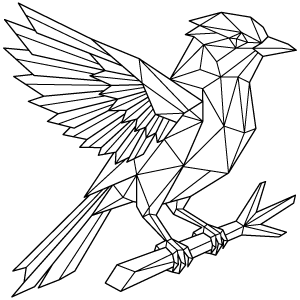
This coloring page translates that folded-paper principle into a flying bird with sharply separated planes. The raised wings spread broadly toward the left, while the head and neck angle upward on the right, giving the design a clear sense of movement. Its long tail extends diagonally downward, and the two feet grip a narrow branch beneath the body. Rather than depicting actual folded paper creases, the line work breaks the bird into polygonal sections that resemble the individual planes created when paper is folded into an angular form.
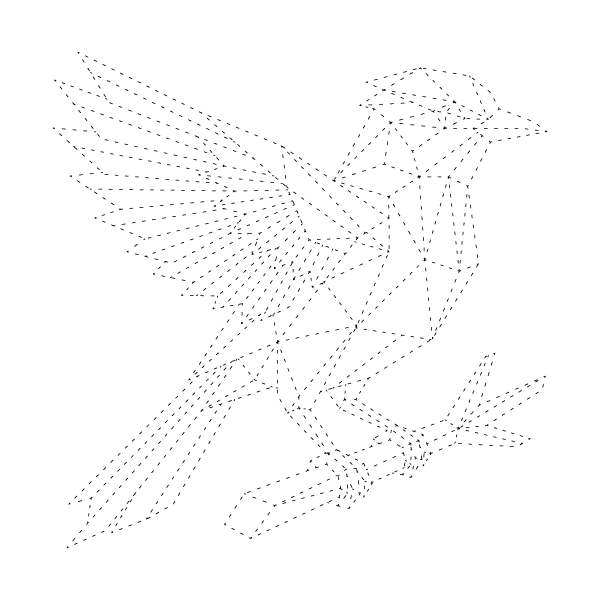
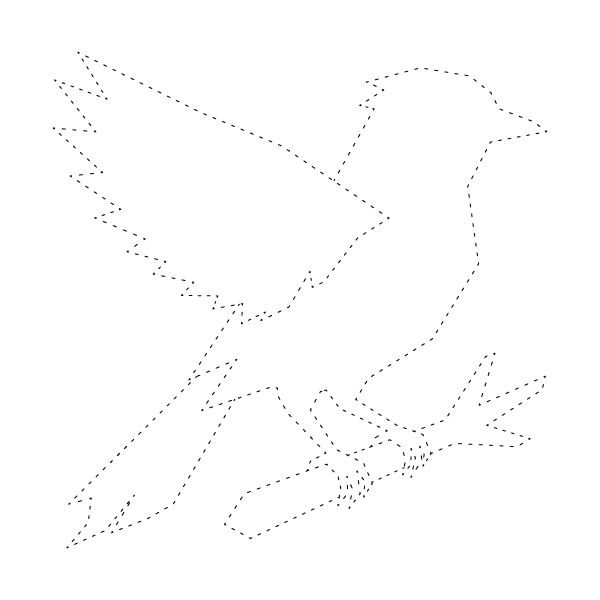
Start by tracing the simple geometric shapes that build the Origami Bird. This beginner-friendly tracing page helps you understand the overall structure before adding any details. Follow the lines carefully to improve hand control, drawing accuracy, and confidence. Once you've finished tracing the basic shapes, move on to the Detail Guide to complete your Origami Bird drawing.
Origami Bird Detail Guide
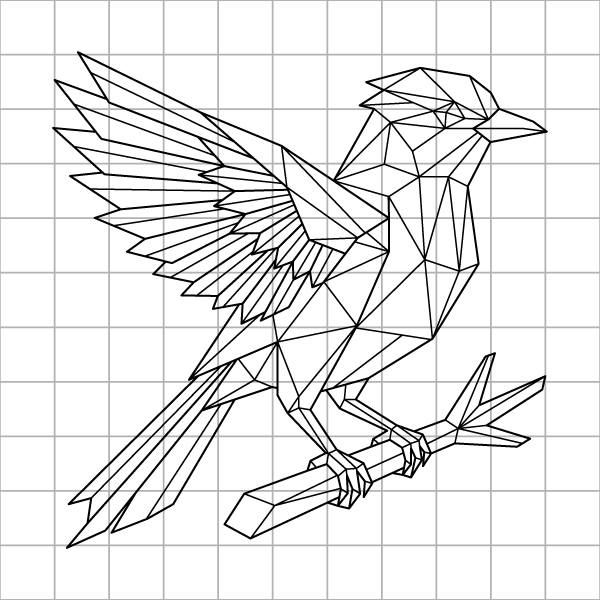
Now that you've traced the basic shapes, it's time to add the details. Use this detail guide to connect the lines, refine the wings, head, tail, and body, and complete your Origami Bird drawing. Follow each section carefully and take your time to match the shapes. This step helps improve observation skills while turning simple outlines into a finished geometric bird illustration.
Drawing & Coloring Tip
The wings are the largest structured areas in this design, so use their repeated feather sections to establish a consistent color pattern. The left wing contains many long, narrow feather shapes radiating from a central joint; try coloring the upper feathers slightly lighter and gradually darkening the lower layers to emphasize their overlapping arrangement. The body is divided into larger polygonal facets, so use three or four related values of the same color rather than making every section dramatically different. The small geometric facets around the head and neck can then receive slightly stronger contrast to define the bird's profile.
For a natural bird palette, combine slate blue, soft gray, and white for a cool-feathered appearance; use warm brown, tan, and cream for a hawk-like palette; or try deep green with muted yellow accents for a more tropical interpretation. A black, charcoal, and white combination can create the graphic contrast of a magpie or similar bird. The branch can be kept in warm brown with darker shading underneath.
Colored pencils work particularly well because the large body facets can be blended while the narrow wing feathers remain distinct. Use a sharp pencil for the small head and foot sections, where broad strokes could easily cross the thin geometric boundaries.