Many spiral seashells grow according to a logarithmic pattern, allowing the animal inside to increase in size without changing the shell's overall shape. As new material is added only along the opening, the shell expands outward while preserving its characteristic spiral.
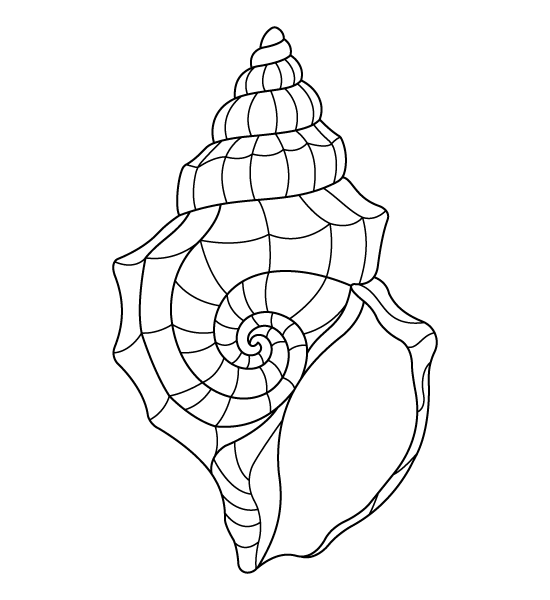
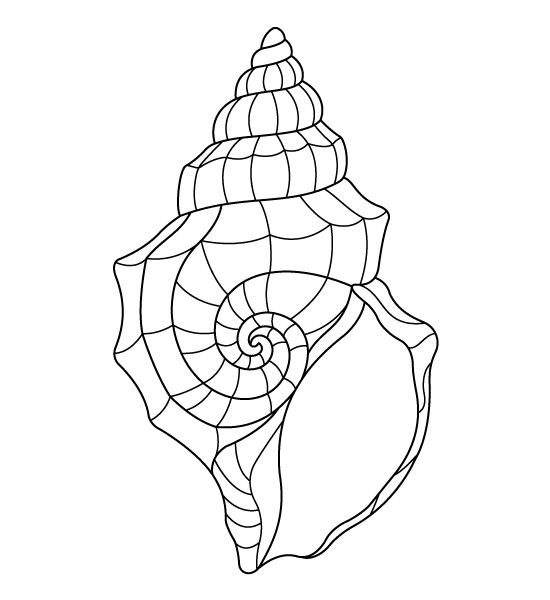
That natural growth pattern is reflected in this coloring page, where the tightly coiled center gradually widens into a tall shell with a high spire and a broad outer lip on the right side. Instead of depicting a smooth shell surface, the design divides the spiral and upper whorls into structured geometric sections while leaving the large opening mostly open, emphasizing the contrast between the shell's layered exterior and its spacious interior.
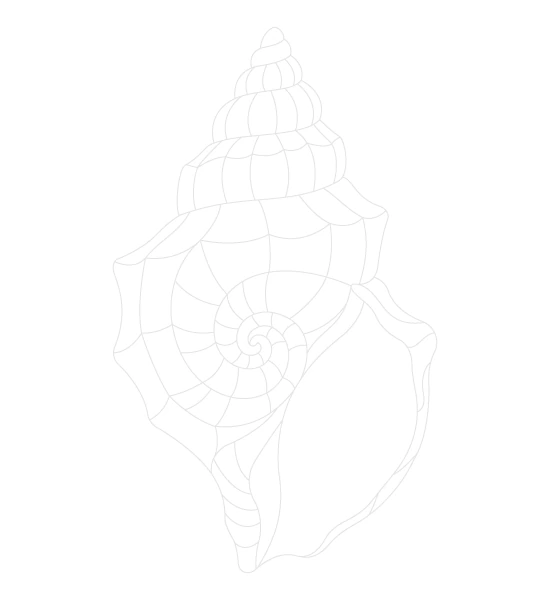
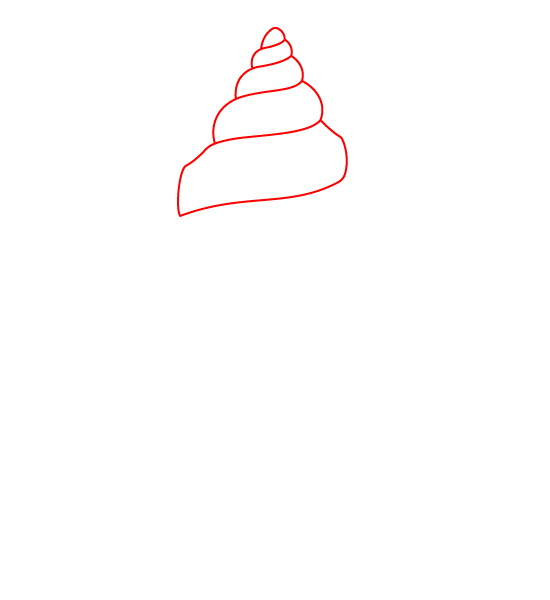
Draw a stacked cone shape at the top. Start with a wide rounded section at the bottom, and pile five smaller, curved layers on top of each other, ending with a tiny rounded point at the very top.
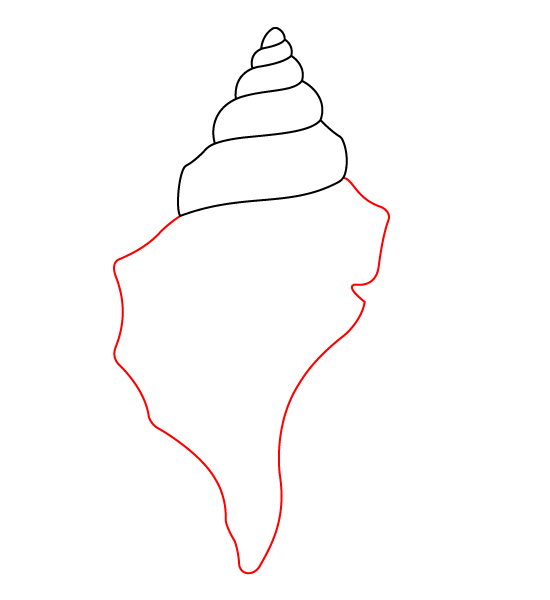
Step 2 - Draw the Body Outline
Draw a large outline below the spire to create the shell body. Make the left side curve outward with wavy bumps, and let the right side curve down before tapering together into a long, narrow point at the very bottom.
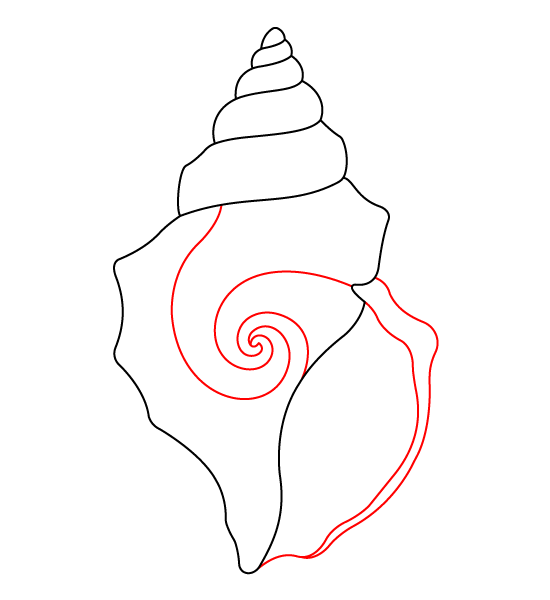
Step 3 - Draw the Spiral and Outer Lip
Draw a large curved line starting near the top left that swirls inward into a tight spiral in the center. On the right, add a wavy double line that runs down the side to form the shell opening.
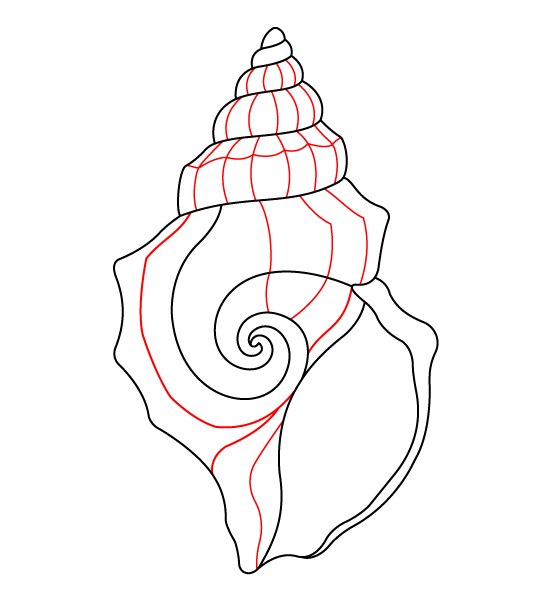
Step 4 - Add Rib Lines
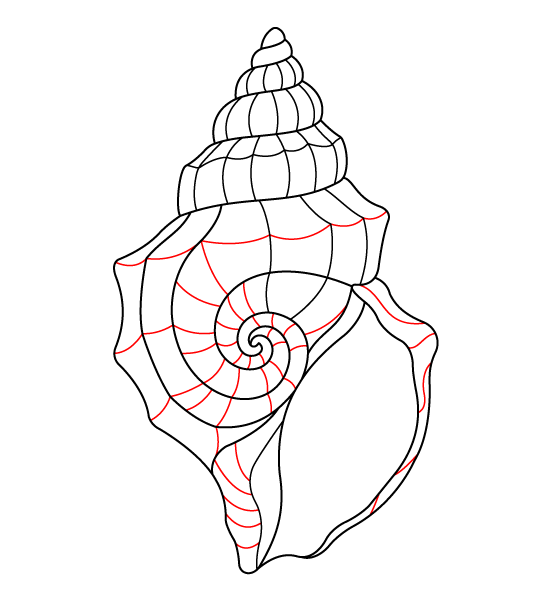
Draw short vertical lines inside each of the stacked spire sections. Next, add several long, curved lines that spread outward from the central spiral toward the outer edges and the bottom point of the shell.
Step 5 - Add Texture Lines
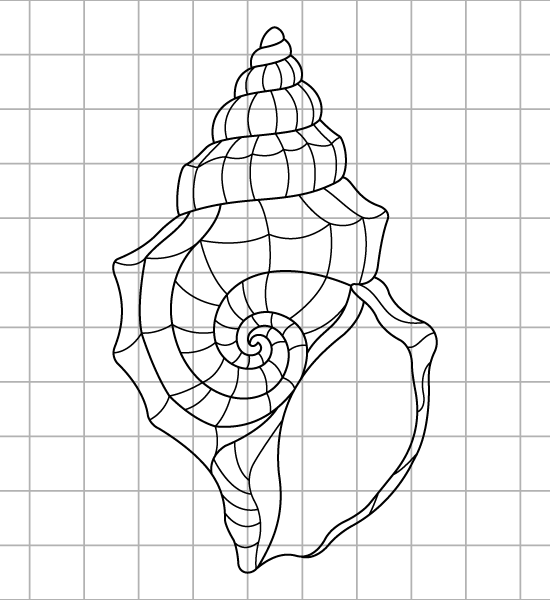
Draw small, curved horizontal lines connecting the long ribs to create a grid pattern. Add a few short curved lines inside the bottom tail and along the wavy lip on the right side.
Step 6 - Finish Seashell Drawing
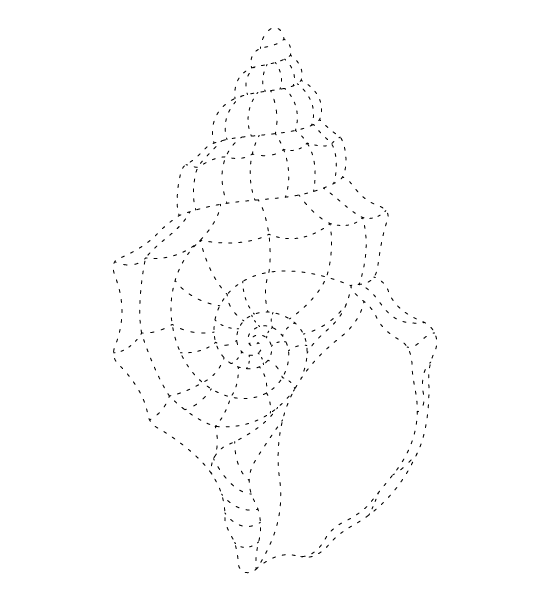
Trace over all your lines with a clean, solid stroke to complete the final outline of the seashell.
The shell's spiral is the strongest visual guide in this design, so begin coloring at the central coil and gradually work outward through each expanding whorl. This naturally follows the way the shell formed as it grew. Apply slightly darker shades near the dividing lines between the sections and soften the color toward the middle of each panel to suggest the shell's rounded surface. The tall spire at the top is divided into stacked bands, making it effective to alternate slightly lighter and darker values as the spiral climbs upward without breaking the overall color harmony.
Several realistic palettes suit this type of seashell. Warm ivory with soft tan and caramel resembles many conch and whelk shells, while sandy beige paired with chestnut brown creates a weathered coastal appearance. Pale peach blended with cream reflects the subtle tones found inside many marine shells, and muted gray with touches of lavender works well for shells collected from rocky shorelines. The wide opening can be kept lighter than the exterior, using cream or very pale pink to distinguish the inner surface from the outer shell. Colored pencils are particularly useful for this design because they allow smooth gradients across the curved sections while preserving the narrow spiral lines. Smooth, heavyweight paper also helps maintain crisp edges where the geometric divisions meet the shell's flowing outline.