Many rosette-forming succulents grow from a central growing point, with each new leaf developing around the previous ones and gradually pushing older leaves outward. This growth pattern creates the compact spiral arrangement characteristic of plants such as echeverias and sempervivums.
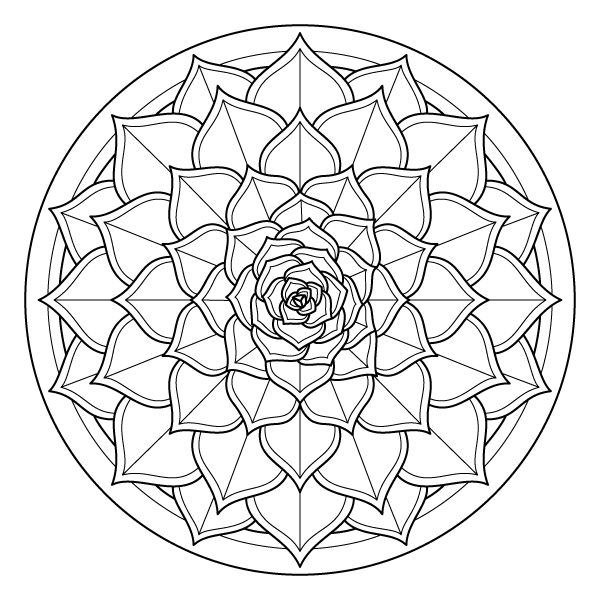
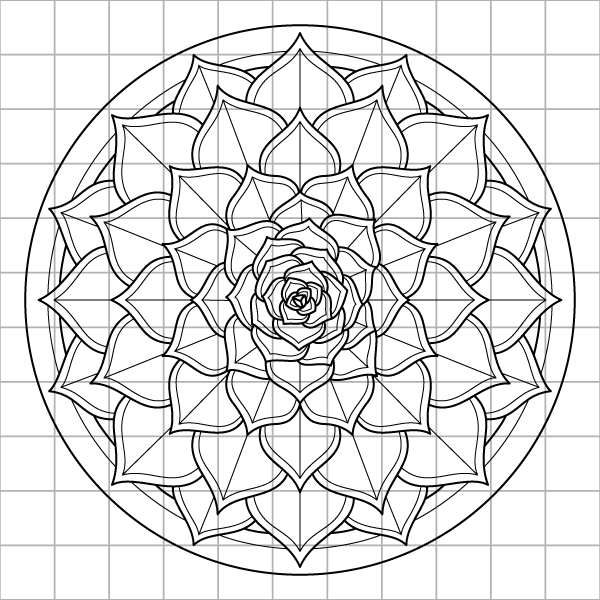
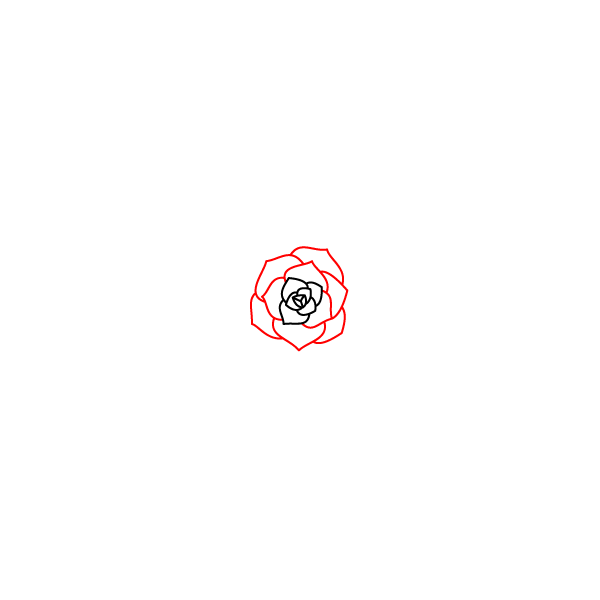
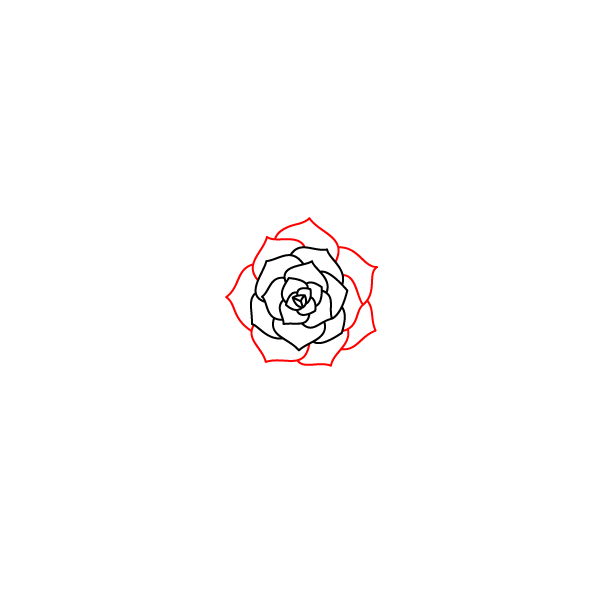
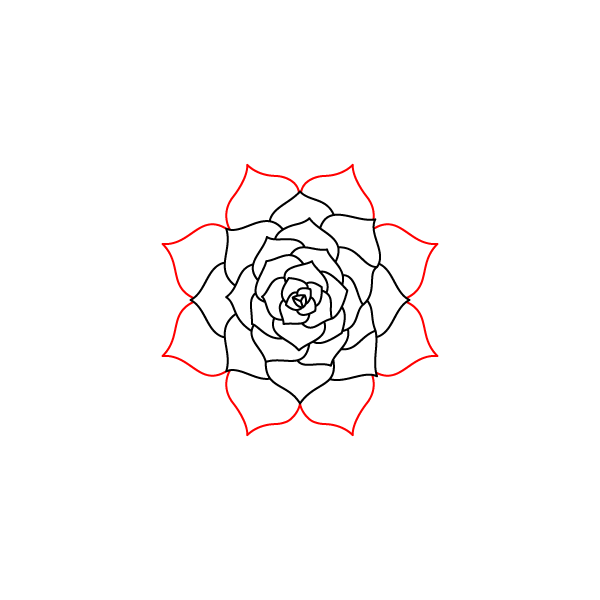
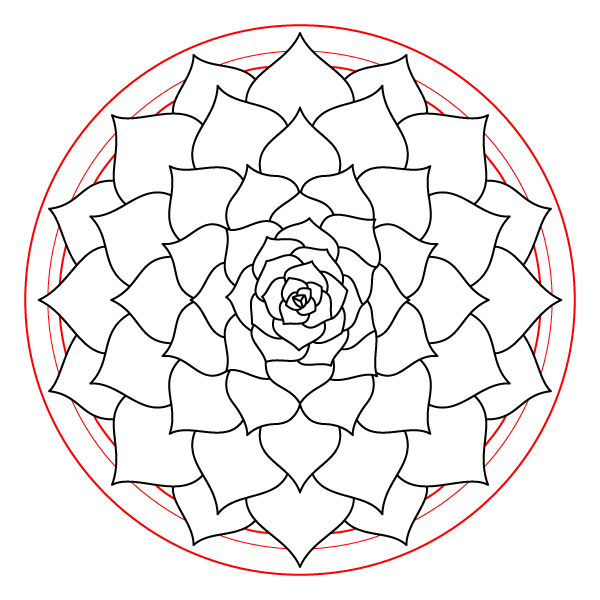
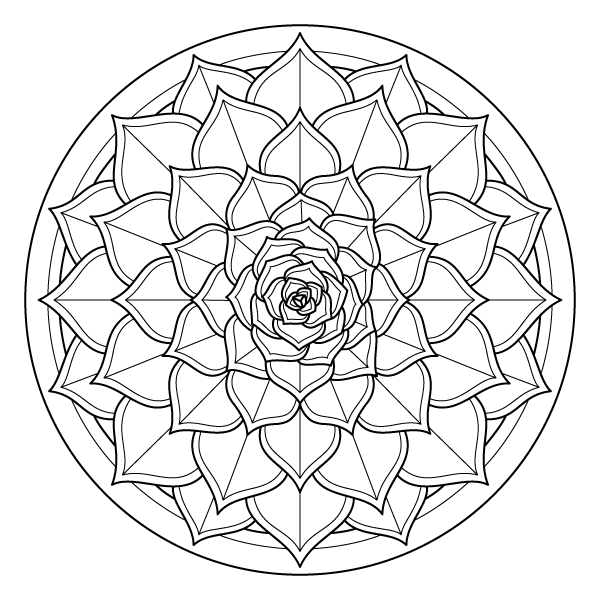
The same outward progression is central to this coloring page: a tightly packed cluster of small leaves surrounds the center, followed by several increasingly larger layers that expand toward the circular border. The inner leaves are narrow and closely overlapped, while the outer layers become broader and more widely spaced. The design therefore mirrors the way a succulent rosette expands from its center while adding a precise, symmetrical arrangement that keeps the entire composition evenly balanced.
Work outward from the center when coloring this rosette, following the same progression as the leaves themselves. The tiny central leaves are closely packed, so darker shades work well in their overlapping areas and help separate one leaf from another. As the layers become larger, gradually introduce lighter values so the outer leaves appear more open and exposed. The central vein running through each leaf provides a useful reference for shading: keep one side slightly darker than the other to emphasize the pointed, folded appearance without adding extra texture.
For a natural echeveria-inspired palette, combine dusty blue-green, sage, and muted gray-green. A greener sempervivum look can use olive, moss, and yellow-green, while blue-green leaves with soft pink or lavender along selected edges can suggest the coloration seen in some cultivated rosette succulents. You can also use deep green in the center and gradually transition toward pale sage on the outer layers.
Colored pencils are particularly practical for this design because the innermost leaves are small and tightly arranged, requiring precise application. Use a sharp pencil for these areas and softer pressure on the larger outer leaves so you can build gradual color transitions without obscuring the fine dividing lines.