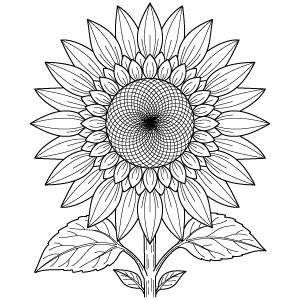
What appears to be a single sunflower head is actually made up of hundreds of tiny individual flowers, called florets, packed into the central disk. Their arrangement often follows spiral patterns associated with phyllotaxis, allowing the plant to pack a large number of florets efficiently into a compact head.
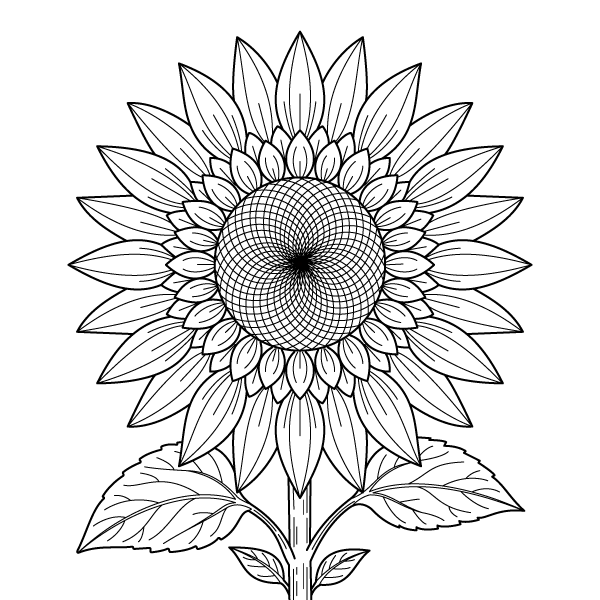
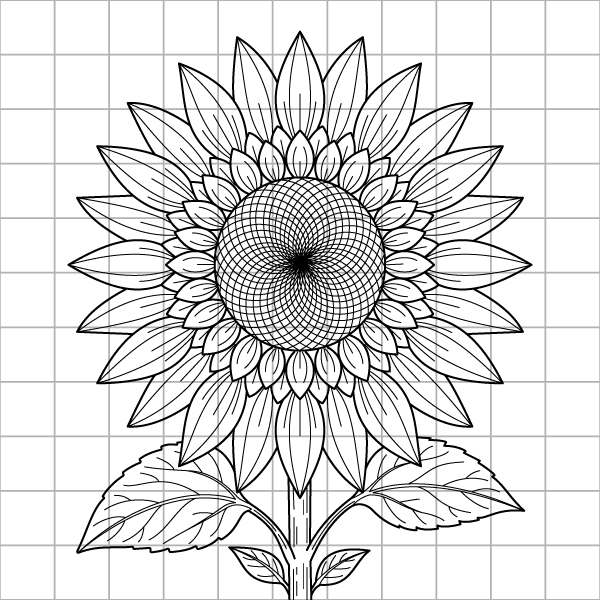
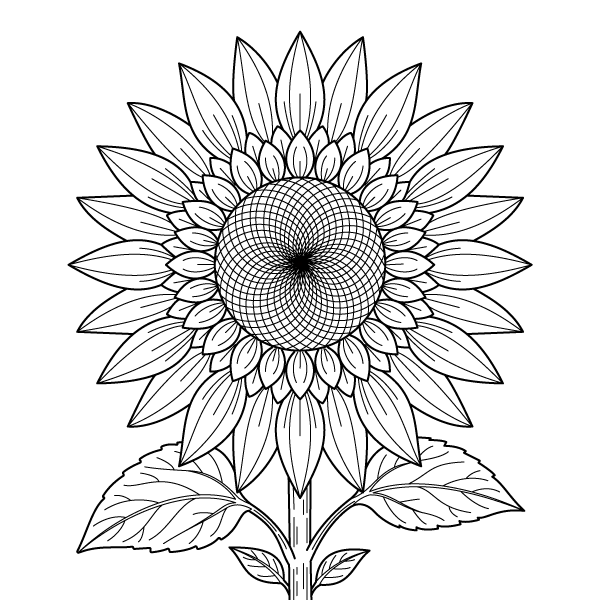
This coloring page emphasizes that structure by placing an intricate woven spiral pattern at the center rather than leaving the disk as a simple solid area. Around it is a ring of small rounded florets, followed by a larger layer of long pointed ray petals that spread outward in a regular pattern. The two broad leaves and narrow stem complete the composition while keeping the flower head as the dominant feature.
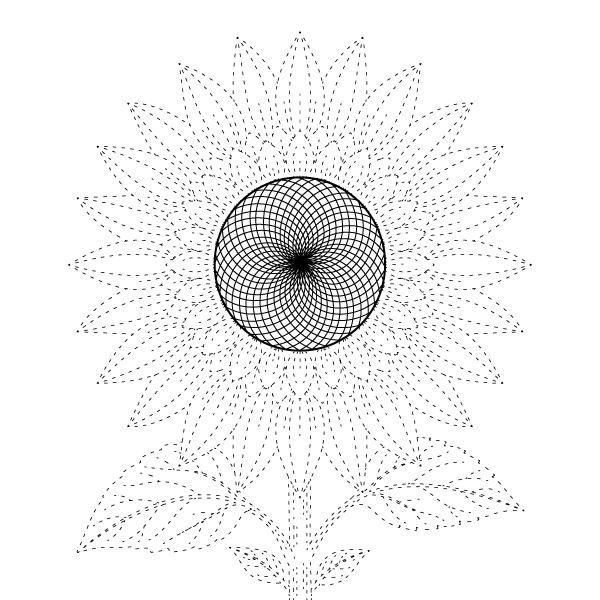
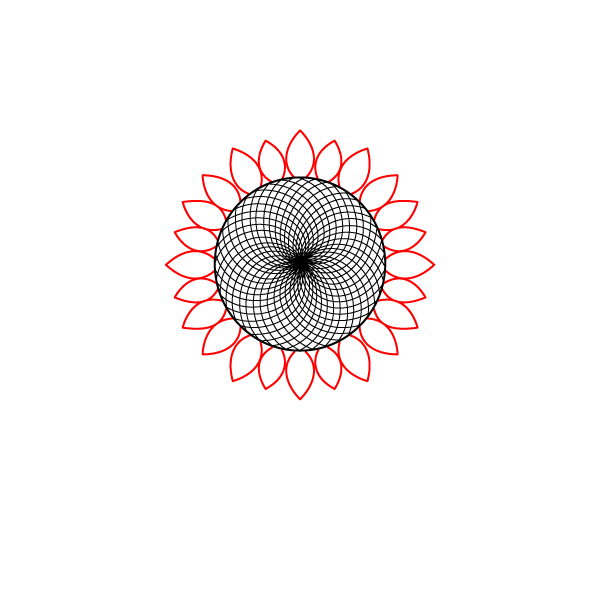
Draw a perfect circle right in the middle of your page. This will be the center of your flower.
Step 2 - Draw the First Spirals
From the very center of the circle, draw many curved lines that swirl outwards to the edge of the circle, all bending in the same direction.
Step 3 - Draw the Crossing Spirals
Draw another set of curved lines starting from the center, but swirl them in the opposite direction so they cross over the first lines, creating a neat grid pattern.
Step 4 - Draw the Inner Petals
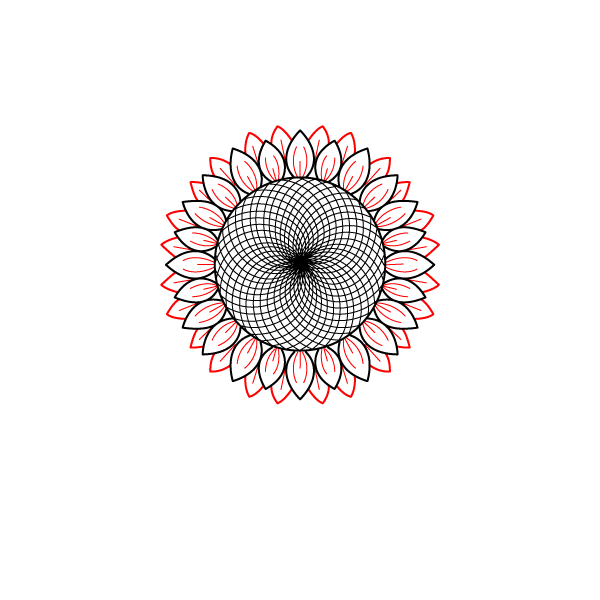
Draw a row of pointed, teardrop-shaped petals all the way around the outside of the main circle.
Step 5 - Draw the Middle Petals
Draw smaller pointed petals peeking out between the ones you just drew. Then, draw a single straight line down the middle of each of the first petals.
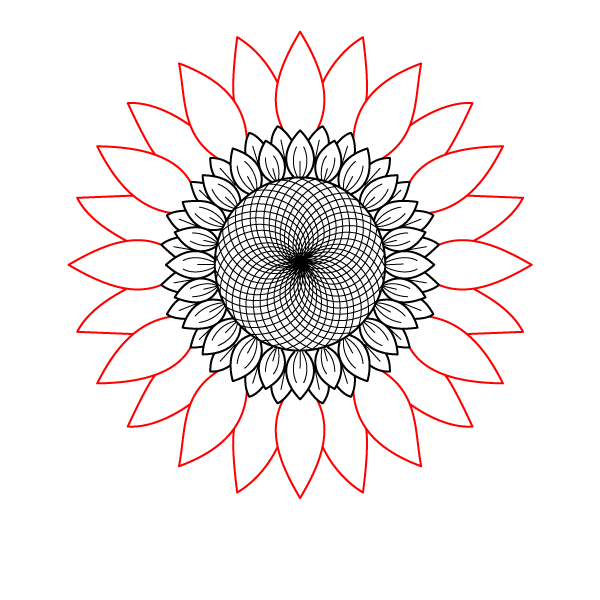
Step 6 - Draw the Large Outer Petals
Draw a row of much larger, pointed petals behind the smaller ones, spreading out wide all around the flower.
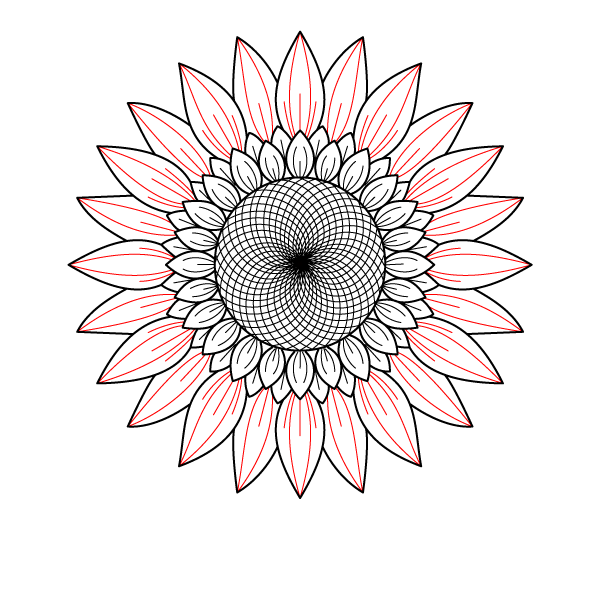
Step 7 - Detail the Outer Petals
Inside each of the large outer petals, draw a single long line down the middle, stretching from the tip toward the base.
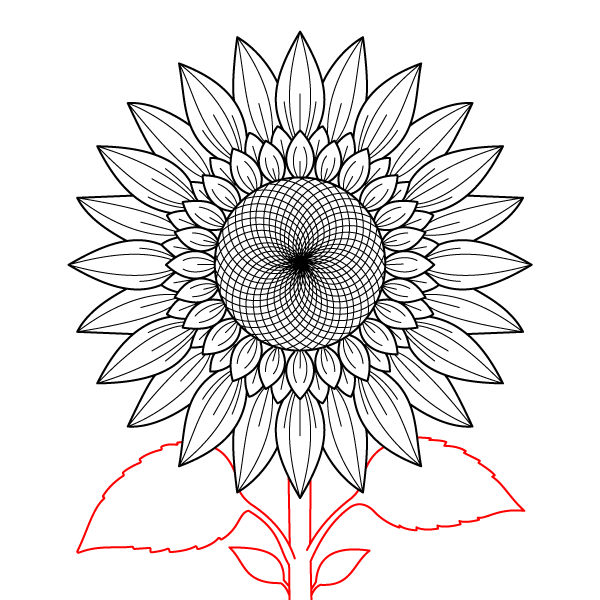
Step 8 - Draw the Stem and Leaves
Draw a long stem extending straight down from the bottom of the flower. On each side of the stem, draw a large wavy leaf, and add two smaller smooth leaves near the bottom.
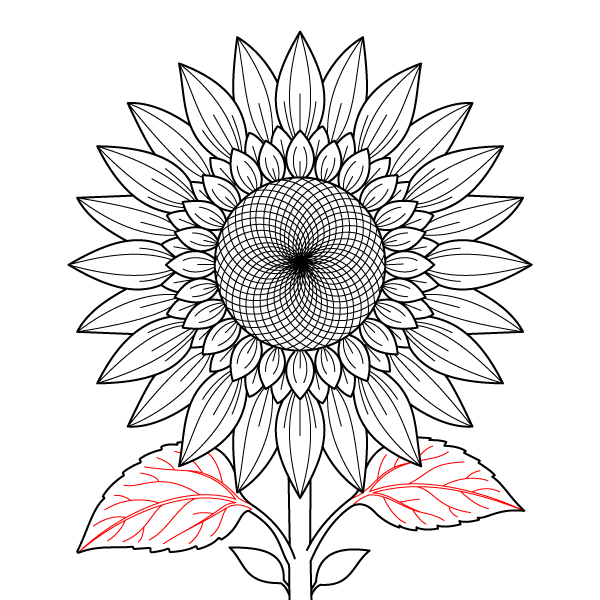
Step 9 - Detail the Large Leaves
Inside the two large wavy leaves, draw a main center line with several smaller lines branching off it to create the leaf veins.
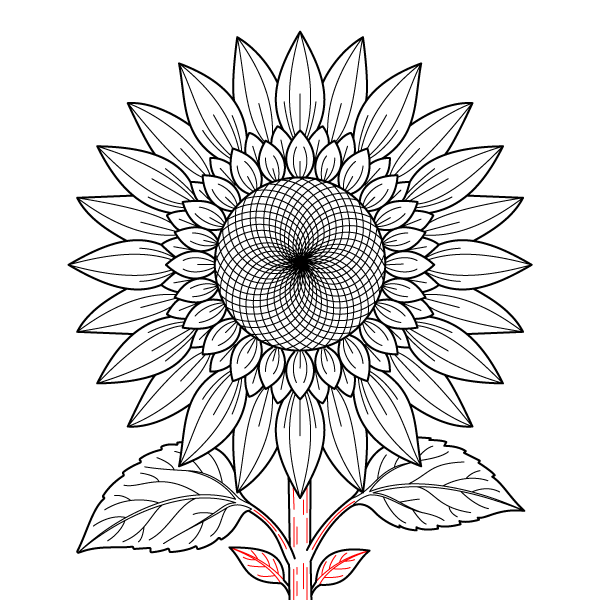
Step 10 - Detail the Stem and Small Leaves
Draw vertical lines inside the stem and add small diagonal vein lines inside the two little leaves at the bottom.
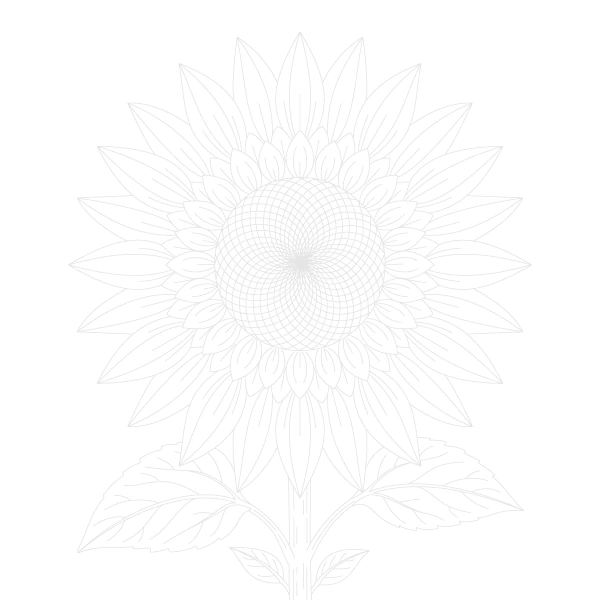
Step 11 - Finish Radiant Sunflower Drawing
Check your entire drawing and touch up any lines to make sure everything is neat, tidy, and complete.
The central disk is the most distinctive part of this sunflower, with numerous interlocking curved lines forming a dense spiral network around the dark center. Rather than coloring every small section individually with unrelated shades, choose two closely related browns and alternate them across neighboring spiral bands. Keeping the darkest brown near the tiny central point and gradually using lighter tones outward can make the disk appear slightly raised. The small rounded florets surrounding it can use a deeper golden yellow, creating a clear transition between the center and the long outer petals.
For a traditional sunflower palette, combine bright golden yellow with ochre and warm brown. A deeper autumn version can use burnt orange, amber, and dark chocolate brown, while a paler variety can use lemon yellow, cream, and soft tan. The leaves can be shaded with olive, medium green, and muted yellow-green, with darker tones concentrated along the central veins and lower portions.
Because the center contains extremely fine, closely spaced lines, use a sharp colored pencil or fine-tip pencil for that area and apply light pressure. The larger outer petals provide more room for smooth blending, so gradually deepen their color near the bases where they overlap the inner ring. Keeping the outer petal tips slightly lighter will preserve their elongated, radiating shape.