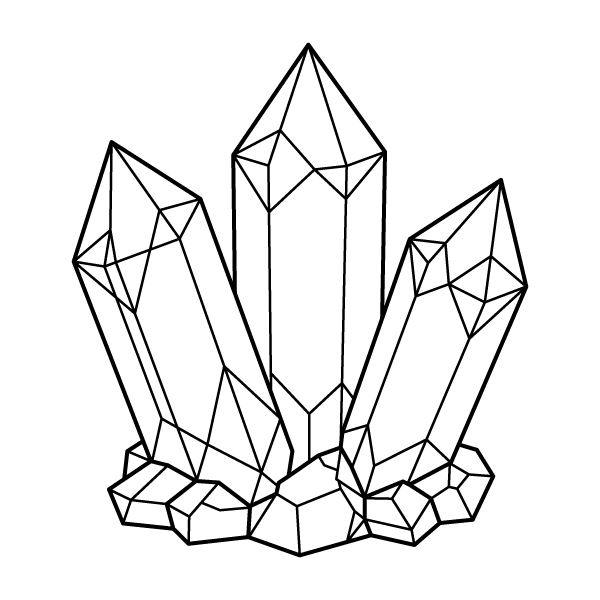
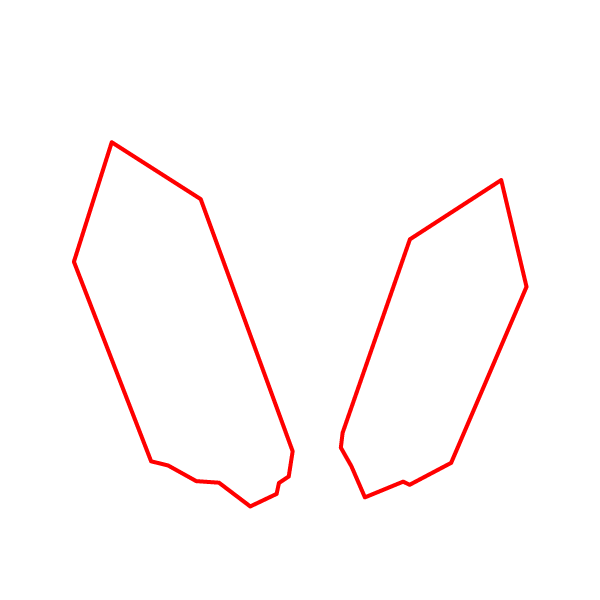
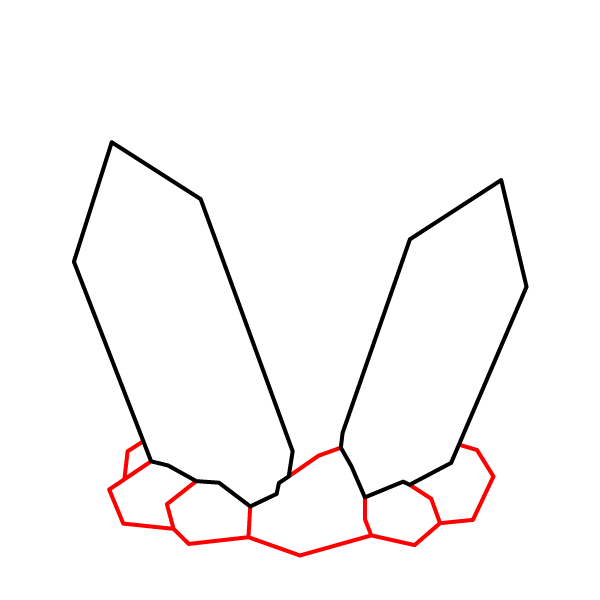
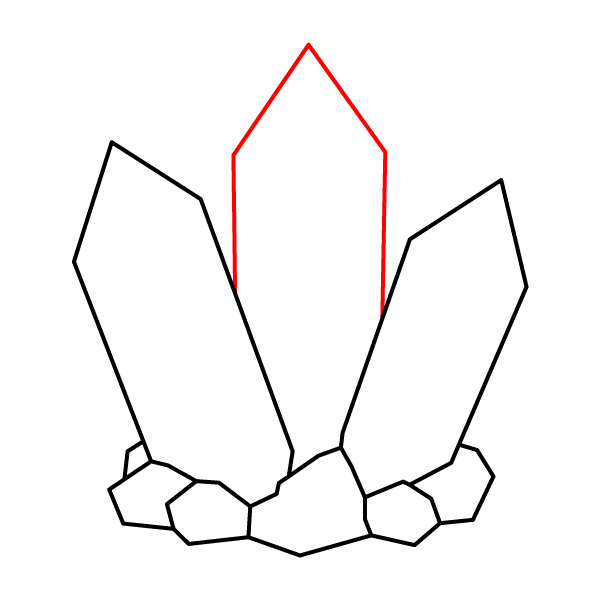
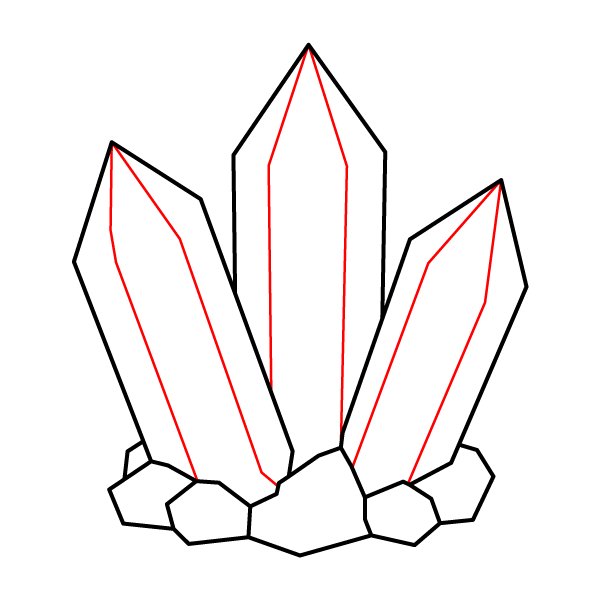
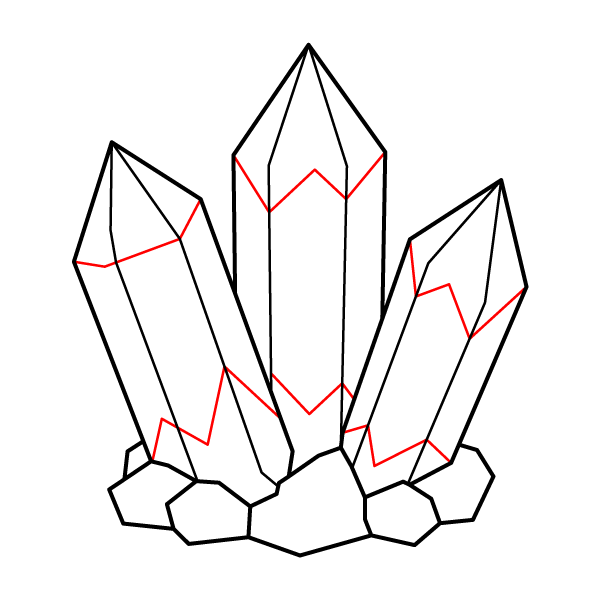
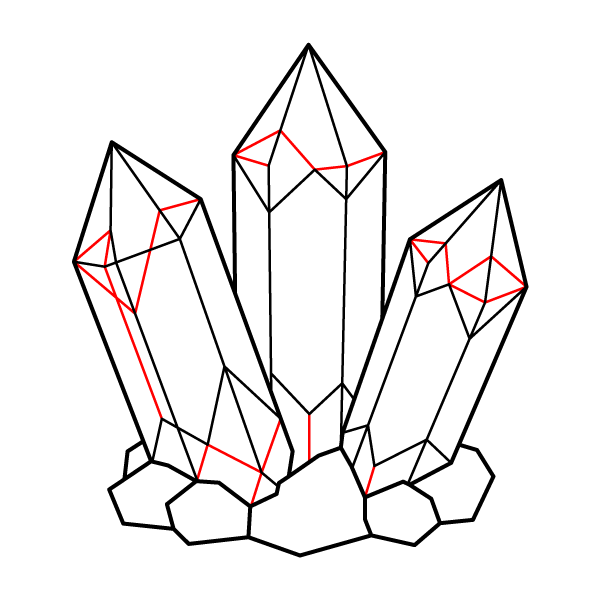
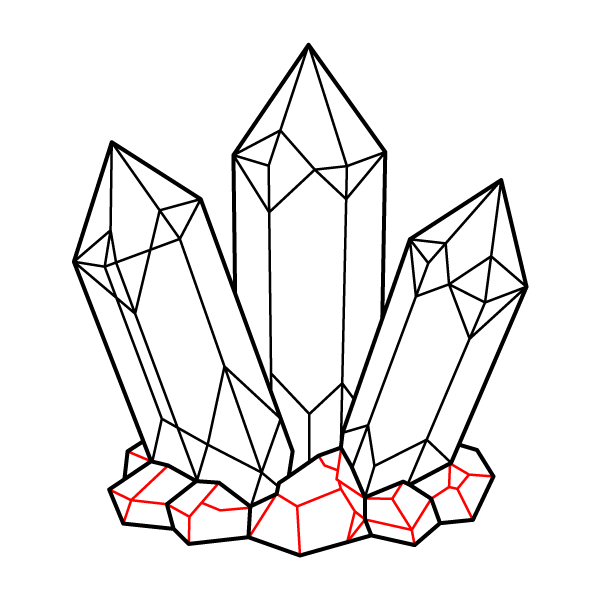
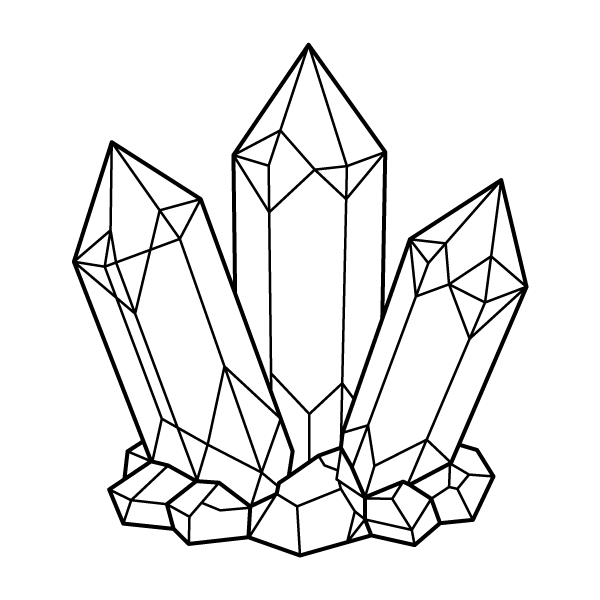
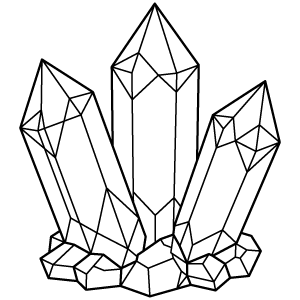
A crystal cluster is a natural formation where several mineral crystals grow from the same rocky base, often sharing the same underlying structure while developing in different directions. This coloring page illustrates that arrangement with three tall, faceted crystals rising from a group of smaller angular stones. Unlike many crystal illustrations that include heavy textures or decorative backgrounds, this design focuses on clean geometric faces, making the individual planes of each crystal easy to distinguish. The largest crystal is placed at the center, creating a balanced composition that naturally draws attention before leading the eye to the two side crystals. Quartz crystals, one of the most familiar minerals found in clusters like this, commonly develop their characteristic six-sided prism shape with pointed terminations under the right geological conditions. The simplified line work in this design highlights those recognizable forms while leaving plenty of room to experiment with shading and gemstone-inspired color palettes.
The many flat crystal faces are the most eye-catching feature of this design, so treating each facet a little differently can make the cluster appear more three-dimensional. Choose a single light source before you begin, keeping the faces nearest that direction lighter while gradually darkening the opposite sides. This simple approach helps the crystals look more solid and reflective.
A cool palette of icy blues, turquoise, and soft violet creates the look of quartz or sapphire, while shades of lavender and deep purple resemble amethyst. For a warmer appearance, try golden amber, honey yellow, or rose quartz tones using light pinks blended with soft peach. You can also assign a different gemstone color to each of the three main crystals while using similar shading techniques to keep the overall composition balanced.
The rocky base offers a nice contrast to the smooth crystal surfaces. Neutral grays, warm browns, or muted slate colors help the crystals remain the focal point. Adding slightly rougher pencil strokes to the rocks while keeping the crystal faces smoothly blended creates a noticeable texture difference.
Leaving thin highlights along a few edges or near the crystal tips can suggest reflected light without adding extra lines. If you decide to color the background, keep it subtle with a pale blue, light gray, or soft purple gradient so the sharp geometric outlines remain the strongest visual element.