Layered Rose Bloom Thumbnail

Many cultivated roses contain far more petals than their wild ancestors because centuries of selective breeding transformed some of the flower's reproductive parts into additional petals. This process, known as petal doubling, gives modern garden roses their densely layered appearance.

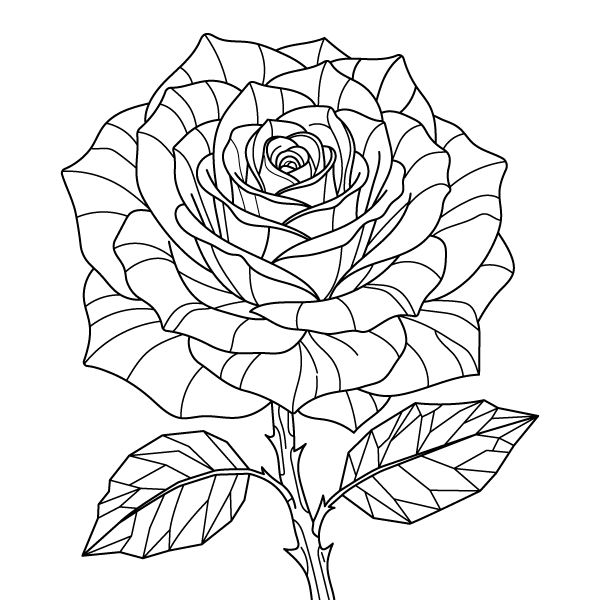
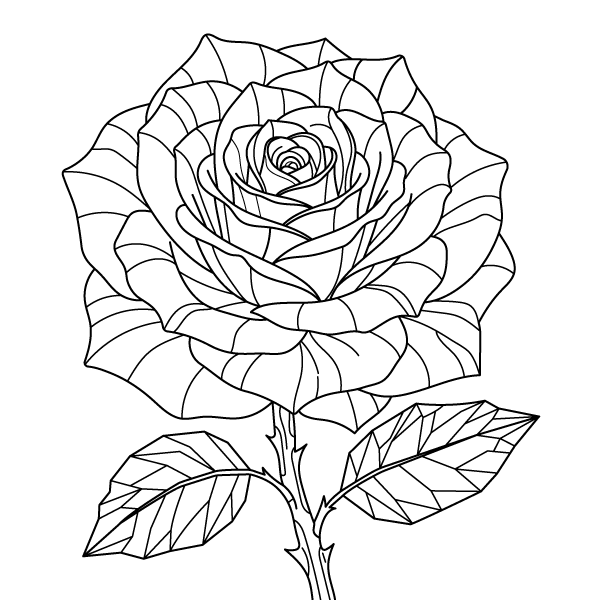
That characteristic is reflected in this coloring page, where the tightly folded central spiral gradually opens into broad outer petals that nearly fill the frame. Two faceted leaves extend from the stem below the bloom, contrasting with the naturally curved petals through their angular vein pattern. Instead of showing multiple flowers or surrounding foliage, the composition concentrates on a single fully opened rose, allowing the gradual transition from the compact center to the expansive outer petals to remain the dominant visual feature.

Layered Rose Bloom Coloring Page
Layered Rose Bloom Trace By Image Page
Layered Rose Bloom Tracing Page
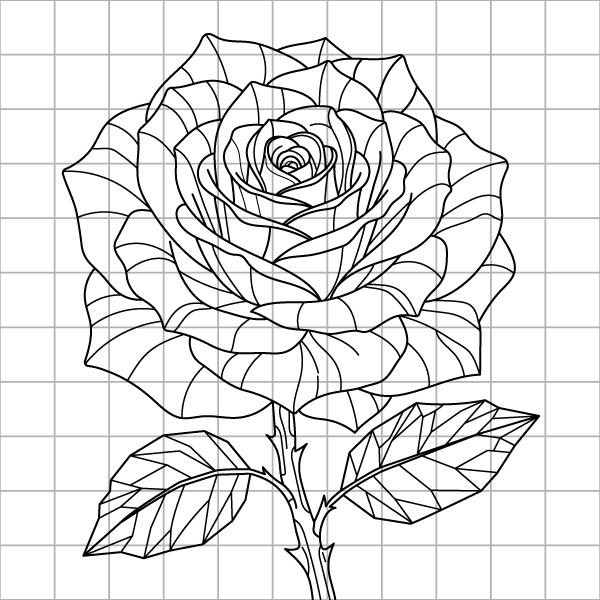
Layered Rose Bloom Drawing Grid Page

How To Draw Layered Rose Bloom Step By Step

Layered Rose Bloom Step 1

Step 1 - Draw the Rose Bud

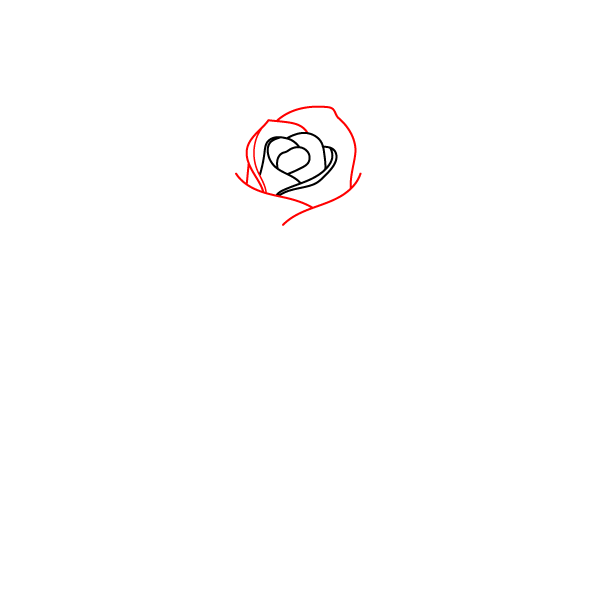
Draw a small rounded loop in the middle with overlapping curved lines to start the center of the bud.

Layered Rose Bloom Step 2

Step 2 - Add Inner Petals

Draw a curved line over the top of the bud and a sweeping petal line underneath the bottom.

Layered Rose Bloom Step 3

Step 3 - Expand the Petals

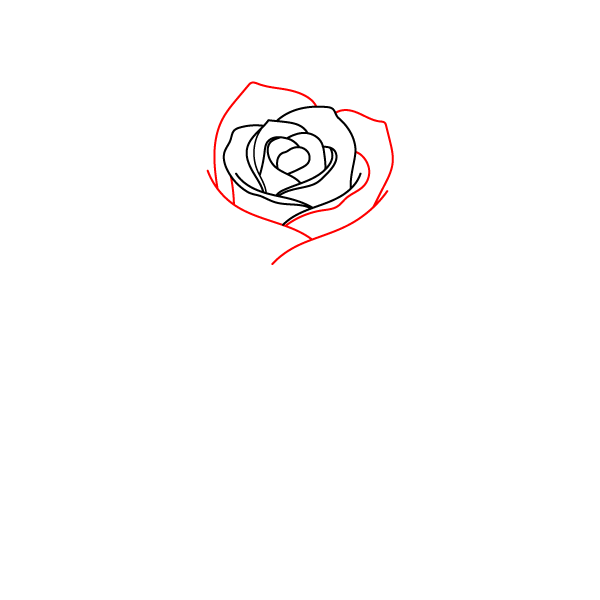
Draw a larger curved petal line on the left and another curved petal line on the right side.

Layered Rose Bloom Step 4

Step 4 - Grow the Bloom

Draw three new curved lines around the flower: one at the top, one on the left, and a pointed petal at the bottom.

Layered Rose Bloom Step 5

Step 5 - Add Outer Petals

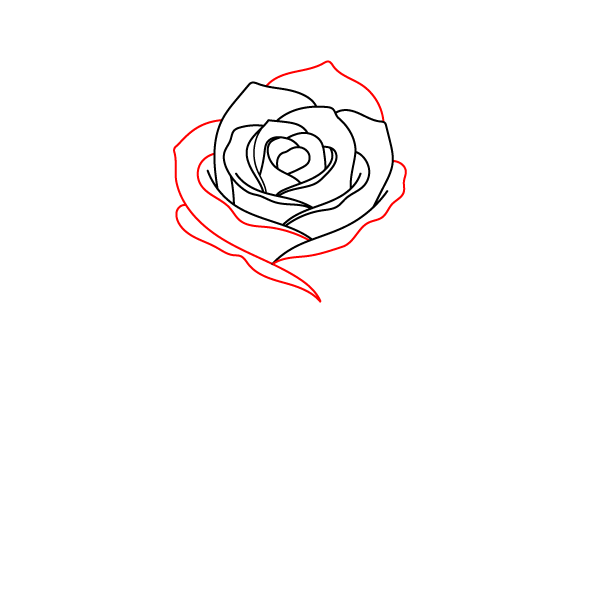
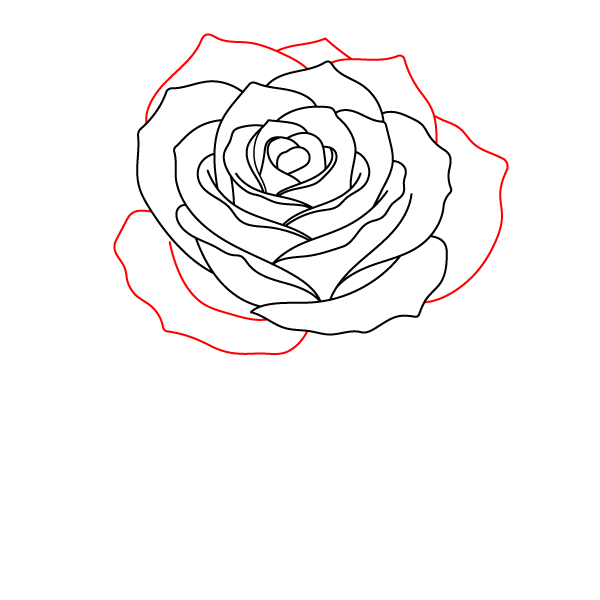
Draw a wide curved petal line on the left side and a large curving petal line along the bottom right.

Layered Rose Bloom Step 6

Step 6 - Make the Rose Fuller

Draw curved lines at the top left, top right, and a wavy petal line on the bottom left.

Layered Rose Bloom Step 7

Step 7 - Draw the Final Petals

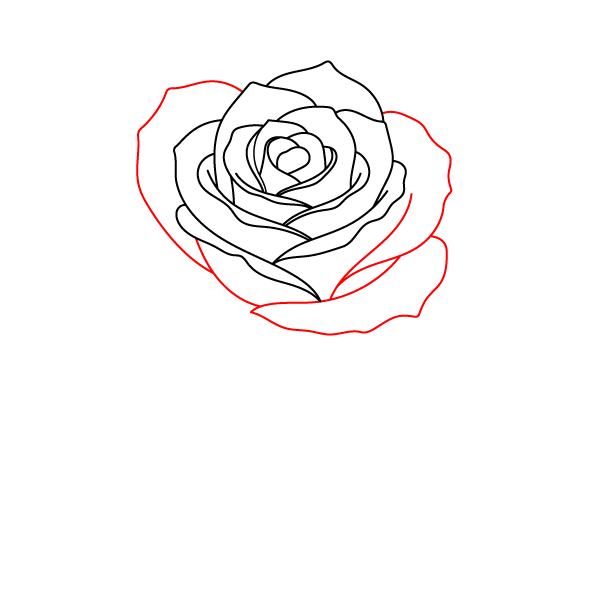
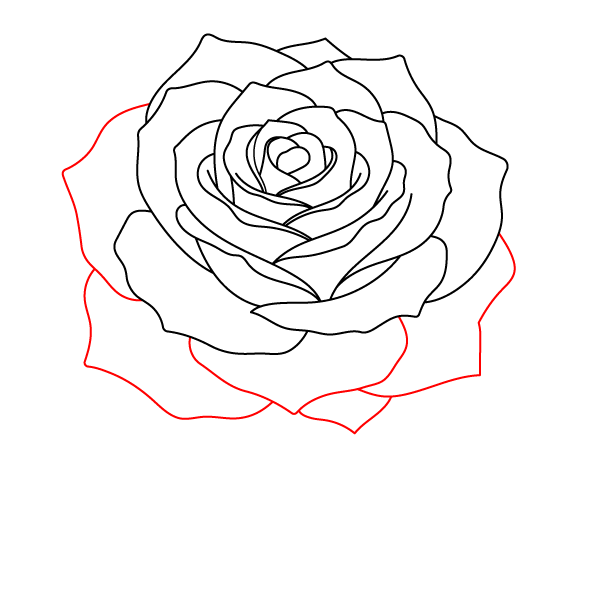
Draw a large curved petal line on the bottom left and another wavy curved line across the bottom right.

Layered Rose Bloom Step 8

Step 8 - Draw the Stem

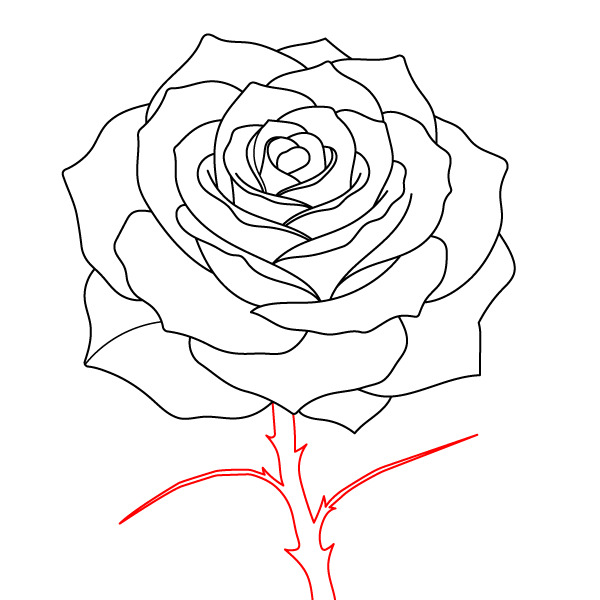
Draw a thick vertical stem extending down from the flower with tiny sharp thorns, and two curved branches splitting off.

Layered Rose Bloom Step 9

Step 9 - Add the Leaves

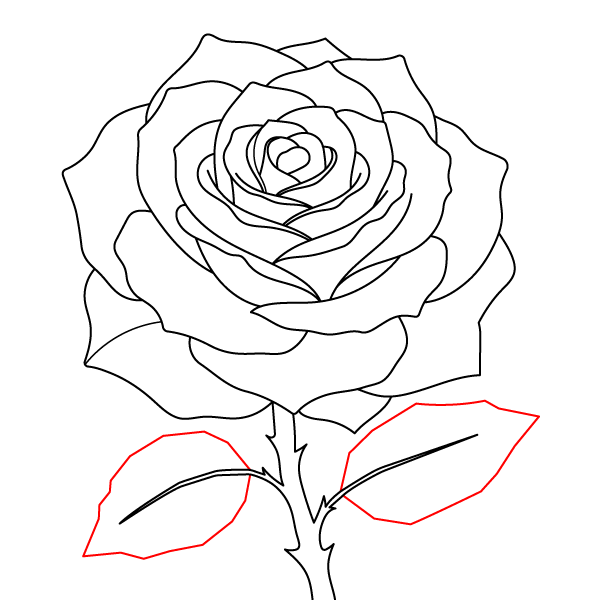
Draw a pointed leaf with a jagged outer edge on each of the two side branches.

Layered Rose Bloom Step 10

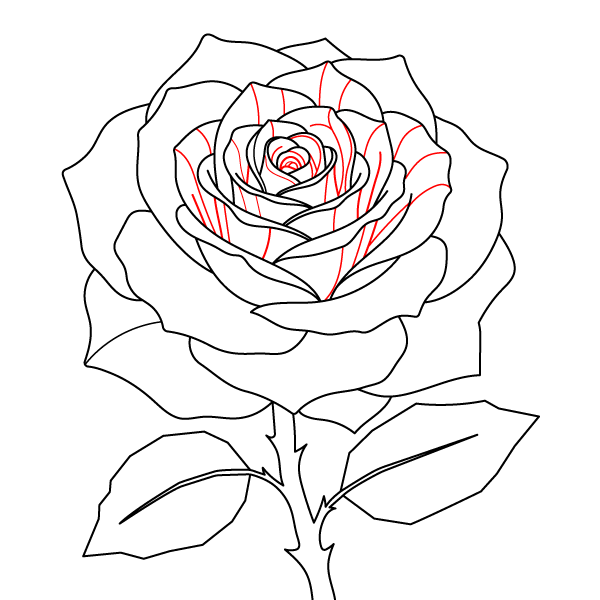
Step 10 - Detail the Center

Draw several thin, curved lines inside the innermost petals to create texture.

Layered Rose Bloom Step 11

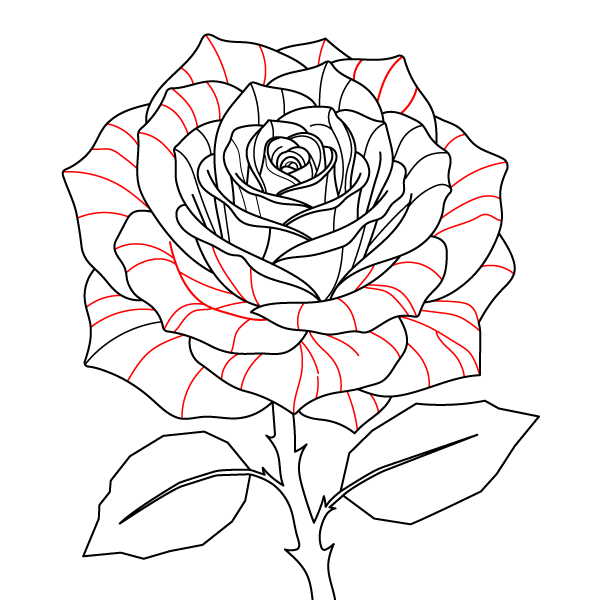
Step 11 - Detail the Outer Petals

Draw many curved radiating lines across all the outer petals of the flower.

Layered Rose Bloom Step 12

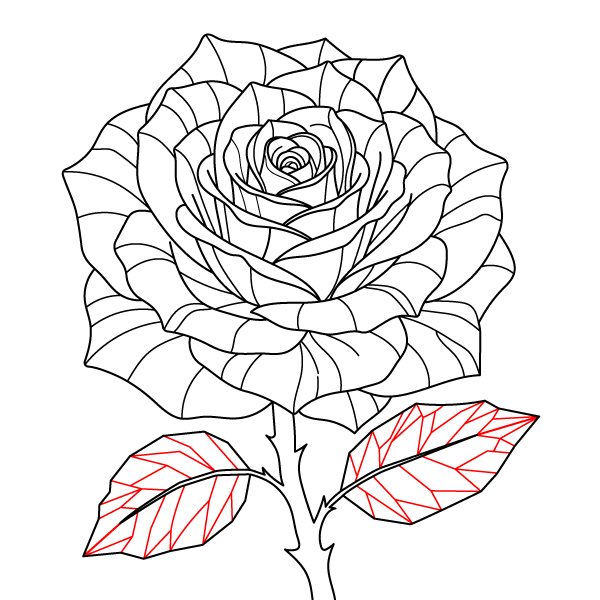
Step 12 - Add Leaf Veins

Draw a network of diagonal straight lines inside both leaves to create the leaf veins.

Layered Rose Bloom Step 13

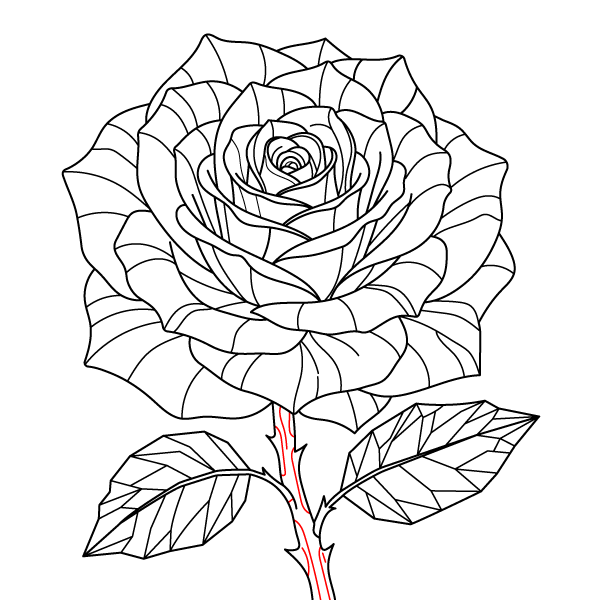
Step 13 - Texture the Stem

Draw thin vertical lines inside the stem to give it a woody texture.

Layered Rose Bloom Step 14

Step 14 - Finish Layered Rose Bloom Drawing

Complete the drawing by making sure all lines are neat, smooth, and fully connected.

Drawing & Coloring Tip

The bloom is arranged in distinct layers, so color it from the center outward instead of working petal by petal around the flower. The tightly rolled inner petals naturally create deeper shadows, making them a good place to begin with darker values before gradually lightening the larger outer petals. This progression reinforces the depth created by the overlapping petal structure. Rather than applying one flat color across each petal, blend a darker shade near the base where petals overlap and soften the color toward the outer edges to suggest the gentle curvature of real rose petals.

Several realistic rose palettes suit this design. Crimson with burgundy shadows reflects classic hybrid tea roses, while soft pink blended with rose and blush resembles many garden varieties. Cream and pale yellow create the look of ivory roses, and rich orange with touches of coral works well for modern cultivars. The two leaves are divided into angular sections, making them ideal for alternating medium and dark greens along the faceted veins instead of using a single shade. The stem can be finished with olive green and slightly darker accents around the thorns. Colored pencils are especially effective for blending the broad petals smoothly while maintaining the crisp geometric divisions within the leaves, and smooth paper helps preserve the fine outlines around the tightly folded center of the bloom.