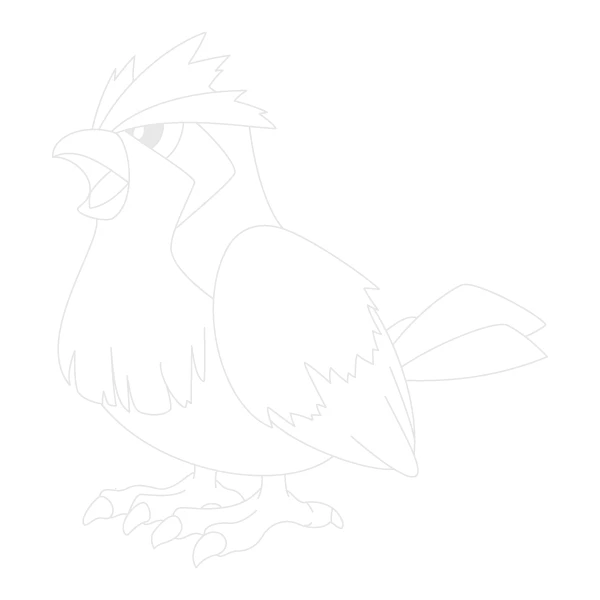
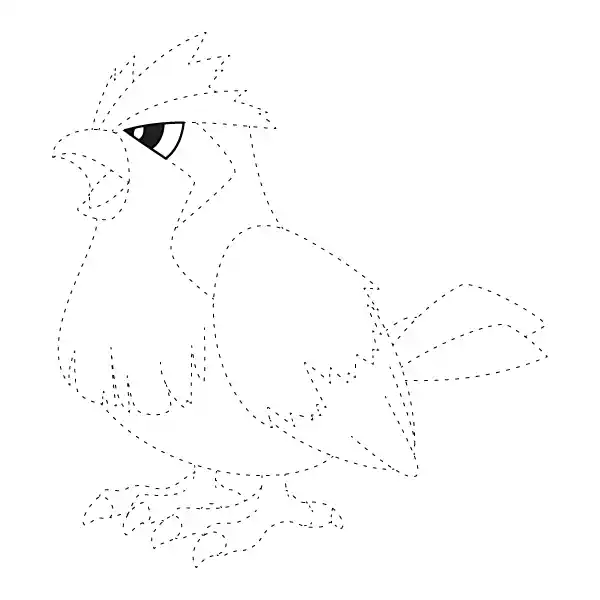
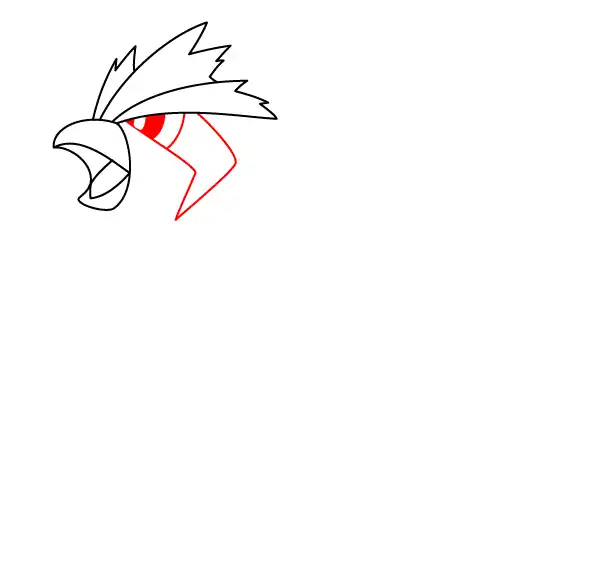
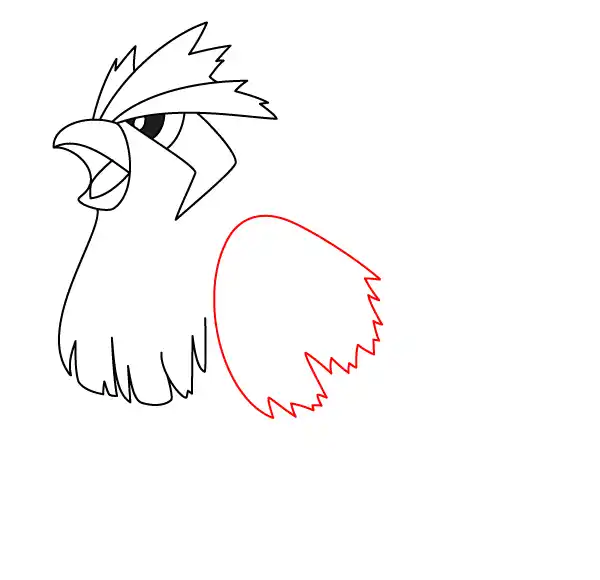
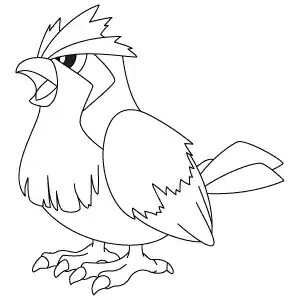
Pidgey Pidgey Coloring Page 🖨 Print Download Pidgey Trace by Image Page 🖨 Print Download Pidgey Tracing Page 🖨 Print Download Pidgey Drawing Grid Page Downlaod 5x5 Downlaod 10x10 Downlaod 15x15 Pokemon Coloring Pages How To Draw Pidgey Step By Step Step 1 – Draw the Beak Draw the open beak using curved lines. Add the line inside the beak to separate the upper and lower sections. Step 2 – Draw the Crest Draw the three pointed feathers extending backward from the top of the head. Connect them to the beak with a few short lines. Step 3 – Draw the Eye and Face Draw the eye, add the curved stripe behind it, and draw the large pointed marking extending down the side of the head. Step 4 – Draw the Neck Draw the long curved neck and add the feathered chest with several pointed feather tips along the bottom. Step 5 – Draw the Wing Draw the large wing on the side of the body. Add the jagged feather edges and the pointed lower section of the wing. Step 6 – Draw the Wing Tip Draw the pointed wing tip beneath the wing. Add the feather lines inside the wing tip. Step 7 – Draw the Body and Tail Draw the rounded body connecting the neck and wing. Then draw the two tail feathers extending from the back. Step 8 – Draw the Toes Draw the four front toes using small curved claw shapes. Step 9 – Draw the Legs and Feet Draw both legs and connect them to the toes. Add the remaining claws to complete both feet. Step 10 – Finish the Drawing Trace the full outline and erase the remaining guide lines. Download Step By Step Guide More Grinning Face With Sweat Emoji Bob Free De La Hoya Grinning Face With Smiling Eyes Emoji Valt Aoi Ash Ketchum View All