Decorative fruit bowls became common household centerpieces in Europe during the 18th and 19th centuries because storing fruit in open containers allowed air to circulate, helping slow moisture buildup compared with enclosed storage. Over time, they also became display pieces, often arranged with fruits of different heights, colors, and textures.
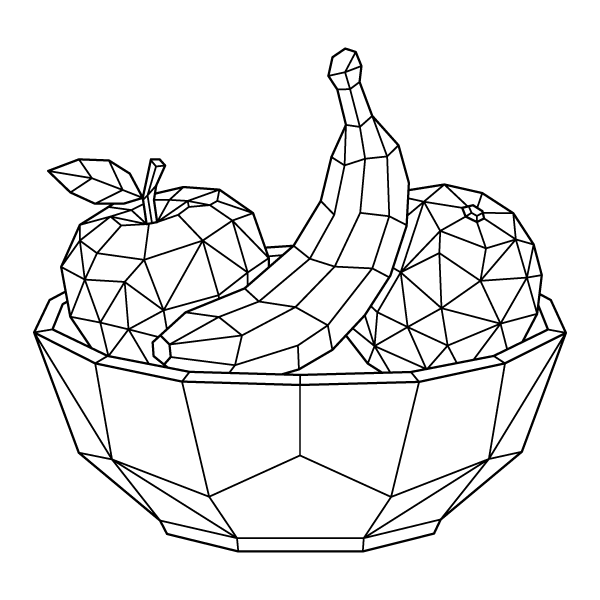
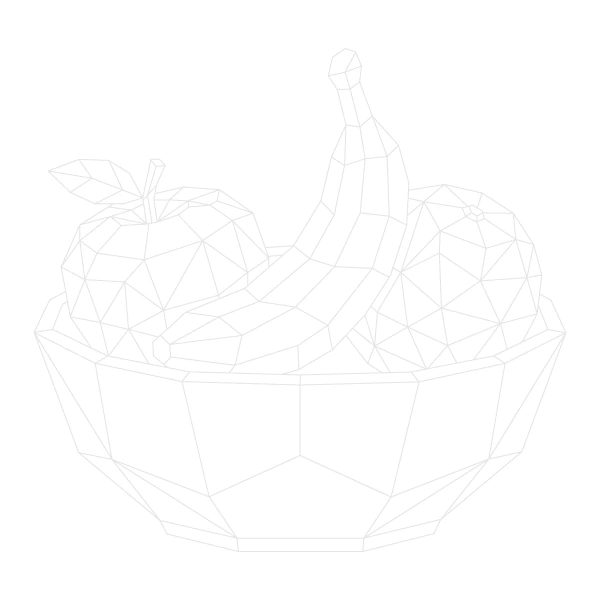
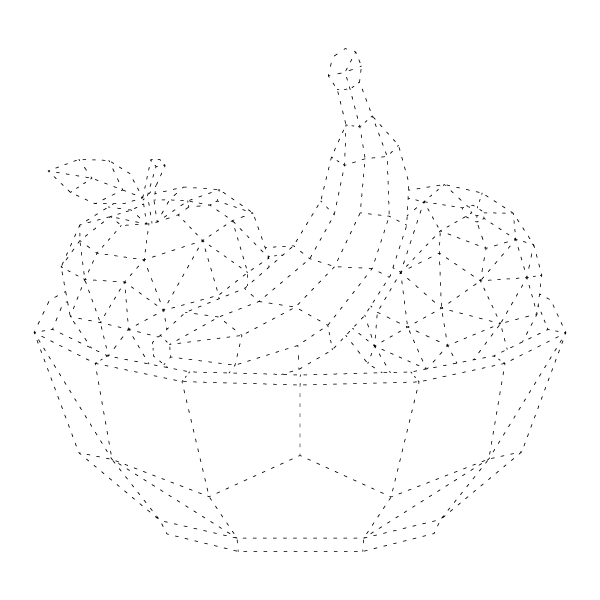
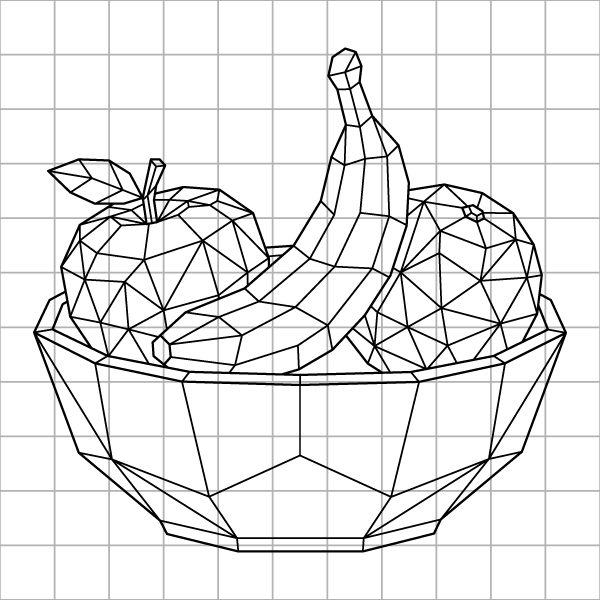
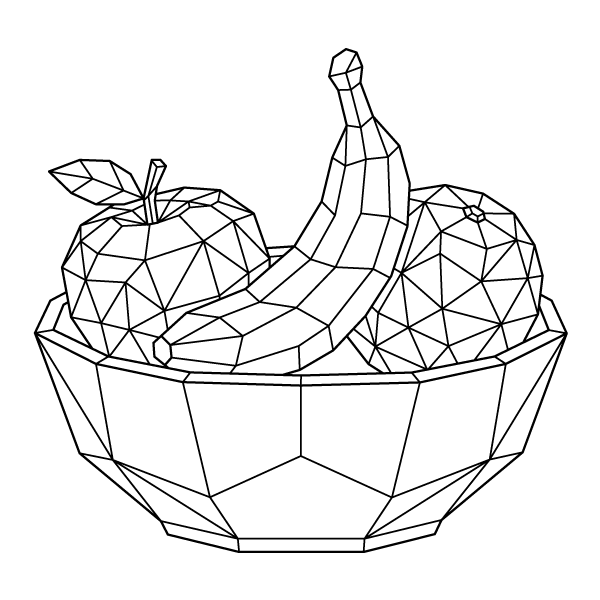
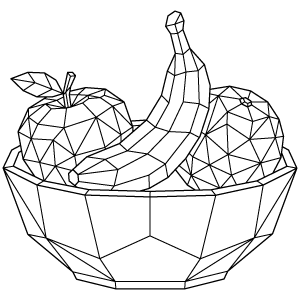
This coloring page reflects that layered presentation by placing a curved banana across the front, with an apple on one side and a round citrus fruit on the other, all resting inside a wide faceted bowl. Rather than using natural curves throughout, every object is simplified into flat polygonal surfaces that give the entire arrangement a consistent geometric appearance.
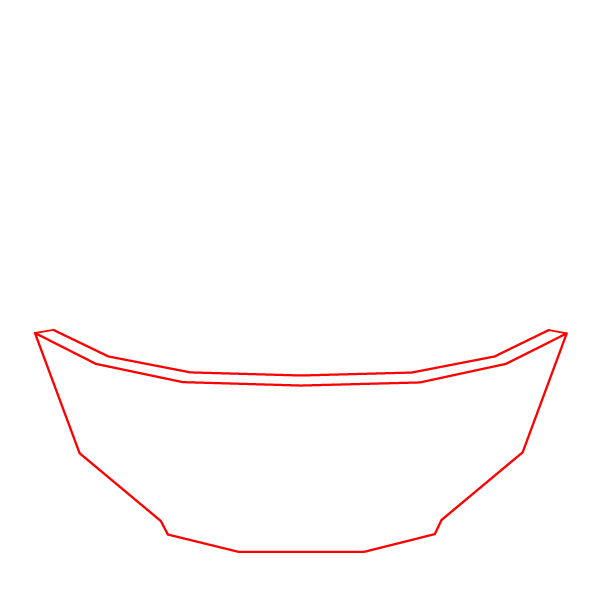
Draw the wide outer shape of a bowl using straight, angled lines. Make a flat bottom, sloping sides, and a double-lined rim at the top.
Step 2 - Add Bowl Details
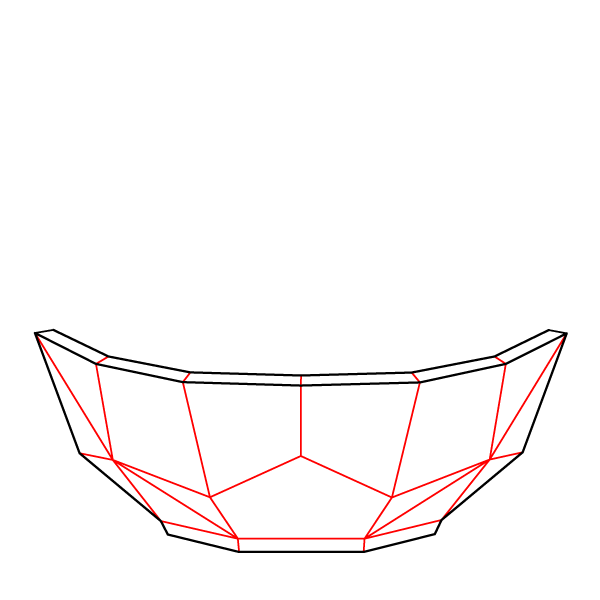
Draw straight lines inside the bowl to divide it into geometric shapes. Connect the corners of the outer shape to the bottom using vertical and diagonal lines to make it look like folded paper.
Step 3 - Draw the Banana Outline
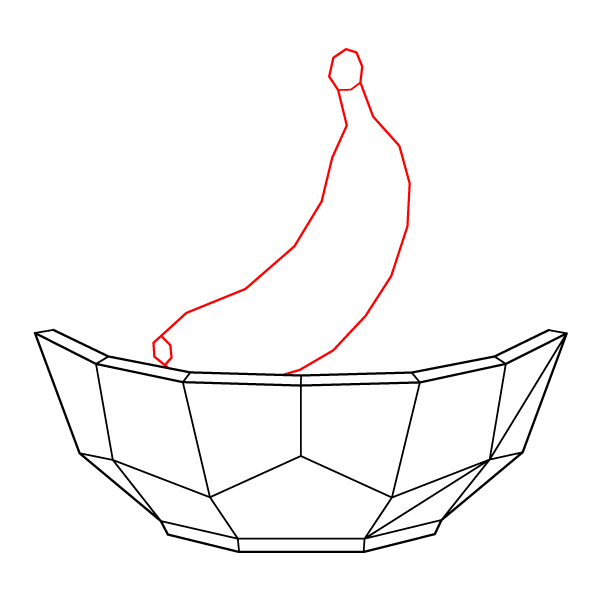
Draw a curved, upright banana shape standing in the middle of the bowl. Add a small hexagon at the top stem and another small hexagon at the bottom tip.
Step 4 - Draw the Fruit Outlines
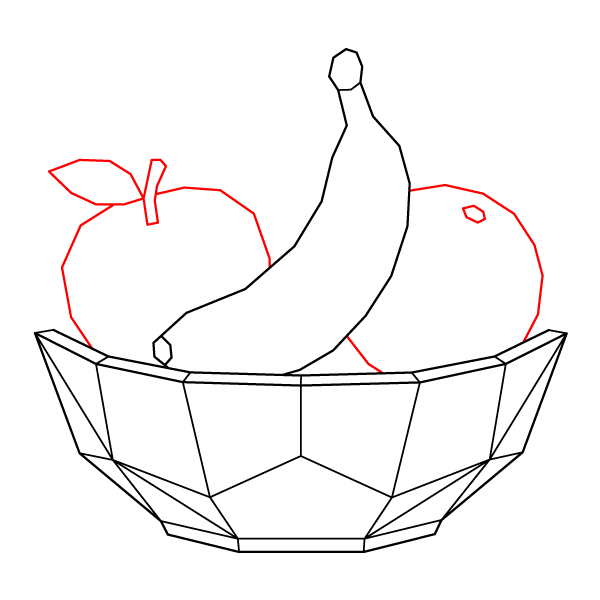
Draw a bumpy apple shape on the left with a stem and a single leaf. Draw a round orange shape on the right with a small hexagon near the top.
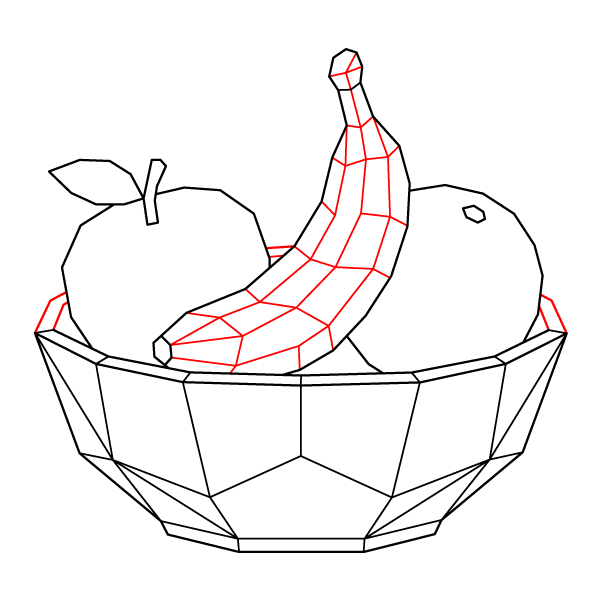
Step 5 - Detail the Banana
Draw straight lines across and down the banana to turn it into many small geometric sections. Also, add a few small angled lines on the left and right edges behind the fruits.
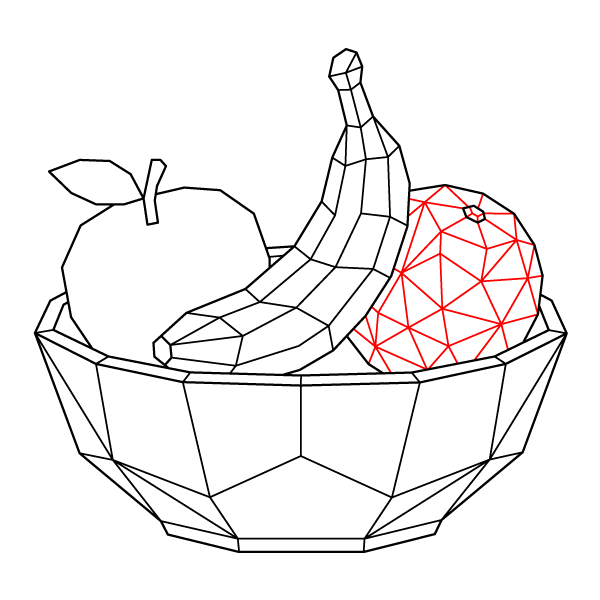
Step 6 - Detail the Orange
Draw many straight lines inside the round orange on the right. Connect them together to create a pattern of triangles spreading out from the small hexagon.
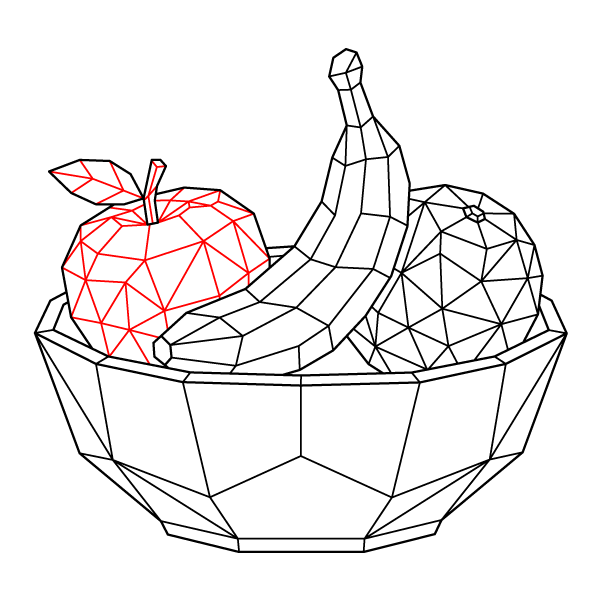
Step 7 - Detail the Apple
Draw straight lines inside the apple and its leaf on the left. Connect these lines to create a network of triangles across the leaf, stem, and most of the apple.
Step 8 - Finish Geometric Fruit Bowl Drawing
Draw final straight lines in the empty space on the right side of the apple. Connect them to finish the triangular pattern and complete the entire drawing.
This composition is easiest to color by treating each object as a separate subject before blending the overall arrangement together. Start with the banana in the foreground since it overlaps both fruits behind it. Its long segmented facets naturally guide gradual shading, so use lighter yellow along the upper surfaces and deepen the color toward the lower edges with golden ochre or light brown. The apple on the left can be colored with crimson, bright red, or green depending on the variety you prefer, while leaving a few adjacent facets lighter creates the impression of reflected light. For the round fruit on the right, orange with touches of tangerine and amber produces a realistic citrus appearance, while a yellow-green palette can suggest a grapefruit or pomelo.
The bowl contains the largest uninterrupted facets in the design, making it a good place to establish a consistent lighting direction. Shade each polygon individually rather than filling the entire bowl with one flat color. Neutral gray and silver create the look of a metal bowl, warm brown and beige resemble carved wood, and pale cream with cobalt blue accents evokes glazed ceramic. Colored pencils work especially well for this design because they allow smooth transitions across the broad polygonal faces while maintaining crisp edges around the smaller fruit facets. Printing on smooth, heavyweight paper also helps preserve the fine geometric outlines during blending.