Many mountain ranges owe their sharp peaks to a combination of tectonic uplift and erosion acting over millions of years. As rock layers are pushed upward by moving tectonic plates, glaciers, rivers, and freeze-thaw cycles gradually carve away weaker material, leaving behind ridges, valleys, and prominent summits.
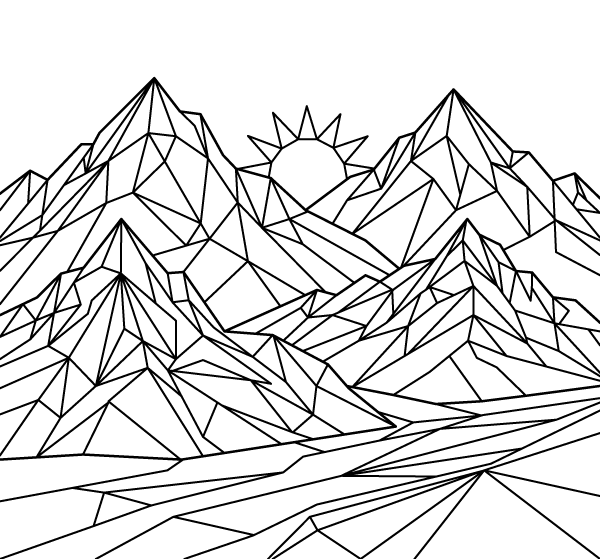
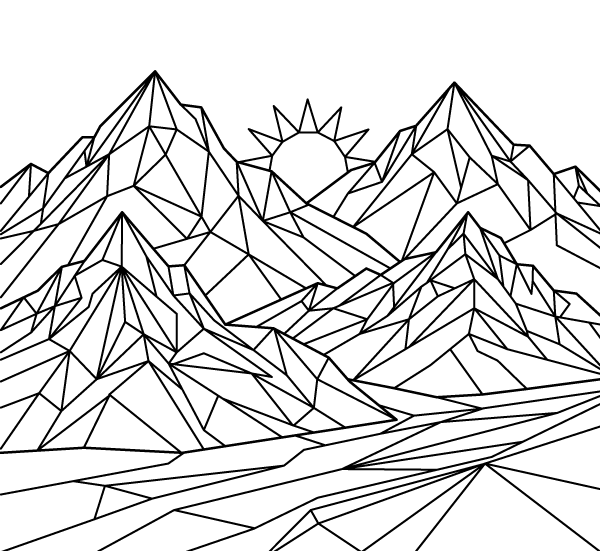
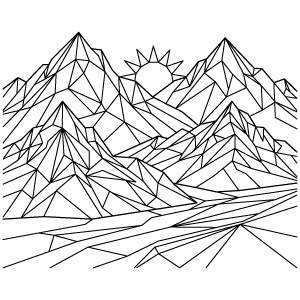
That process is reflected in this coloring page through a landscape of multiple mountain layers rather than a single isolated peak. Three dominant summits anchor the scene, while smaller faceted ridges overlap across the middle ground and converge toward a broad foreground. A stylized sun positioned between the two tallest background peaks creates a natural focal point and suggests the direction of light across the terrain. Instead of using realistic rock textures, the landscape is simplified into flat polygonal surfaces that emphasize the changing angles of each slope. This geometric interpretation highlights the underlying form of the mountains, making the relationships between the foreground, middle ground, and distant peaks easy to distinguish.
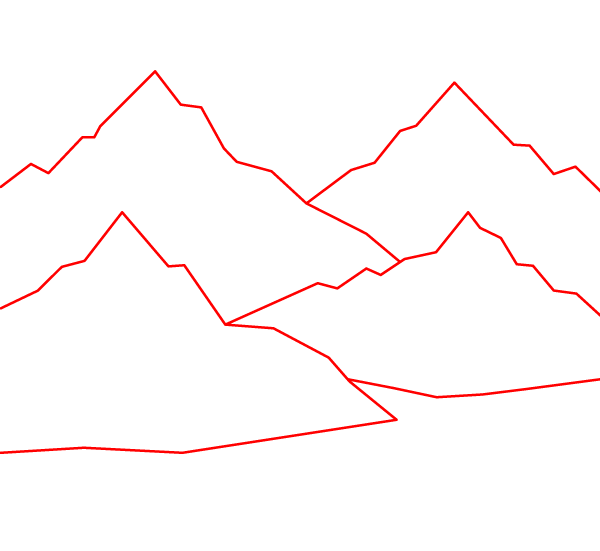
Draw the jagged, zigzag outlines of four mountain peaks. Make two taller peaks in the background and two slightly shorter peaks in the foreground. Add a few long, slightly bent lines across the bottom to create the ground.
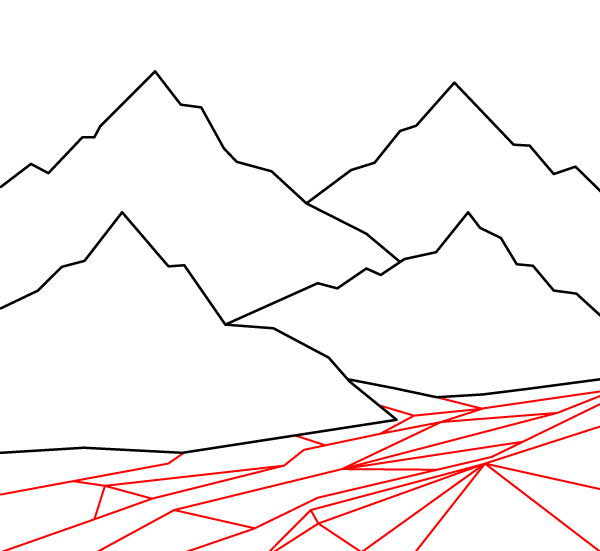
Step 2 - Add Ground Facets
Inside the ground area at the bottom, draw a network of straight, intersecting lines. These lines should connect to form many different triangles and diamond shapes stretching across the bottom from left to right.
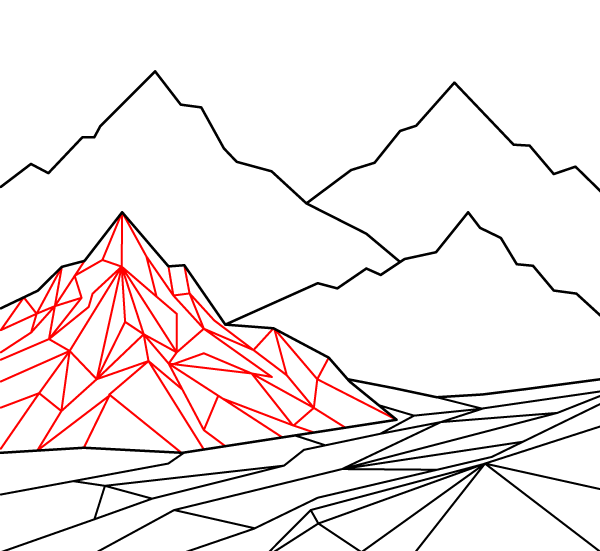
Step 3 - Detail the First Mountain
On the front-left mountain, draw lots of straight lines starting from the top peak and spreading downward. Connect these lines with shorter straight lines to fill the mountain with small triangles and geometric shapes.
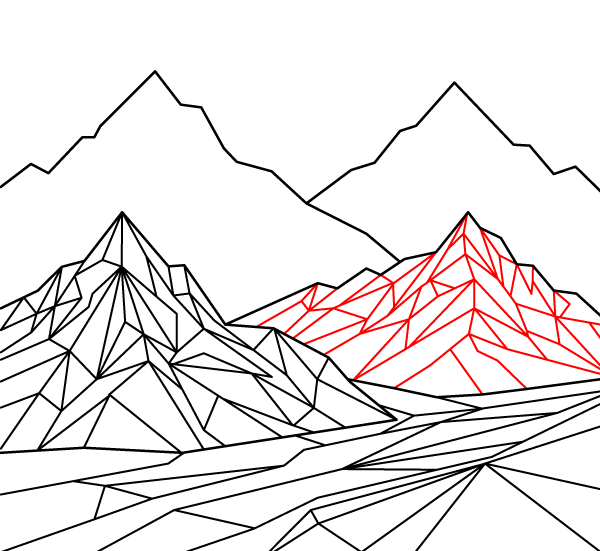
Step 4 - Detail the Second Mountain
Move to the front-right mountain. Draw several straight lines connecting from its peak and sides down to its base. Add crossing lines to split this mountain into a pattern of triangles and sharp shapes.
Step 5 - Detail the Third Mountain
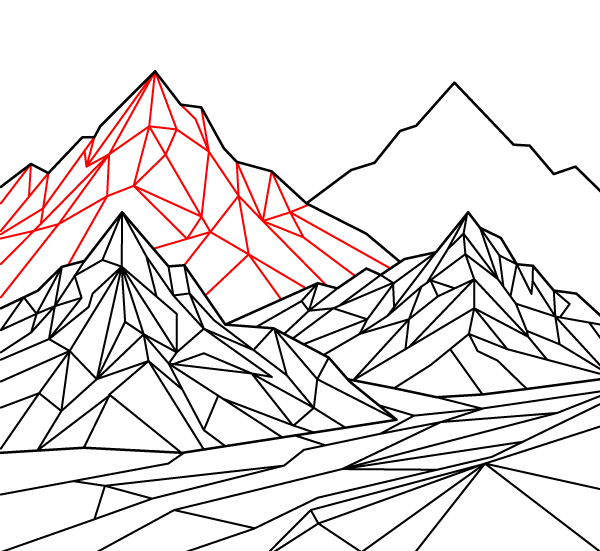
On the large mountain in the back-left, draw straight lines pointing down from its peak. Connect these with angled lines to cover the entire slope in a patchwork of triangular facets.
Step 6 - Detail the Fourth Mountain
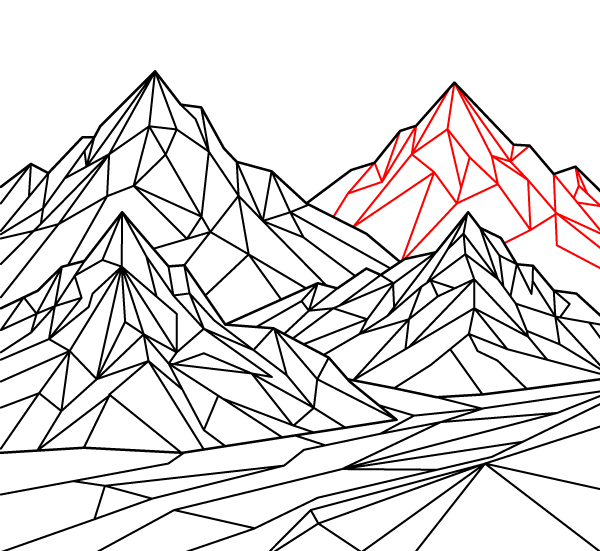
For the back-right mountain peak, add straight, angled lines running down from the top. Connect them with shorter lines to create a beautiful pattern of triangles and geometric facets on this last peak.
Step 7 - Draw the Sun
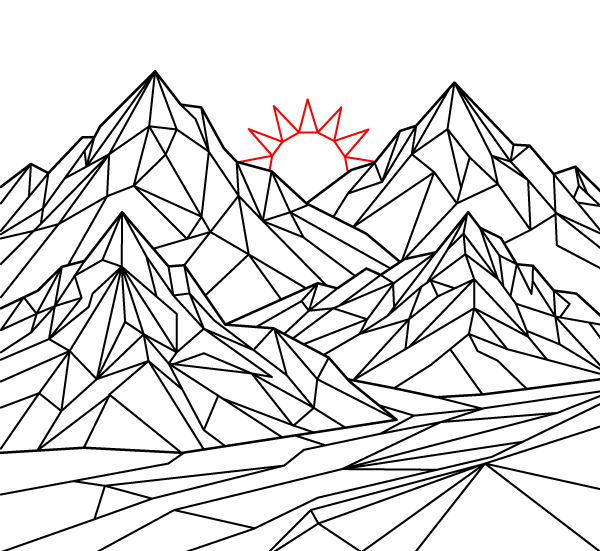
Between the two tall background peaks, draw a curved line for the top of the sun. Add several sharp, triangular rays pointing outward from the curved line.
Step 8 - Finish Faceted Mountain Peaks Drawing
Complete your drawing by making sure all the lines of the sun connect smoothly with the mountain slopes. Check that every geometric facet is neatly closed and meets the surrounding shapes perfectly.
This design is built from overlapping layers of faceted slopes, so color the mountains from the background toward the foreground rather than finishing one peak at a time. Start with the distant mountains using slightly lighter values, then gradually deepen the colors on the middle and foreground ridges. This progression creates atmospheric perspective and reinforces the sense of distance already suggested by the layered composition. Within each mountain, shade individual facets separately by keeping the planes facing the sun lighter and the opposite faces darker. Repeating this lighting pattern across all three main peaks will make the geometric structure appear more convincing without losing the clean low-poly style.
For a realistic alpine palette, combine cool slate grays with muted blues and white highlights. Granite-inspired peaks work well with charcoal, silver-gray, and soft brown, while sandstone formations can be colored with warm ochre, rust, and burnt sienna. If you prefer a snow-covered landscape, reserve the highest facets for white or very pale blue and use deeper blue-gray shadows beneath them. The sky can transition from pale yellow around the sun to light blue overhead, helping the central opening between the peaks stand out. Colored pencils on smooth paper are especially effective for this design because they allow gradual blending across the large polygonal faces while keeping the fine intersecting lines crisp and easy to preserve.