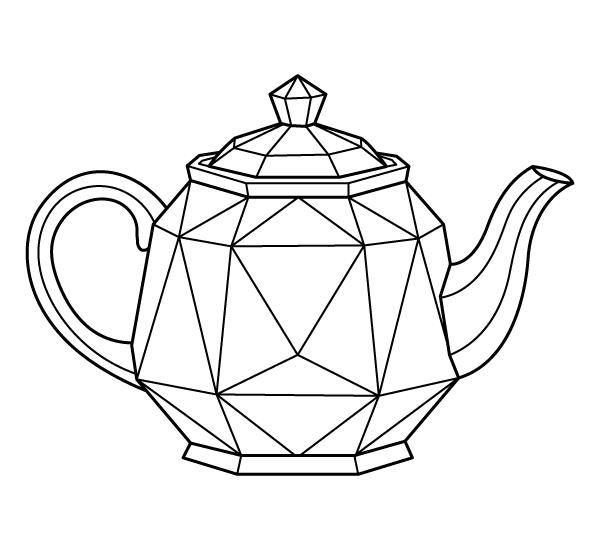
Teapots with angular, faceted bodies became especially popular during the late 19th and early 20th centuries, when designers experimented with geometric forms influenced by emerging Art Deco and modern industrial design. Although many teapots are rounded to simplify shaping in clay or metal, polygonal designs demonstrate how flat planes can create a striking silhouette while remaining fully functional.
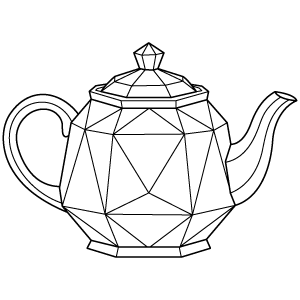
This coloring page follows that approach with a faceted body that sits between a curved handle and a long sweeping spout. The polygonal lid echoes the same geometry as the body, and the small faceted finial at the top reinforces the consistent angular style throughout the entire teapot.
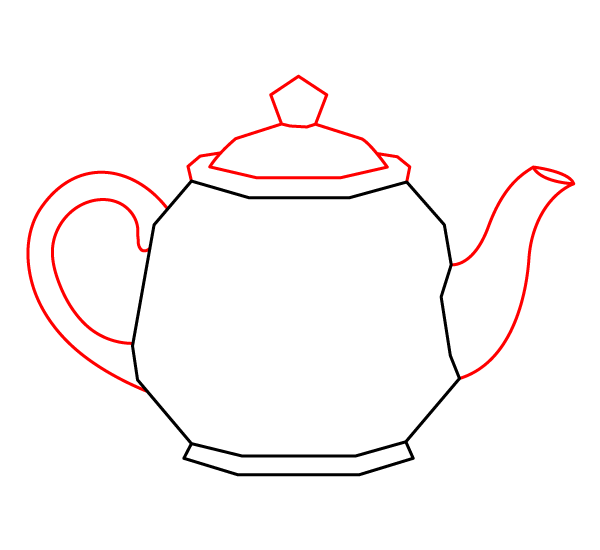
Draw a large, wide body with straight, angled sides to give it a boxy shape. At the bottom, add a small, flat base with angled corners.
Step 2 - Add the Lid, Handle, and Spout
Add a curved handle on the left side and a curved spout with a small oval opening on the right side. On top, draw a flat lid with a small diamond-shaped knob.
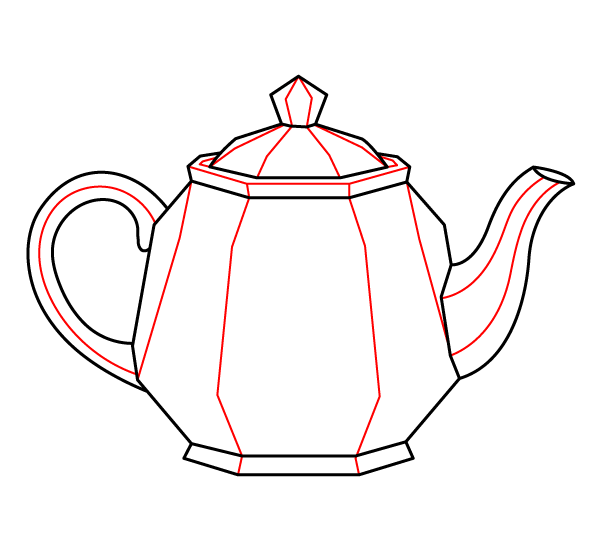
Step 3 - Add the Main Panel Lines
Draw extra lines inside the handle and spout. Add vertical lines down the main body and the lid to divide them into tall sections. Add a few vertical lines inside the top knob.
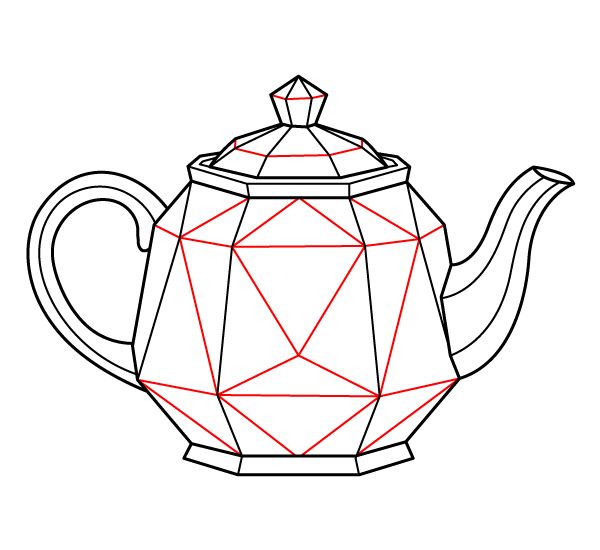
Step 4 - Create the Facets
Draw a horizontal line across the lid. Add diagonal lines inside all the body sections, connecting them to form triangles and diamond shapes. Add tiny horizontal lines inside the knob.
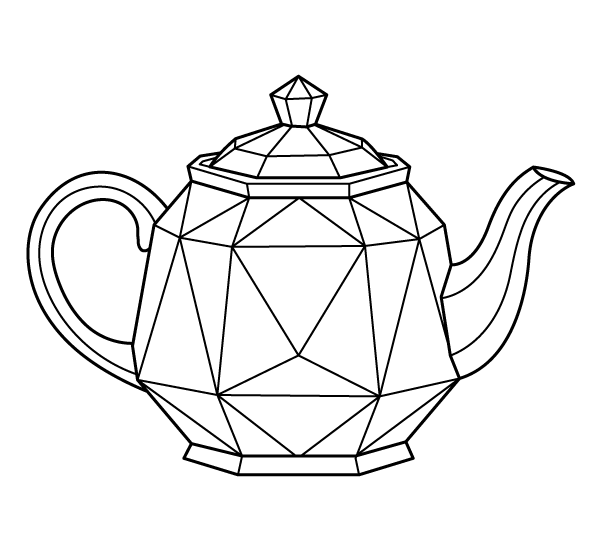
Step 5 - Finish Faceted Teapot Drawing
Make all your lines clean and neat to complete your drawing.
The body of this teapot is divided into large polygonal panels, making it ideal for shading one facet at a time instead of coloring each side as a single block. Pick a light source before you begin and keep the facets facing that direction noticeably lighter, gradually darkening the adjacent planes. The central diamond and triangular sections naturally become focal points, so increasing the contrast there helps emphasize the three-dimensional form. Since the handle and spout are mostly smooth curves without internal facets, using a more even color on those sections creates a pleasing contrast with the sharply divided body.
Several real-world finishes suit this design. A polished stainless steel teapot can be created with cool grays, silver, and white highlights. For a classic ceramic appearance, try ivory with cobalt blue accents inspired by traditional porcelain. Copper works well with burnt orange, reddish-brown, and small touches of dark bronze, while a cast-iron finish can be achieved using charcoal gray, black, and subtle blue-gray highlights. Colored pencils are particularly effective for building smooth gradients across the larger facets, while fine-tip markers can be used afterward to reinforce crisp edges if needed. Printing on smooth, heavyweight paper also helps preserve the narrow geometric lines and prevents blended shading from becoming uneven.