The lotus has served as a symbolic motif in South and East Asian art for more than two thousand years, but its repeated use in mandalas is also rooted in geometry rather than symbolism alone. Traditional mandala artists often arranged lotus petals in concentric rings because the repeated forms can be divided evenly around a central point, preserving precise radial symmetry as each layer expands outward.
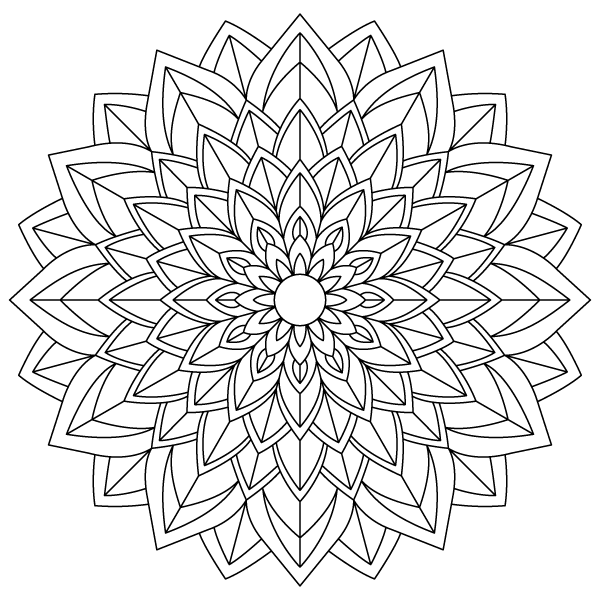
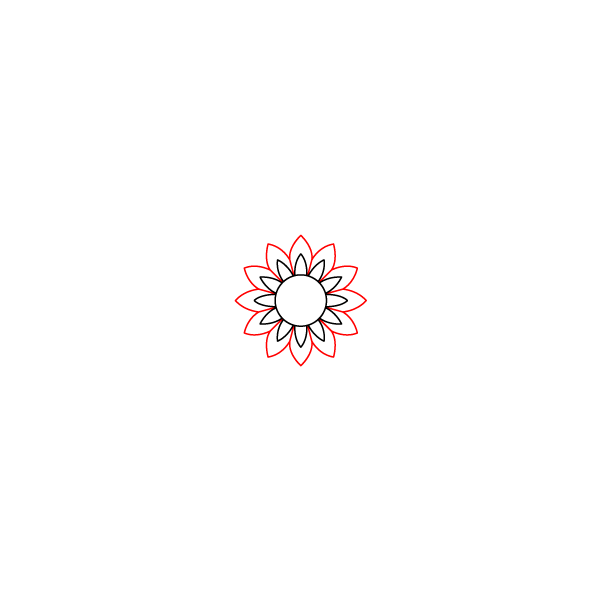
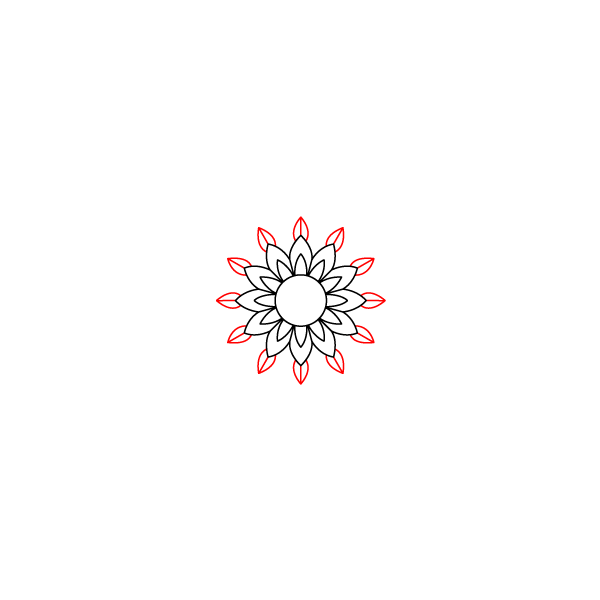
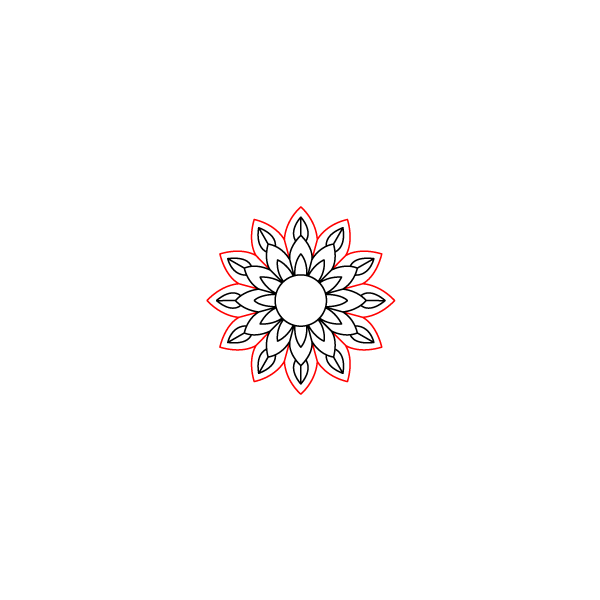
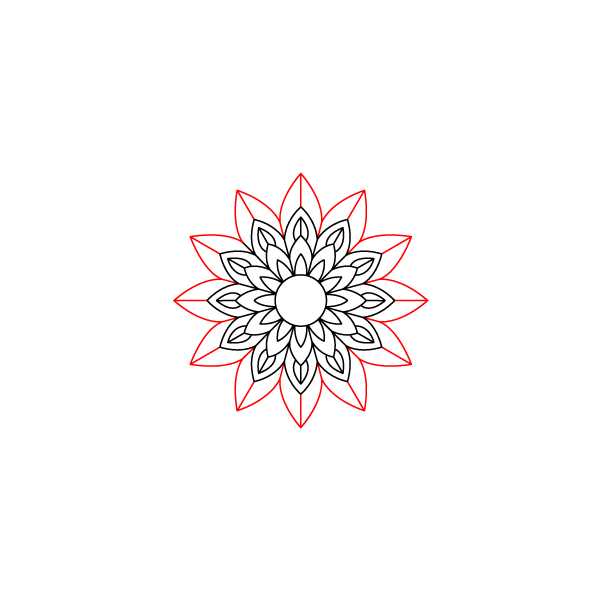
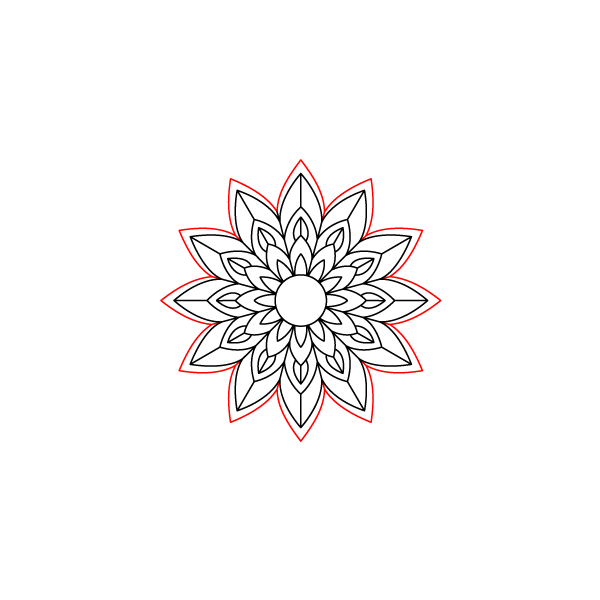
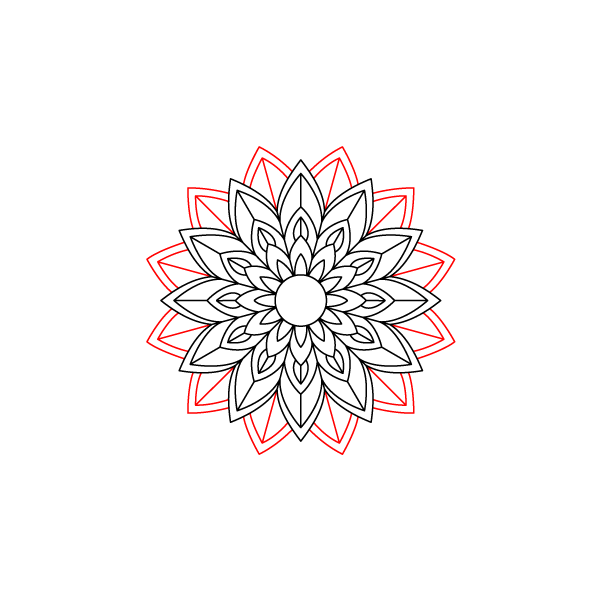
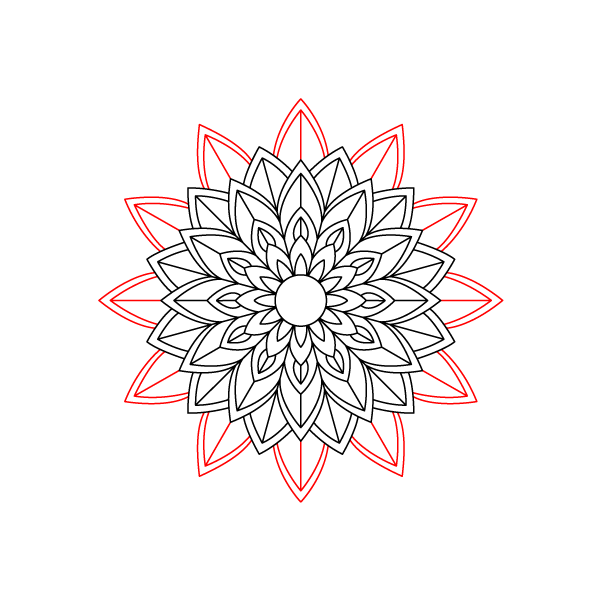
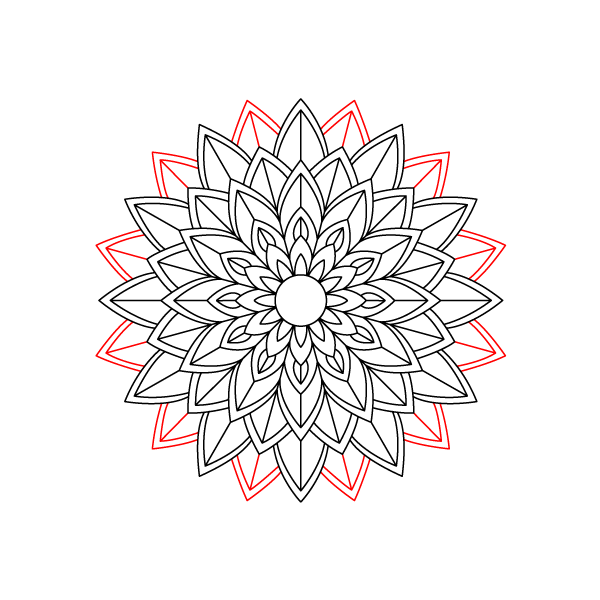
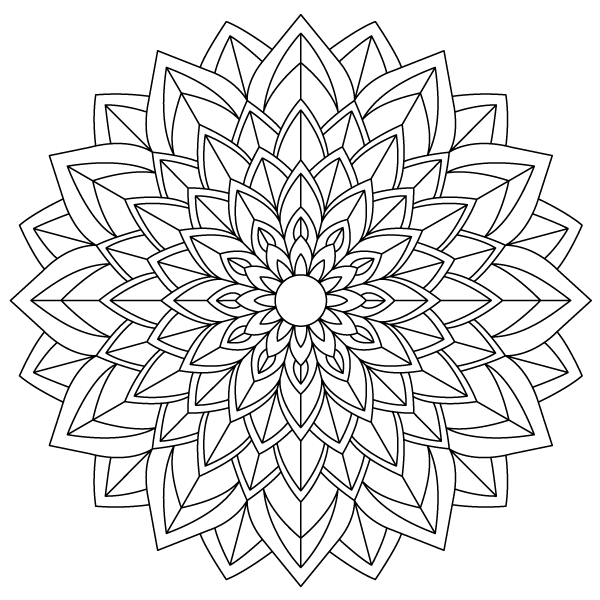
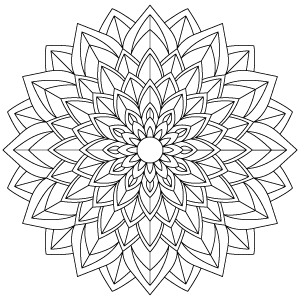
That principle is clearly reflected in this coloring page, where a small circular center is surrounded by multiple rings of progressively larger lotus petals that radiate evenly to the outer edge. Each successive layer overlaps the one beneath it, creating a gradual transition from compact inner petals to broad outer petals without breaking the overall symmetry. Unlike lotus mandalas that rely on decorative scrollwork or secondary patterns, this design focuses almost entirely on nested petal shapes, making the layered construction itself the defining visual feature. The result is a composition where every ring contributes to the gradual outward growth of the mandala.
Because this mandala is built from successive rings of overlapping lotus petals, it is easiest to color one complete ring at a time before moving to the next. This approach helps maintain symmetry and makes it easier to compare matching petals on opposite sides of the design. A gradual shift in value also reinforces the layered structure. For example, begin with deeper shades near the central circle and transition toward lighter tones as the petals expand outward, or reverse the sequence to create the impression that the outer petals frame a brighter center.
Several color palettes work particularly well with this lotus-inspired arrangement. Traditional lotus flowers appear in soft pinks with deeper rose accents toward the petal bases, while white lotus blossoms can be suggested with pale gray shadows and cool blue highlights. Purple lotus-inspired combinations using lavender, violet, and plum emphasize the repeated petal layers, and warm coral with peach and soft gold creates a more vibrant botanical appearance. Since each petal contains an inner outline, use the outer section as the main color and apply a slightly darker shade inside the smaller inset shape to suggest depth. Colored pencils are especially suitable for this design because they allow controlled blending along the length of each petal while preserving the narrow outlines that separate one layer from the next.