Medieval castle turrets were not used only for decoration; many provided elevated positions for guards, while others enclosed stairways that connected different levels of a fortress. Their height also allowed defenders to see approaching people from farther away than they could from ground level.
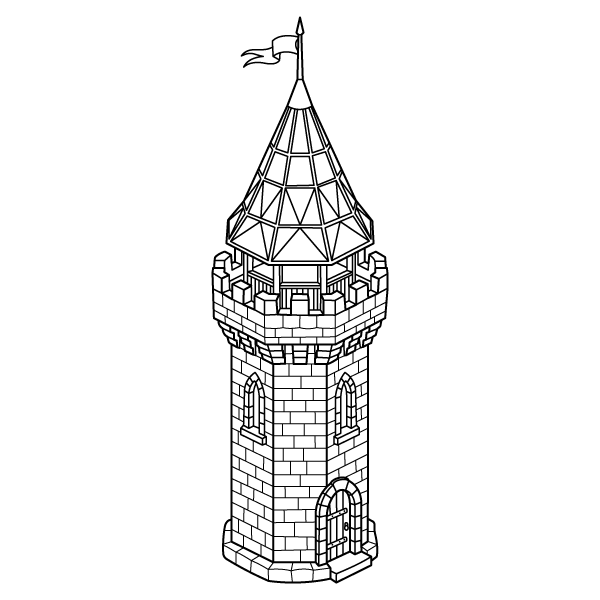
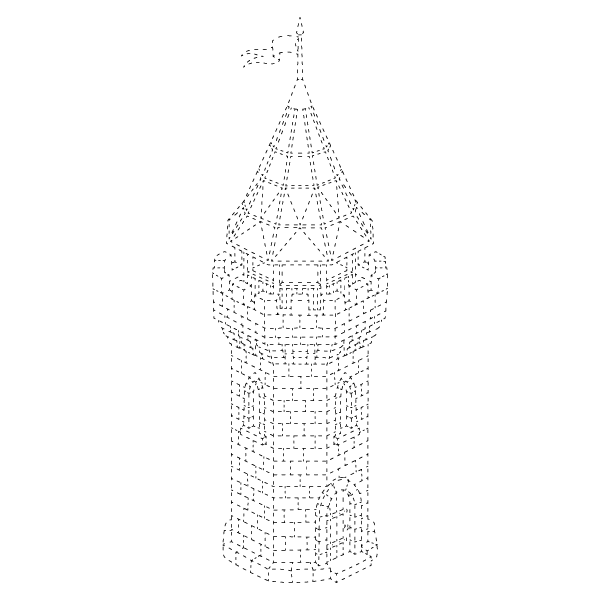
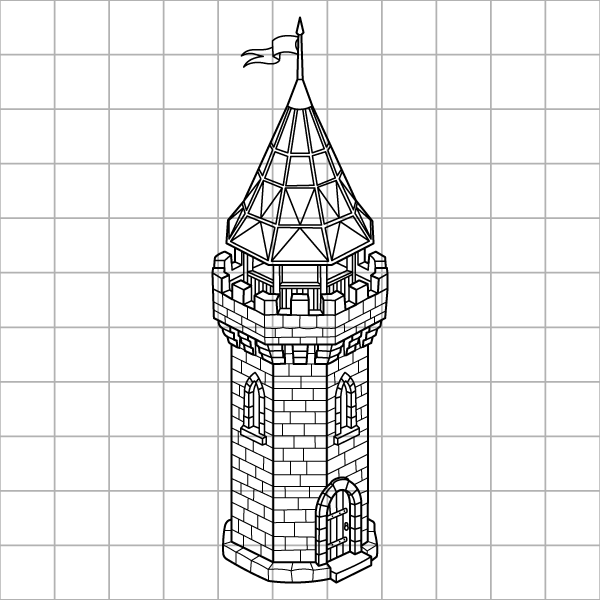
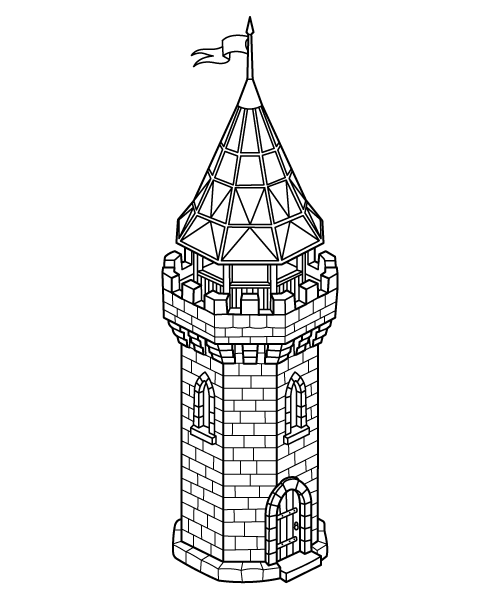
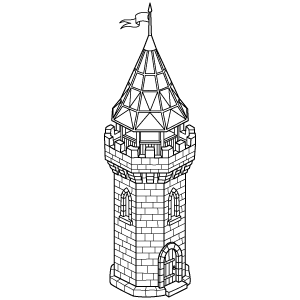
This coloring page combines those practical features into a compact tower design with a tall masonry shaft, narrow arched windows, a projecting battlement section, and a steep pointed roof. The roof is topped with a slender flagpole and small flag, while the tower itself rises from a slightly wider polygonal base. The contrast between the regular brick courses and the sharply divided roof gives this particular turret two distinct architectural textures within one narrow composition.
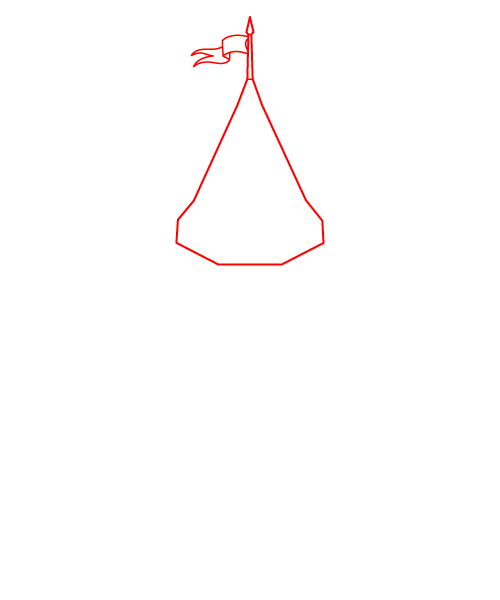
Draw a tall, pointed cone with a slightly flared, angled bottom. At the very top point of the cone, draw a vertical pole with a small, wavy flag pointing to the left.
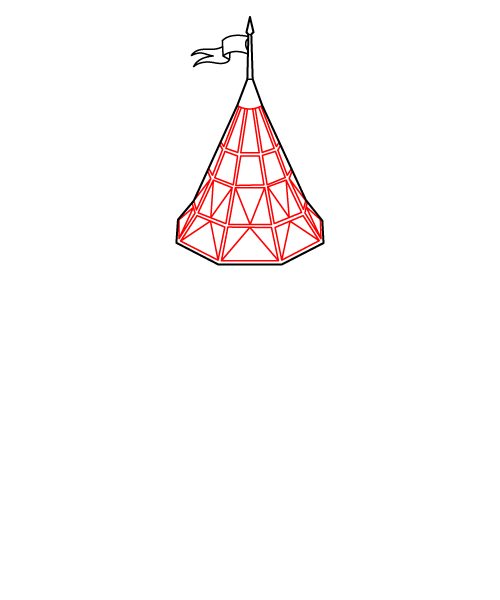
Step 2 - Draw the Roof Patterns
Draw several straight lines radiating down from the top of the roof to the bottom. Add horizontal bands across these lines, and fill the resulting spaces with diagonal lines to create a pattern of triangles.
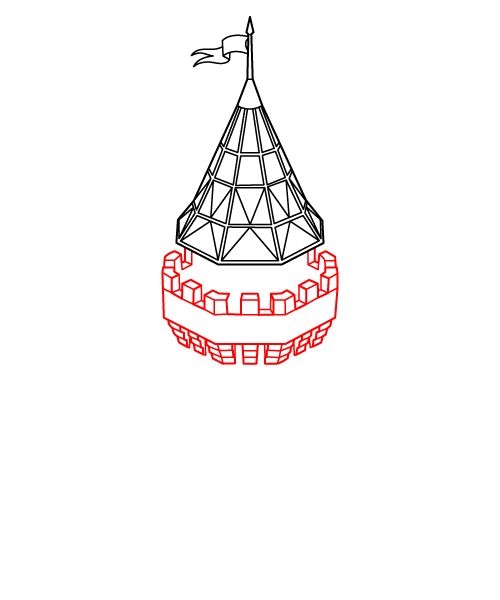
Step 3 - Draw the Balcony Wall
Below the roof, draw a wide ring with a square-notched top edge for the battlements. Underneath this ring, add several rows of small, overlapping rectangular blocks to create the supporting ledge.
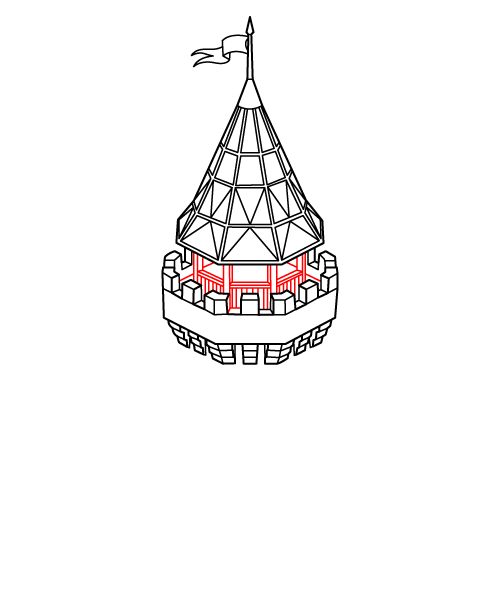
Step 4 - Draw the Balcony Railings
In the open space between the roof and the balcony wall, draw thin vertical columns and horizontal bars to create a protective railing.
Step 5 - Draw the Tower Walls and Base
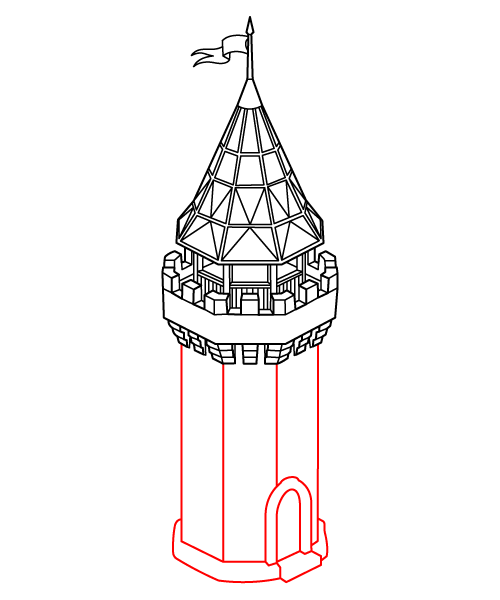
Draw long vertical lines extending downward to form the tall, straight walls of the tower. At the bottom, draw a wider, angled base, and add a simple arched outline for a doorway on the right side.
Step 6 - Draw the Windows and Door Details
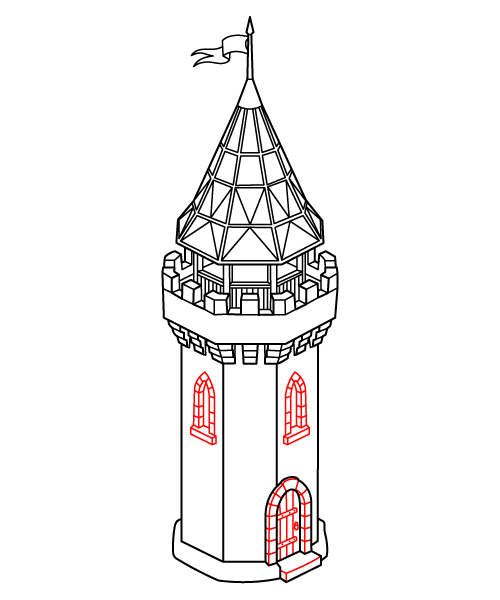
Draw two narrow, arched windows with double borders and vertical grates on the walls. On the doorway, add a brick arch, vertical wood planks, horizontal metal bands, and a tiny handle, along with a small step at the bottom.
Step 7 - Draw the Brick Patterns
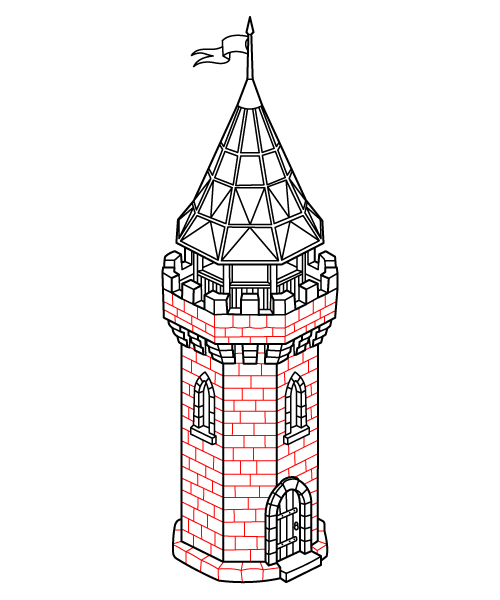
Fill the tower walls, the lower ledge, and the bottom base with many small horizontal and vertical lines to create a detailed brick wall pattern.
Step 8 - Finish Castle Turret Drawing
Draw clean, bold outlines over the entire structure to make all the details stand out clearly.
The tower body contains many individual brick courses, so avoid coloring every brick with a completely different shade. Instead, choose a main stone color and occasionally vary individual blocks with slightly lighter or darker tones. This keeps the masonry believable while preventing the dense brick pattern from becoming visually noisy. The projecting battlement near the top can be shaded a little darker underneath to emphasize its overhanging structure, while the narrow arched windows can use deep charcoal or blue-black to suggest recessed openings.
For a traditional medieval stone appearance, try warm gray with beige and muted brown accents. A weathered limestone palette can combine cream, pale gray, and sandy ochre, while darker castle masonry can use charcoal, slate gray, and cool blue-gray. For a more storybook interpretation, muted tan stone with deep red-brown roof sections can suggest a warm sandstone castle.
The pointed roof is divided into numerous triangular and trapezoidal panels, making it ideal for directional shading. Keep the panels facing the light lighter and progressively darken those turned away from it. Colored pencils are particularly useful for the brickwork because a sharp point allows you to shade individual blocks without covering the mortar lines. Use darker pressure beneath the battlement, roof edges, and window arches to reinforce the tower's depth.