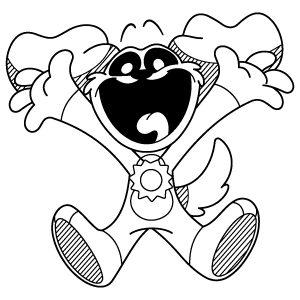
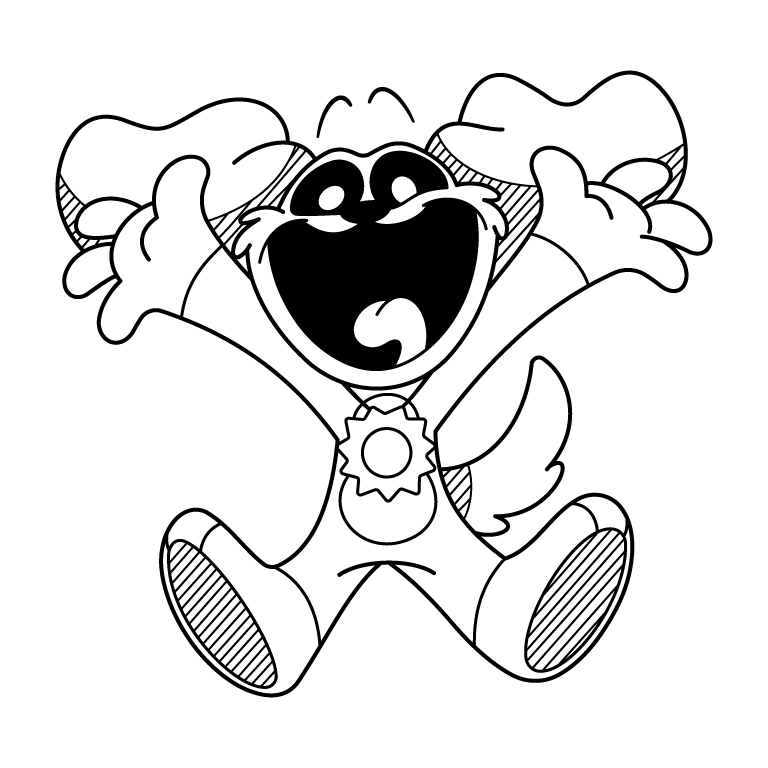
This high-energy black-and-white illustration of DogDay is ready for some colorful fun. With its dynamic pose and playful design, this sheet is great for creative expression. Perfect for kids and adults alike, grab your favorite colors and make DogDay stand out with your unique artistic touch.
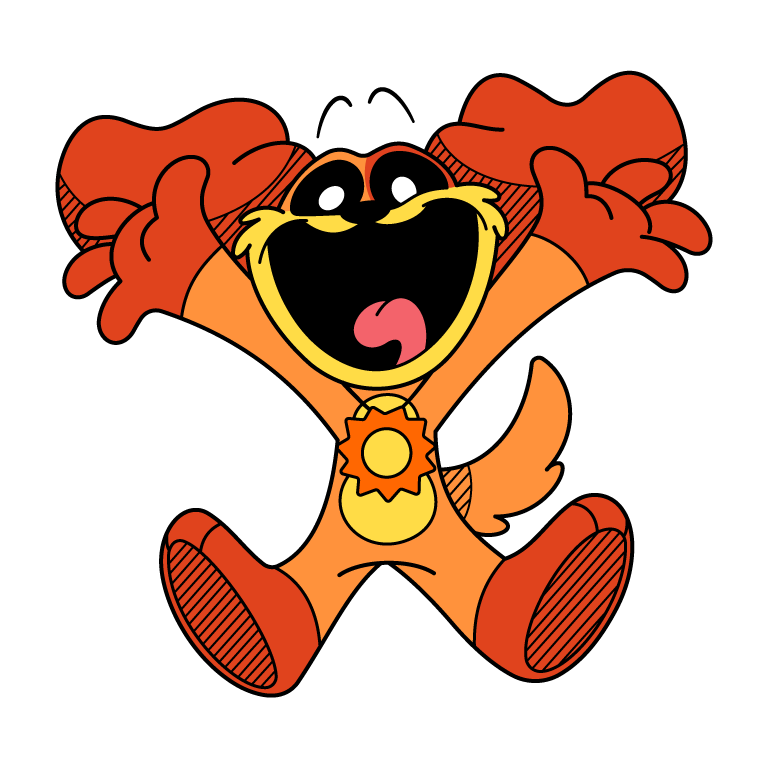
This vibrant version of DogDay showcases a cheerful orange and yellow palette, bringing out the character's cool and enthusiastic personality. Use this as inspiration for your coloring or explore new color combinations. The bold and exciting design of DogDay is sure to inspire creativity.
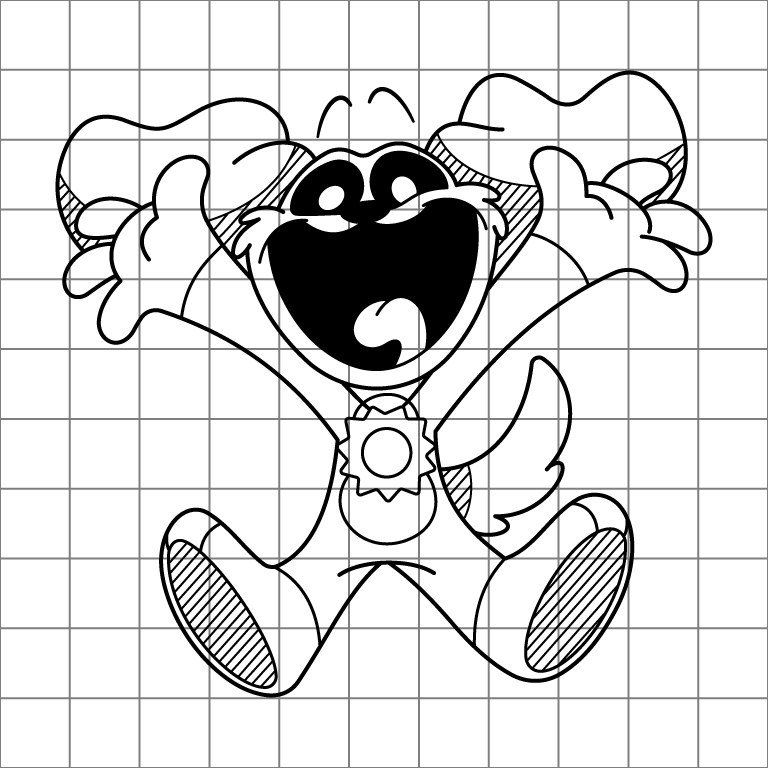
This traceable sheet of DogDay features clear and simplified outlines, making it perfect for practicing tracing and drawing. The fun and active pose provides a great way to improve hand control while enjoying a creative activity. A great tool for beginners and aspiring artists.
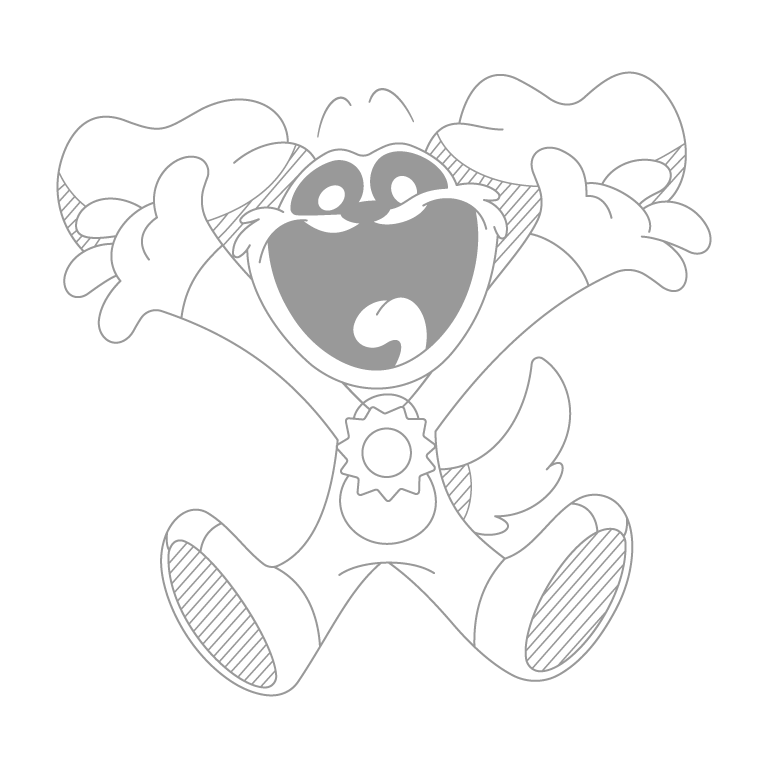
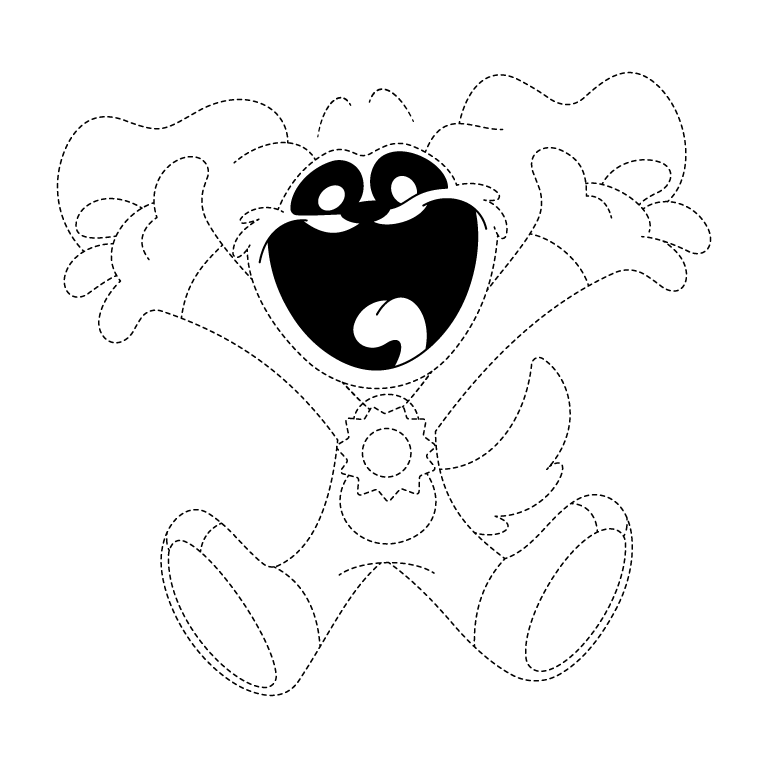
This dotted version of DogDay is designed for easy tracing practice. Follow the dotted lines to recreate the character's energetic pose and expressive details. Whether you're just starting out or building your skills, this activity is fun and helps improve drawing precision.
How To Draw DogDay Step By Step
This step-by-step guide will help you draw DogDay, a cheerful and energetic character with a big smile and outstretched arms. Follow the steps to draw his floppy ears, wagging tail, and the sunburst badge on his chest. Use the reference image to match the details and proportions for a better drawing. Grab your pencils and start drawing DogDay!
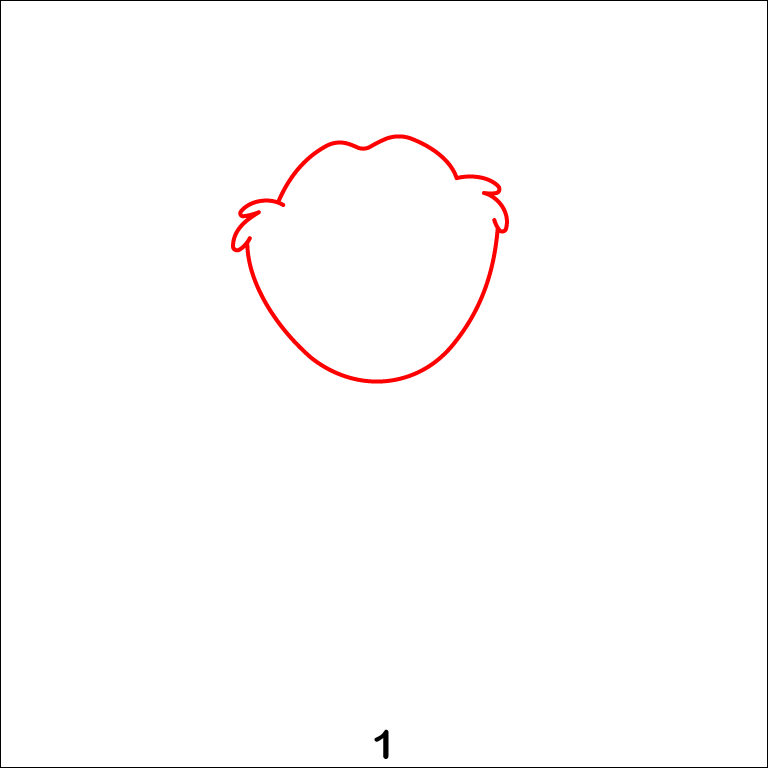
Step 1 - Drawing the Head Outline
Start with the outline of the head, creating a rounded shape with soft curves to form the top and sides. Add a slight dip at the top for the character's hairstyle and small curves at the sides for ears. This initial framework forms the base for the face and sets the character's overall shape.
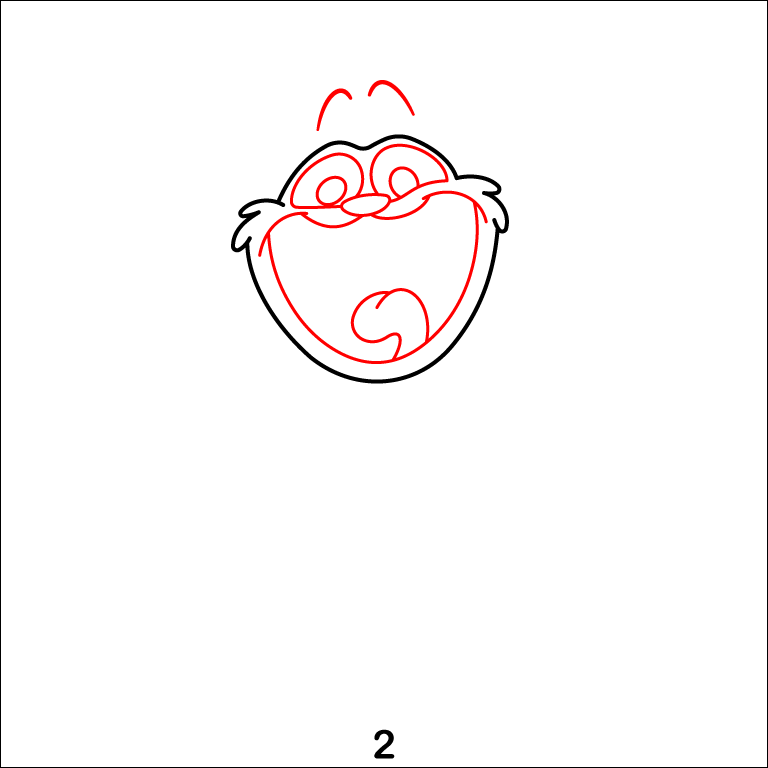
Step 2 - Adding Facial Features
Now, focus on the facial details. Sketch the large oval eyes with pupils, an open mouth with a tongue inside, and a small nose above the mouth. Don't forget the curved eyebrows above the eyes to define the expression. These features will bring personality to the face.
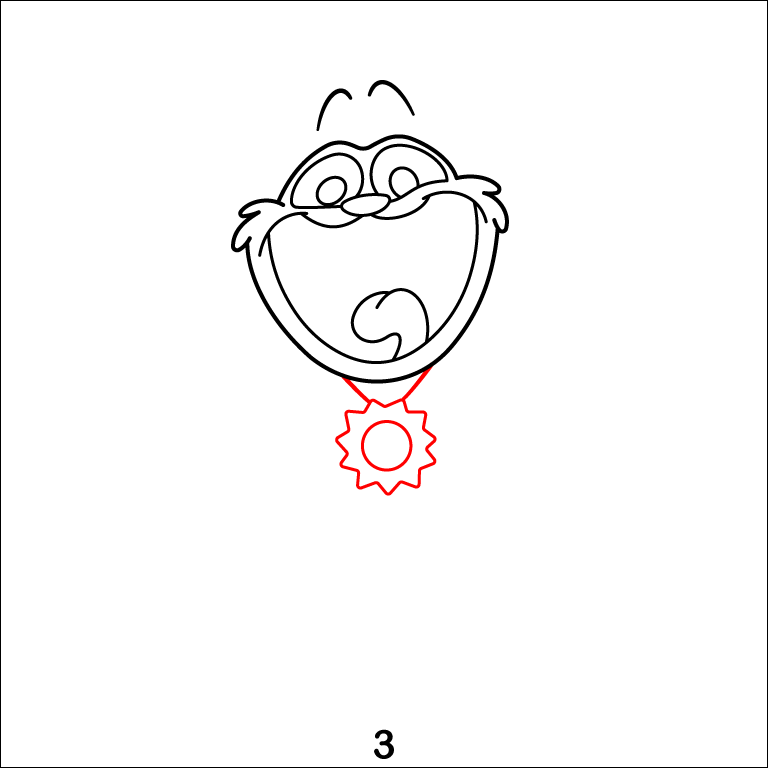
Step 3 - Drawing the Medal
Beneath the head, add a triangular neckline leading to a medal. Shape the medal with a circular center surrounded by jagged edges, resembling a sunburst. This accessory adds detail and charm to the character's design while emphasizing the neck region.
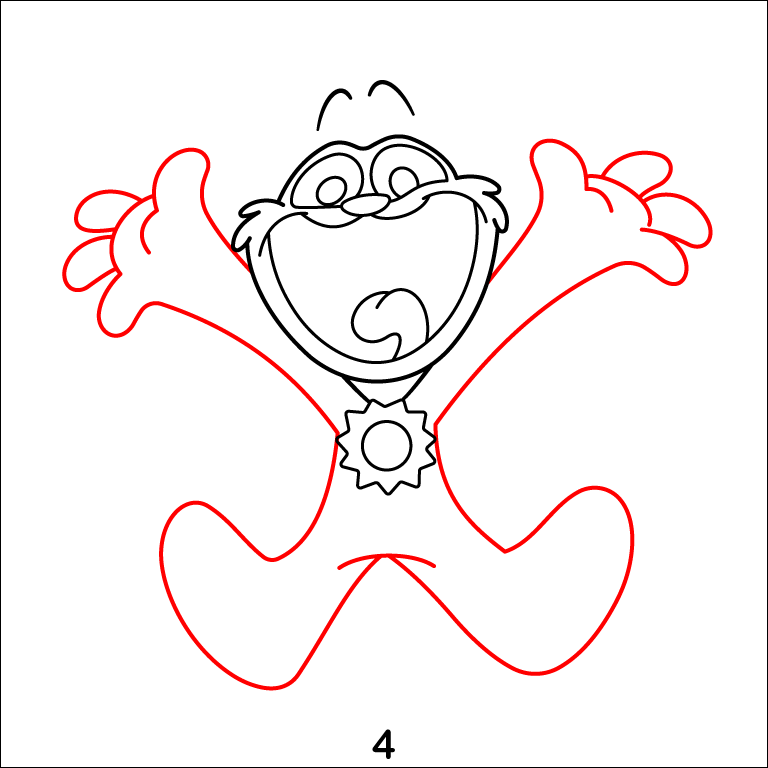
Step 4 - Sketching the Arms and Legs
Extend two large, curved arms upward and outward on either side of the head, giving the character a joyful pose. Then, draw the legs with rounded ends, angling them slightly outward. These elements form the dynamic body structure.
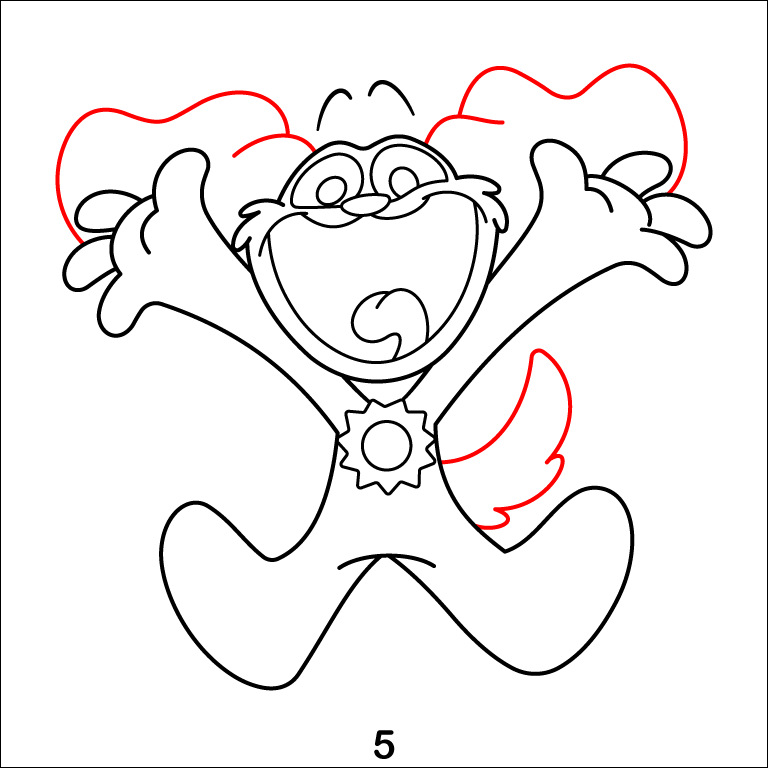
Step 5 - Adding Ear and Tail
Next, refine the character by drawing wavy, cloud-like ear above the head. Complete the sketch with a curved tail on one side, following the playful style of the design. These features enhance the character's playful appearance.
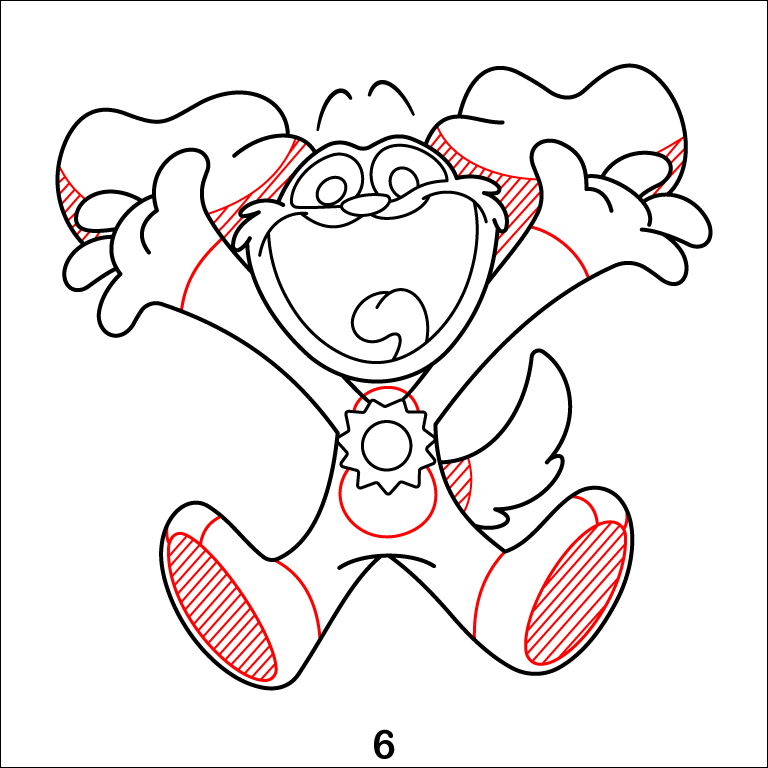
Step 6 - Adding Details and Patterns
Add details such as curved lines to define the arms, legs, and tail. Include shading or patterns within the medal and other parts of the body for added depth and visual interest. This step ties all elements together cohesively.
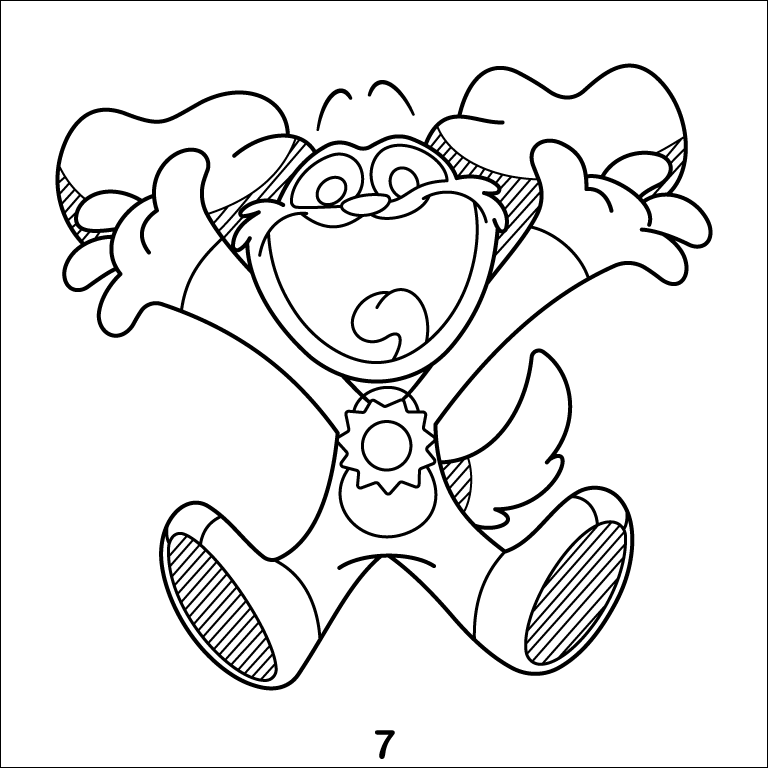
Step 7 - Finalizing the Line Art
Go over your sketch with clean, bold lines, refining all the details added in previous steps. Ensure the lines are smooth and consistent, paying attention to every curve and shape. Erase any unnecessary pencil marks to finalize the drawing.

