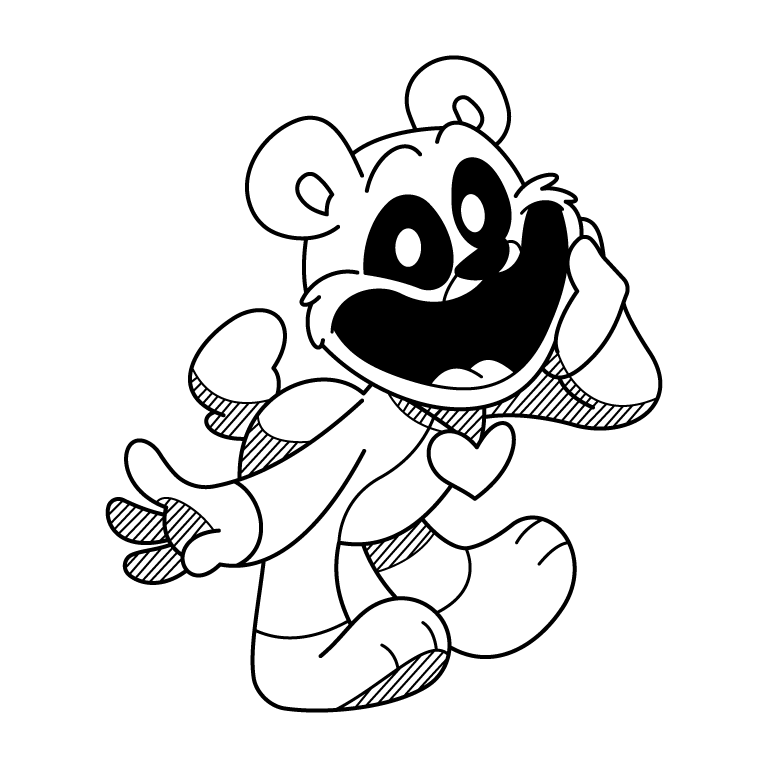
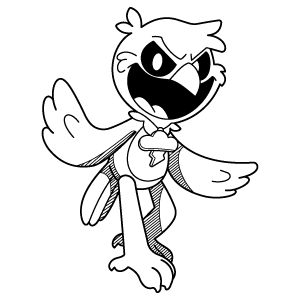
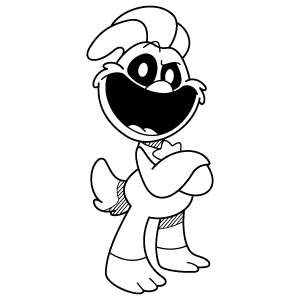
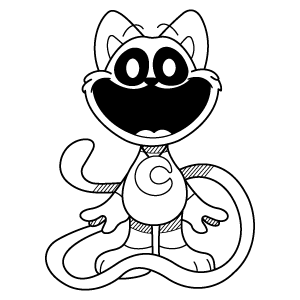
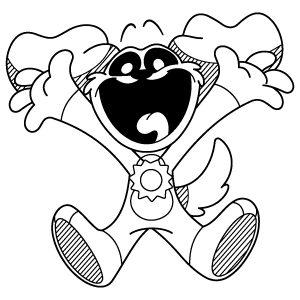
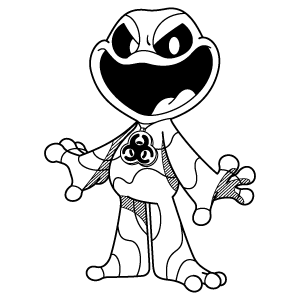
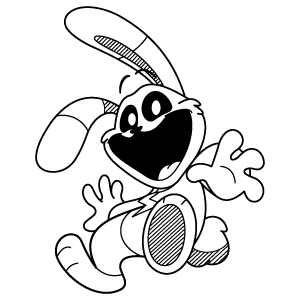
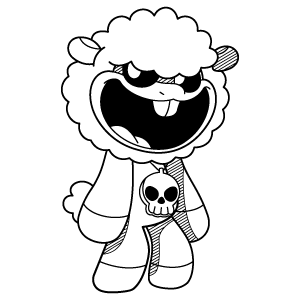
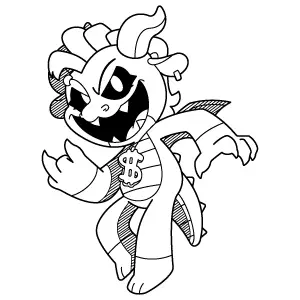
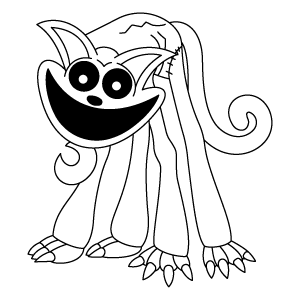
This cheerful black-and-white drawing of Bobby Bearhug is perfect for your coloring adventures. With his warm and playful expression, Bobby invites you to experiment with your favorite colors and create a vibrant masterpiece. This coloring sheet is suitable for all ages and encourages creativity and fun.
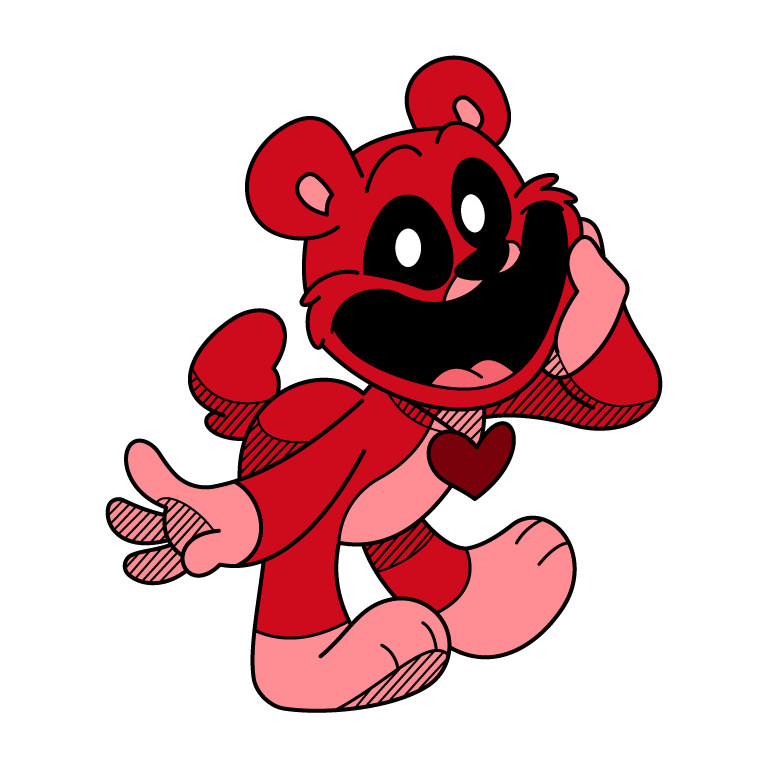
This vibrant, fully colored version shows off the character’s bold reds and pink tones, complete with a heart emblem. Use this as inspiration for your own coloring or try out different color combinations. It’s a great way to spark creativity and experiment with your artistic style.
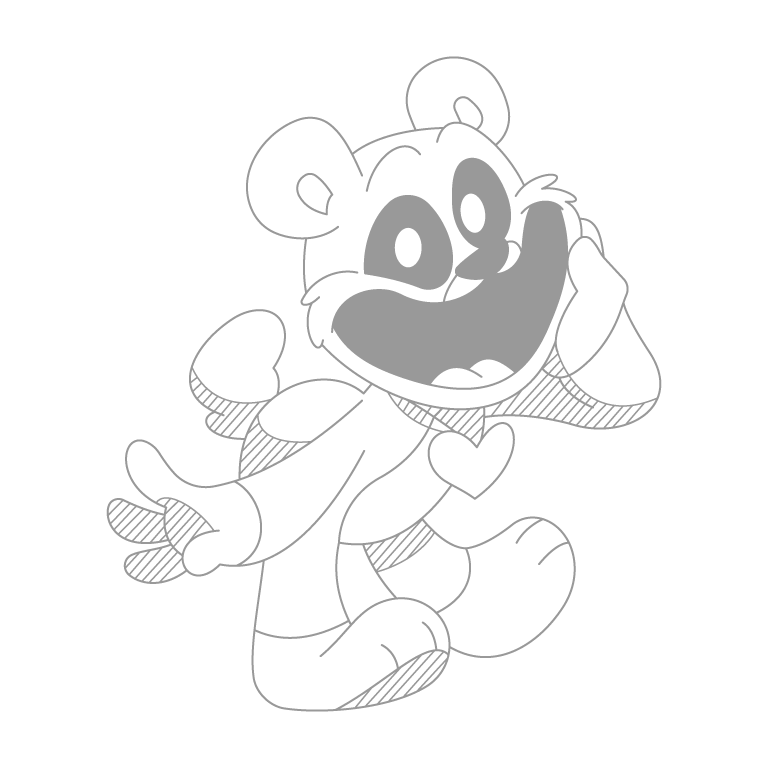
This traceable version of Bobby Bearhug provides a lightly outlined guide for learning and practicing drawing. The soft lines make it easy to recreate his adorable pose step by step. Whether you're just starting out or honing your skills, this sheet is a great way to enjoy creative practice.
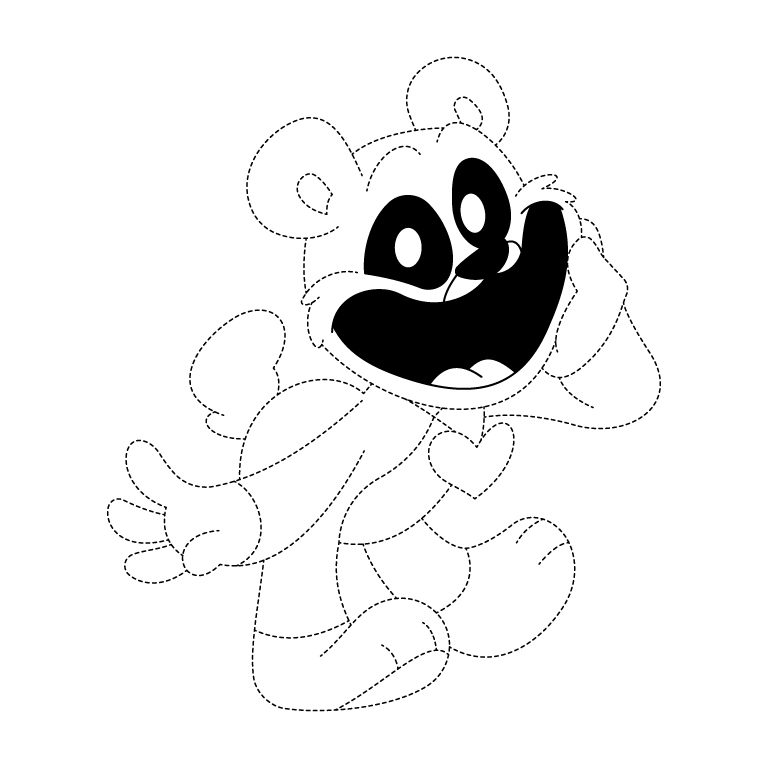
This dotted tracing sheet of Bobby Bearhug is designed to help you refine your drawing abilities. Simply follow the dotted lines to complete the character's cheerful look. It's a fun and interactive way to improve hand-eye coordination and enjoy the process of drawing Bobby’s unique features.
How To Draw Bobby Bearhug Step By Step
This step-by-step guide will show you how to draw Bobby Bearhug, a cheerful and cuddly character with a big smile and playful pose. Follow the steps to draw his round ears, wide-open mouth, and heart detail on his chest. Take your time with the lines and shapes to complete Bobby's fun look. Grab your pencils and start drawing Bobby Bearhug!
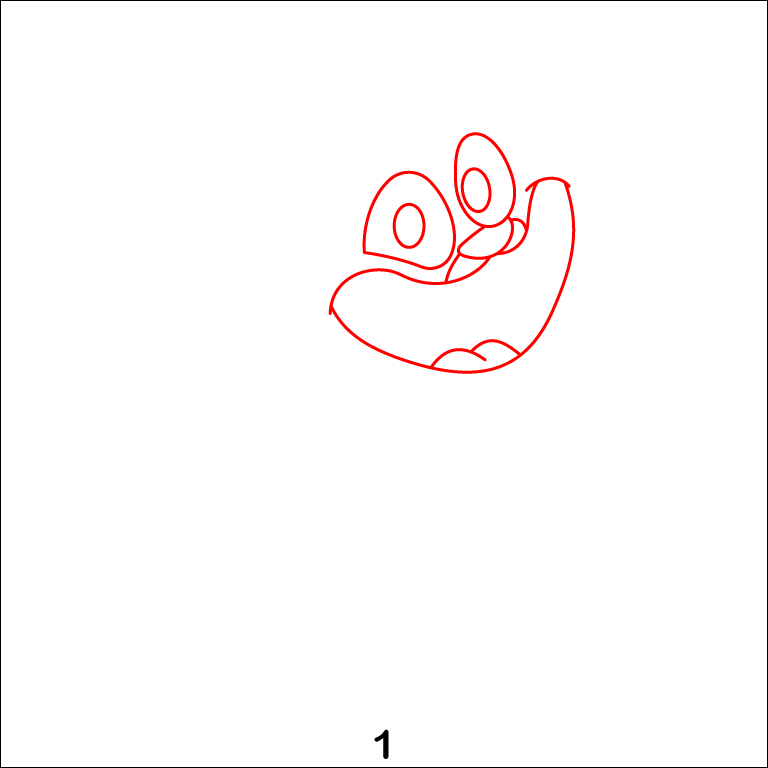
Step 1 - Outlining the mouth, tongue, nose, and eyes
Start by sketching the lower part of Bobby’s face. Draw the wide, open mouth with curved lines, then add his tongue inside, giving it a rounded shape. Next, place his small, rounded nose slightly above the mouth. Finish this step by adding two large oval eyes with inner ovals to give them a bright, lively look.
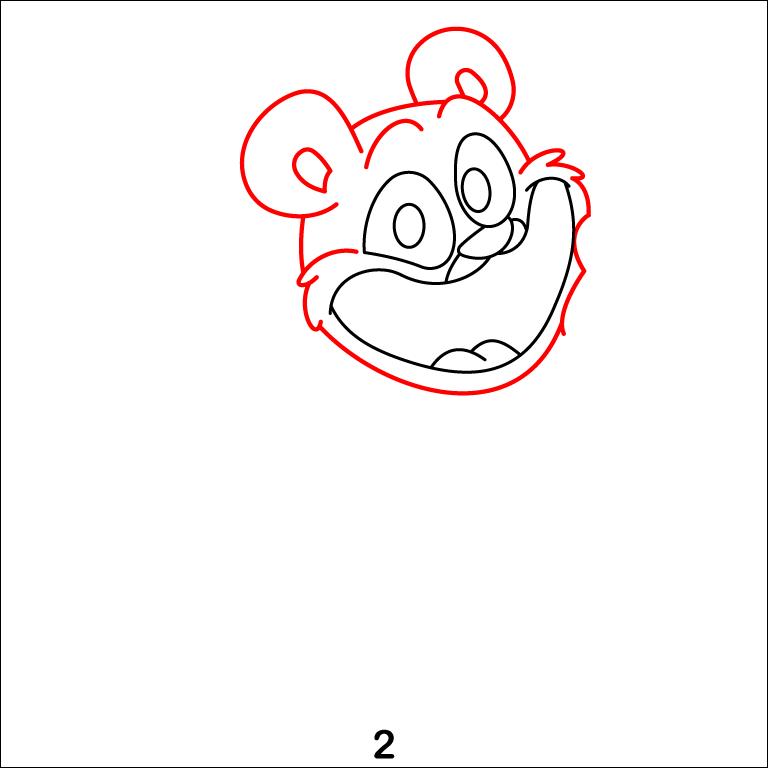
Step 2 - Shaping the head and adding ears
Expand the drawing by outlining the entire head around the mouth and eyes. Draw the curved outline of his face, ensuring it’s rounded on top. Add his fluffy cheeks on the sides and place two circular ears at the top of the head. Inside the ears, include smaller inner circles for detail.
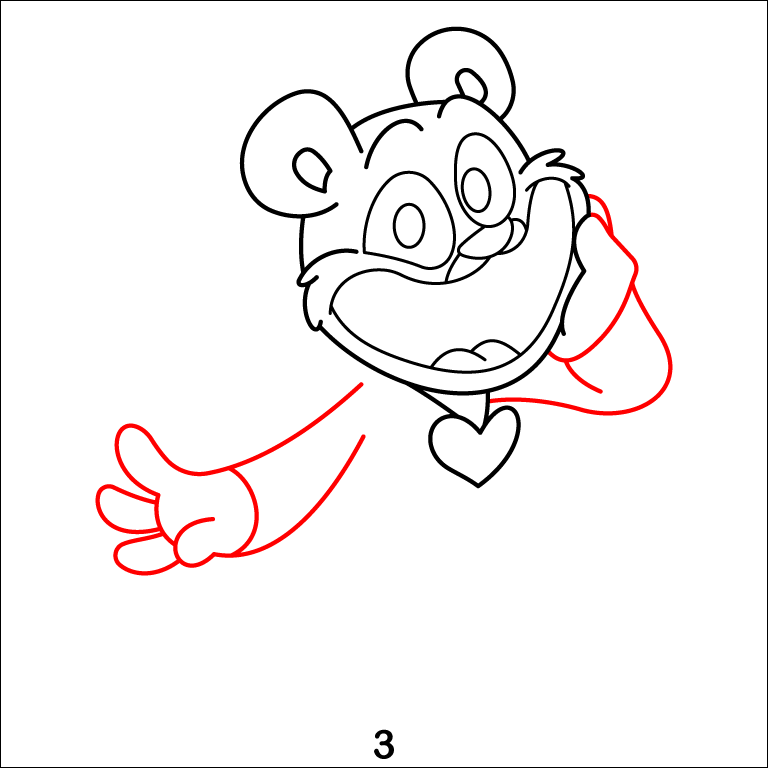
Step 3 - Drawing the arms and necklace
Extend Bobby’s arms from his head. On the left side, draw his outstretched arm with three rounded fingers and a thumb, creating an open wave. On the right, illustrate the other arm bent upwards, with his hand resting against his cheek. Complete this step by sketching the heart-shaped pendant hanging below his neck.
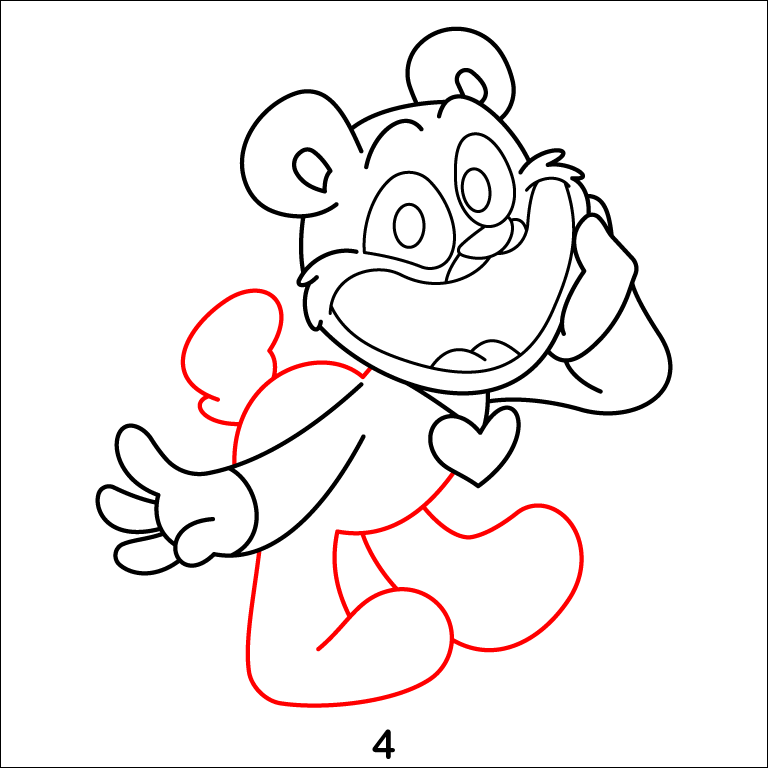
Step 4 - Adding the body, legs, and tail
Now, draw Bobby’s body, starting from below the head. Form a rounded torso and connect it to two sturdy legs at the bottom, bent slightly to show movement. Don’t forget to add his small, fluffy tail at the back to complete his playful stance.
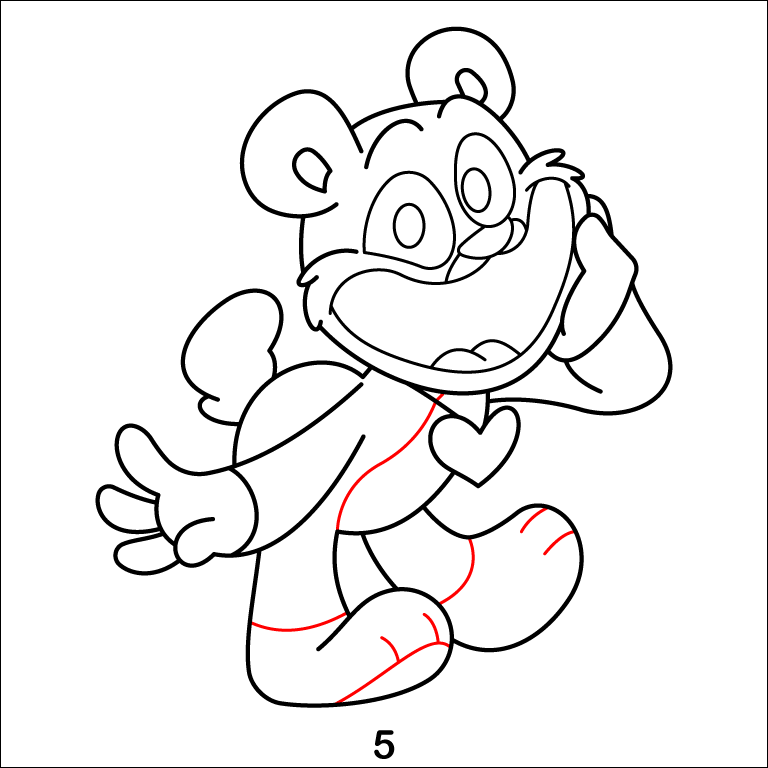
Step 5 - Adding details to the body and legs
Enhance Bobby’s body by drawing curved lines across his arms, legs, and chest. These lines create subtle patterns that add character to his overall design. Pay attention to their placement to keep the design balanced.
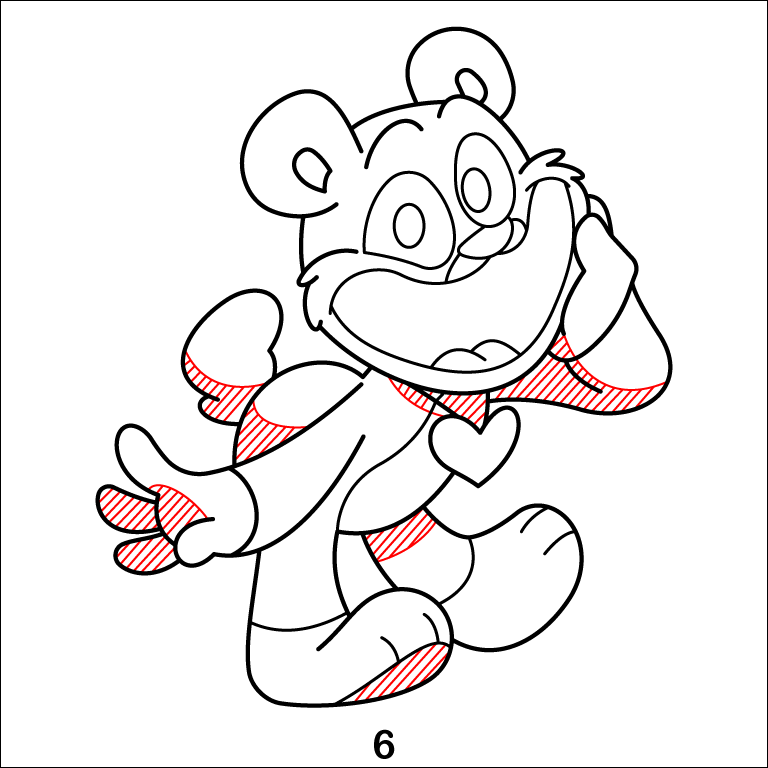
Step 6 - Decorating with stripes and shading
Add diagonal stripes to Bobby’s arms, legs, and tail for extra detail. Carefully shade inside these sections to give the drawing a sense of depth. This step highlights the fun, dynamic textures of Bobby’s appearance.
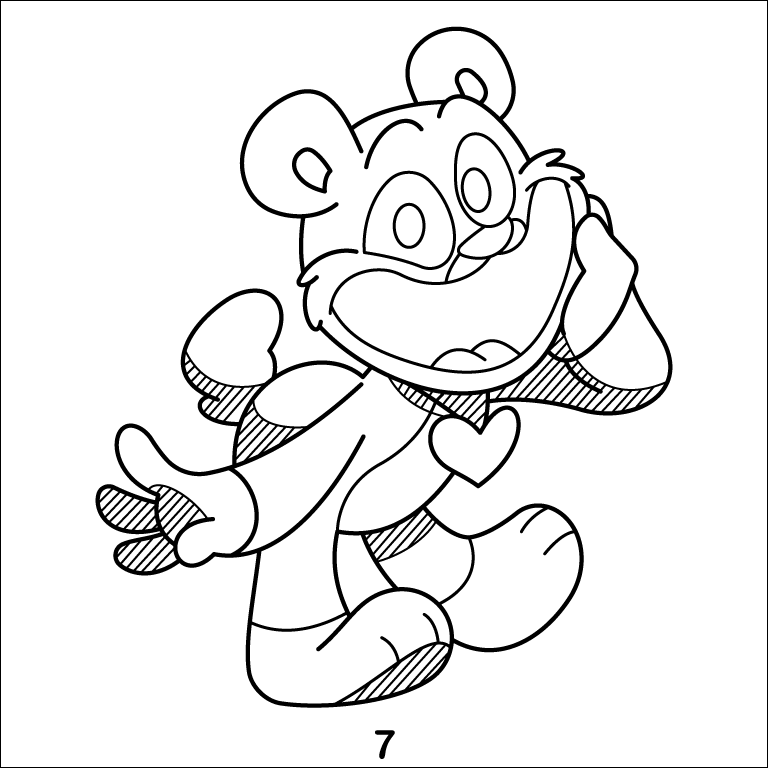
Step 7 - And there we go! You've drawn the bobby bearhug
Complete Bobby’s look by refining all the lines and cleaning up the sketch. Make sure the stripes, details, and shading are neat and well-defined. Ensure there are no overlapping or uneven lines in the final version.
