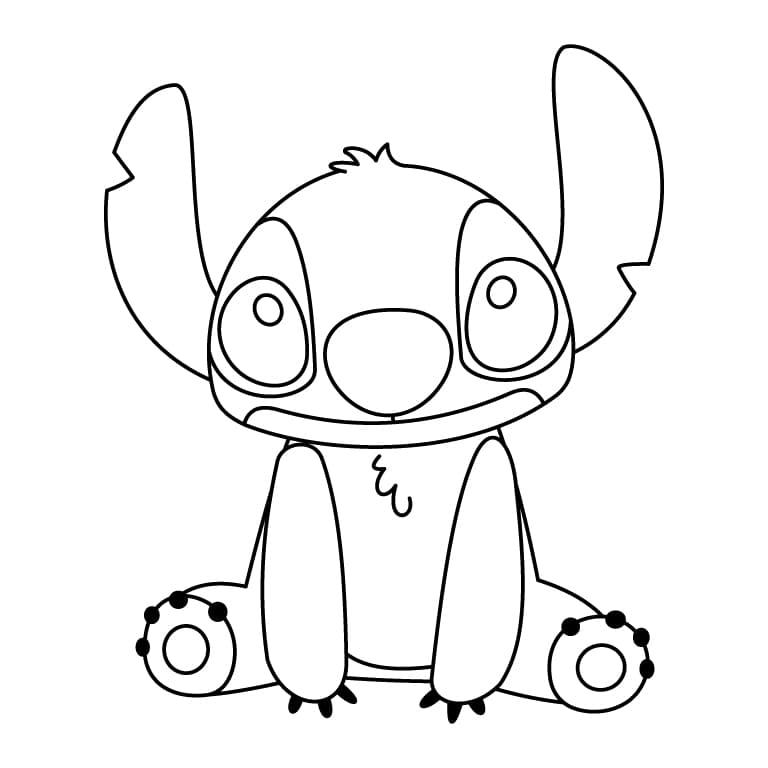
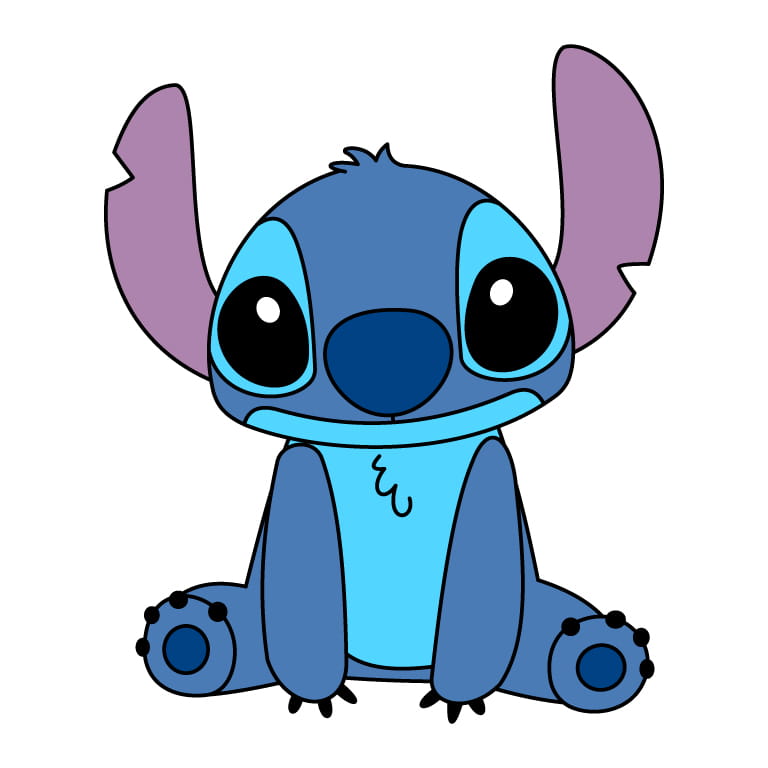
This is Stitch, a lovable and mischievous alien experiment from the planet of Experiment 626. With his big blue eyes, floppy ears, and a mischievous grin, Stitch is always up to something. Despite his troublemaking nature, he learns the meaning of friendship and family through his bond with Lilo.
This Stitch coloring sheet lets you color in the details of the cute and mischievous alien, including his big eyes, floppy ears, and friendly smile. It's a fun way to add color to this adorable character.
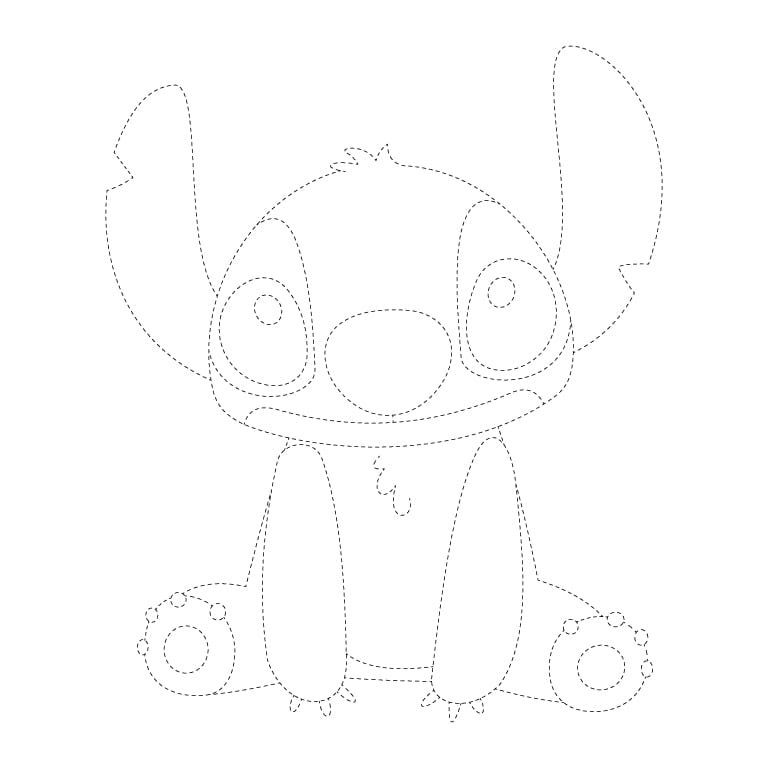
Tracing sheets make practicing drawing fun! Follow the dotted lines to draw the character, then color it in however you like. It's a fantastic way to improve your drawing skills while having a great time.
How To Draw Stitch Sitting Step By Step
This step-by-step guide will teach you how to draw Stitch, the adorable alien character from Disney's Lilo & Stitch. With his big expressive eyes, floppy ears, and quirky smile, Stitch is a fun character to recreate. Whether you're a beginner or an experienced artist, this tutorial breaks down the process into simple, easy-to-follow steps. Make sure to refer to the example image to capture his signature look and unique details, such as his large nose, sharp claws, and tuft of hair on his head. Gather your drawing tools, and let's draw!
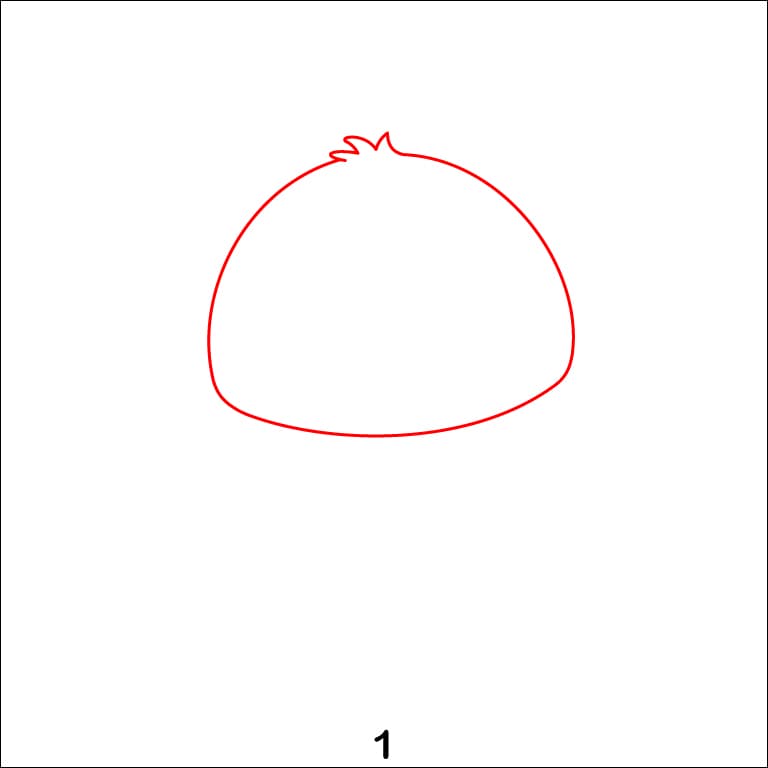
Step 1 - Drawing the Head
Start by drawing the outline of the character's head. Make a rounded shape with a slight curve or spike at the top to represent fur.
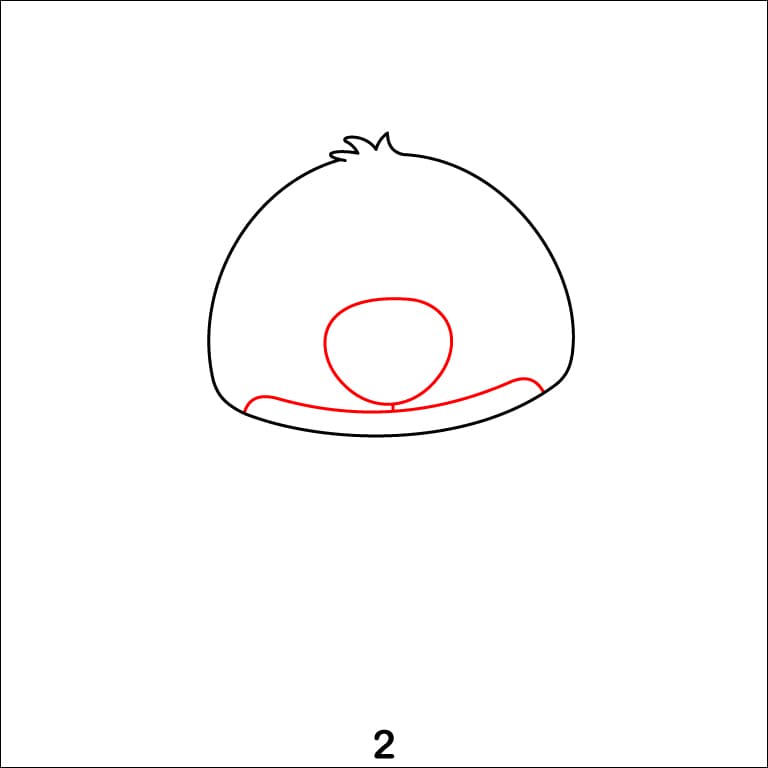
Step 2 - Adding the Nose and Mouth
Draw the character's nose and mouth. Sketch a small oval in the middle of the face for the nose, and add two curved lines at the bottom for the mouth area.
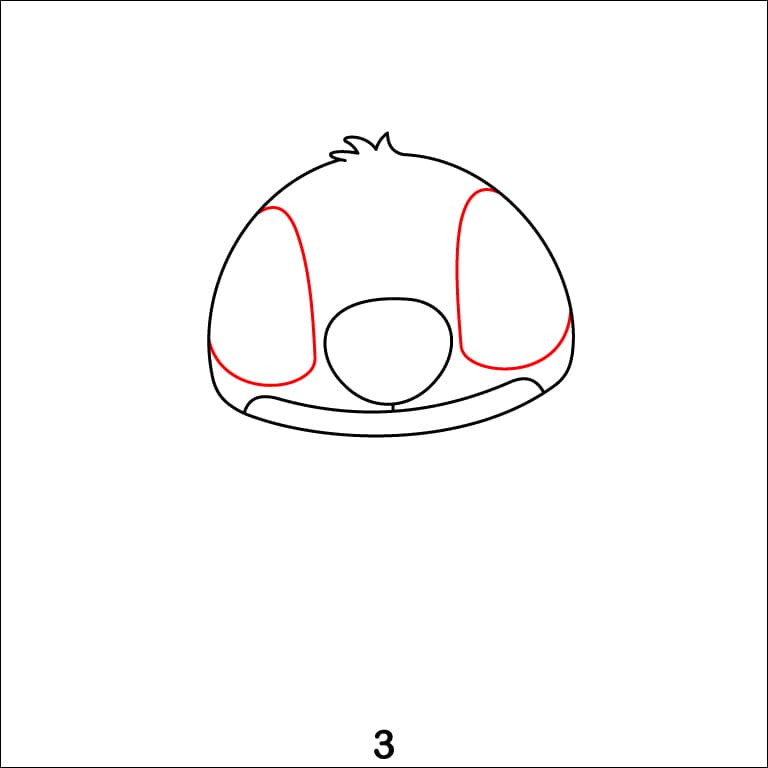
Step 3 - Sketching the Eye Patches
Now, draw the areas around the eyes. Add two large curved shapes on either side of the nose to represent the eye patches.
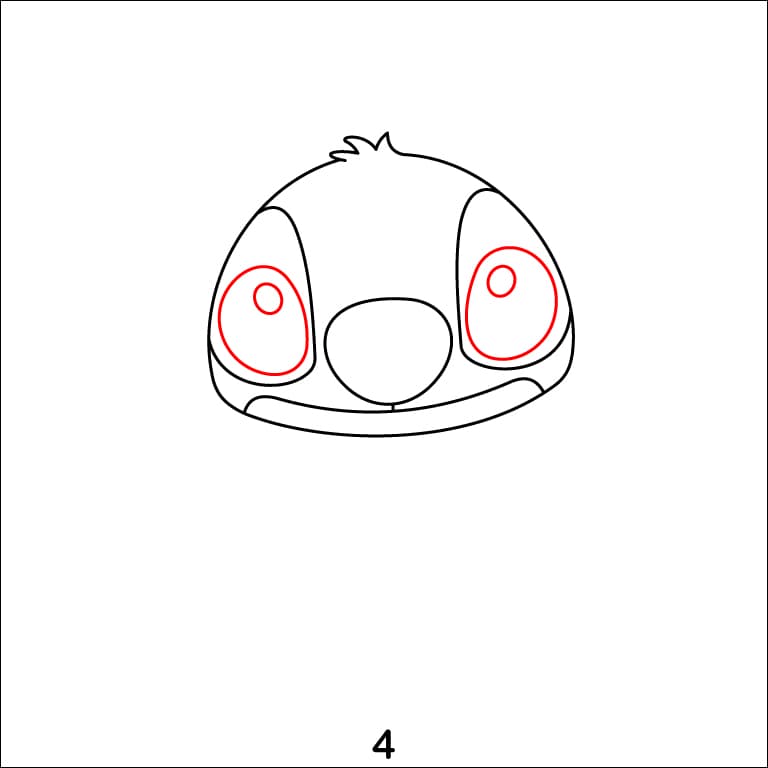
Step 4 - Drawing the Eyes
Inside the eye patches, draw two large circles for the eyes. Add smaller circles inside each eye to make them look expressive.
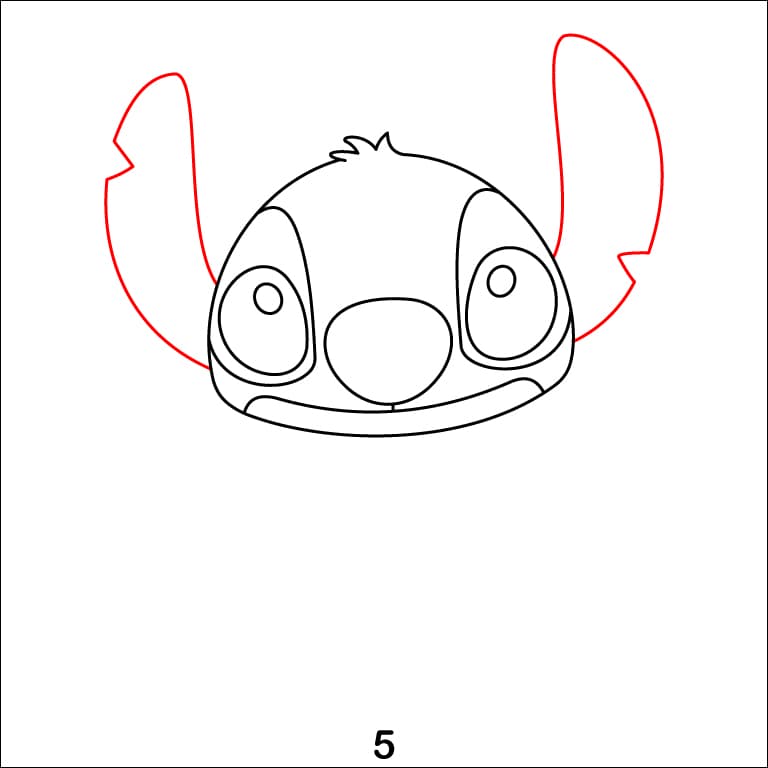
Step 5 - Drawing the Ears
Next, sketch the ears. Draw two large, slightly pointed ears on top of the head, curving outward. These ears add a playful and unique look to the character.
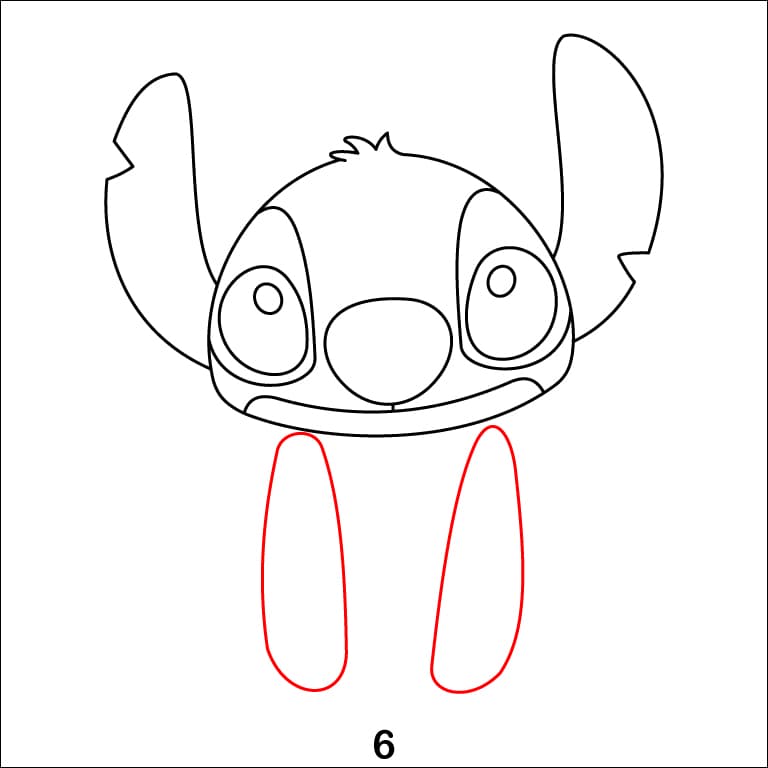
Step 6 - Adding the Arms
Move on to the arms. Draw two long oval shapes extending downward from the sides of the head to represent the arms.

Step 7 - Detailing the Body
Add small claws at the ends of the arms to finish them. Then, draw a wavy line in the center of the body to add detail to the chest. Complete the lower part of the body.

Step 8 - Drawing the Hands
On either side of the body, sketch rounded shapes with small dots to form the claws.

Step 9 - Finishing the Legs and Feet
Connect the arms to the hands with curved lines and add the legs. At the bottom, draw oval shapes for the feet and add circles on them for paw details.

Step 10 - Final Touches
Complete the drawing by reviewing all the details. Make sure the head, facial features, arms, and legs look well-proportioned and ready for coloring.
Congratulations! You’ve finished drawing your character! Take a moment to admire your work you’ve done an amazing job. Now, you can add your favourite colors to the drawing. Great work, and keep practicing to get even better!
