Begin by drawing Raven’s sleepy-looking eyes near the center of the page. Use curved horizontal shapes for the eyes. Under the eyes, draw a rounded shape for the lower face and add a small curved line for the mouth. Keep the facial expression simple and slightly serious, which matches Raven’s personality.
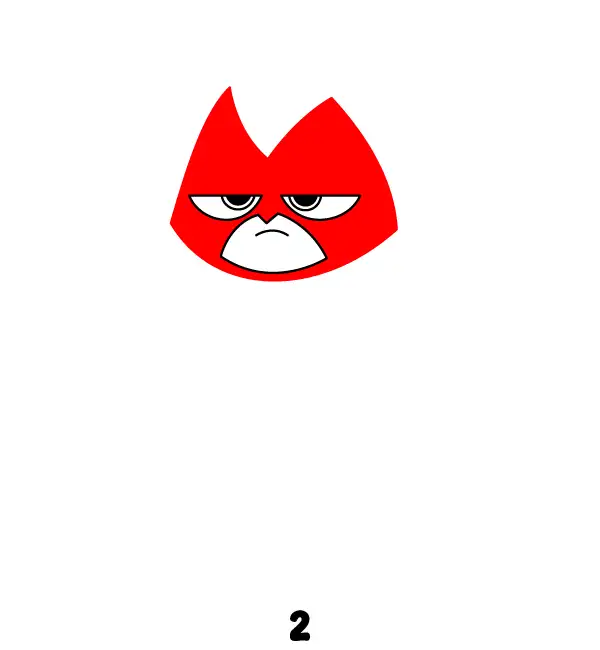
Step 2 – Add the Mask and Face Shape
Now draw the large black mask shape around Raven’s eyes. The top of the mask should form two pointed peaks in the center, giving it a sharp and stylized look. Extend the lower face outline beneath the mask and smooth out the edges so the head looks rounded. Fill in the mask area with solid black to make the face stand out clearly.
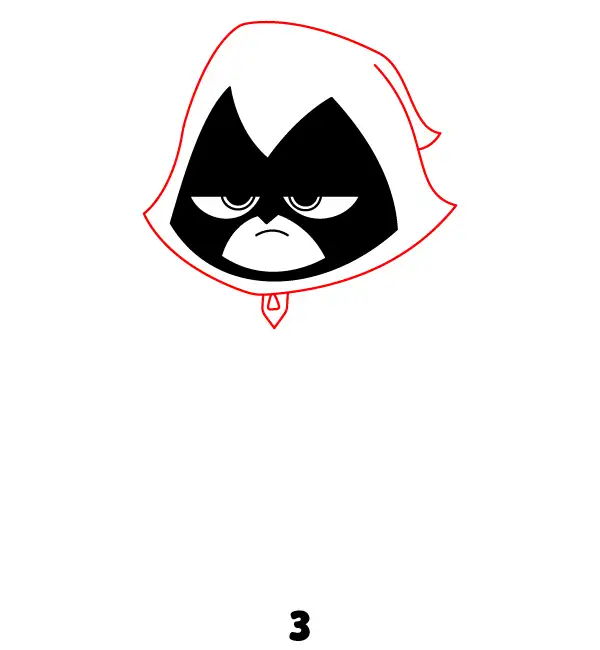
Step 3 – Draw the Hood and Neck Detail
Sketch Raven’s hood around her head using wide curved lines that flare outward slightly at the sides. Add a small point or fold near one side of the hood to give it more character. Under the chin, draw the small gem-like shape that connects her cloak. Make sure the hood fully surrounds the mask and face while keeping the shape smooth and symmetrical.
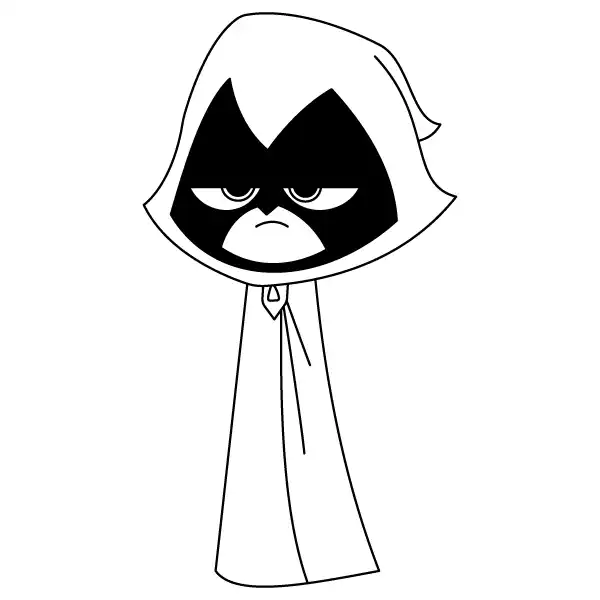
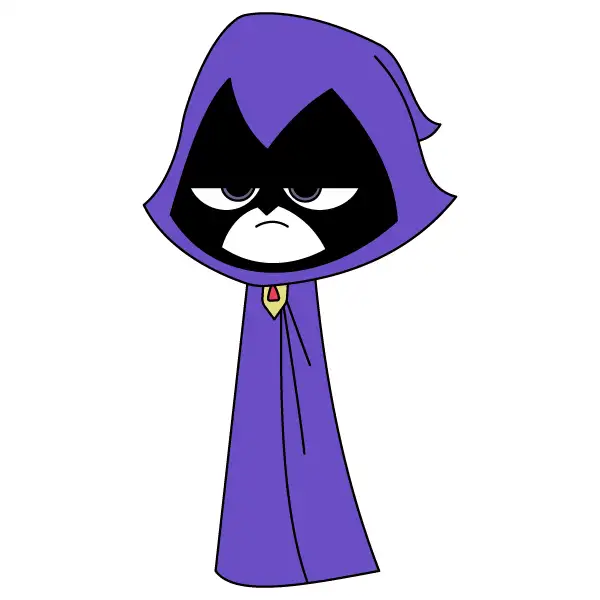
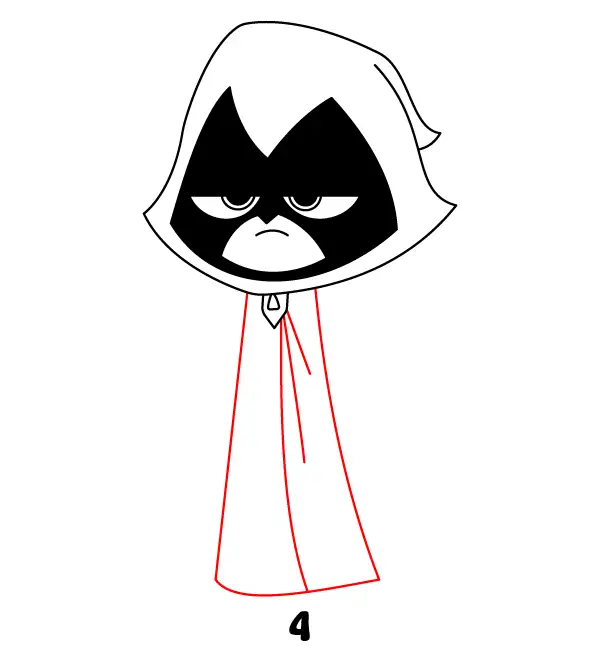
Step 4 – Add the Cloak and Final Details
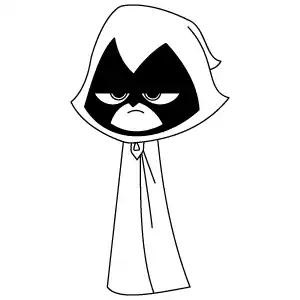
Draw the long cloak extending downward from the neck. Use flowing vertical lines that widen slightly toward the bottom to create the appearance of fabric draping naturally. Add a few inner fold lines to show movement and depth in the cloak. Finally, clean up all outlines, darken the final lines, and erase any extra sketch marks to complete your Raven drawing.