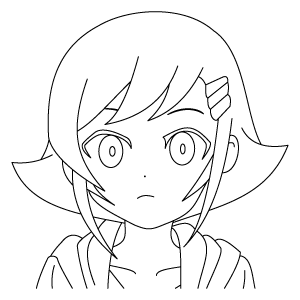
Start by drawing two identical circles for the eyes. Add a horizontal line inside each circle near the middle to form the upper eyelids. Below the horizontal lines, draw smaller circles to indicate the pupils. This will create a sleepy or calm look for the character.
Step 2 - Create the Head and Horns
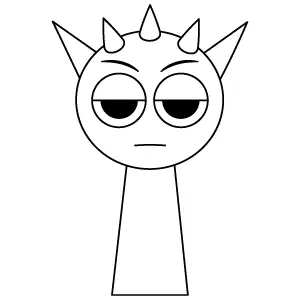
Draw a large circle around the eyes to form the head. Add three pointed horns on top of the head, spaced evenly apart. These horns should look sharp but neat. Place one horn directly in the middle and the other two on each side.
Step 3 - Add Ears and Facial Details
On both sides of the head, draw large, triangular ears that stick out slightly. Next, draw thick eyebrows over the eyes, angled downward to give a serious expression. Complete this step by adding a small horizontal line for the mouth to show a neutral mood.
Step 4 - Draw the Body Shape
Below the head, sketch a long, narrow trapezoid to form the body. The top of the trapezoid connects directly under the head, and the bottom is wider to show the base of the body. Keep the shape simple and straight.
Step 5 - Finalize Raddy Drawing
Finish by filling in the pupils with a dark shade to make the eyes stand out. Double-check all the lines and shapes to ensure the drawing is clean and symmetrical. The character is now complete and ready for coloring or further detailing!