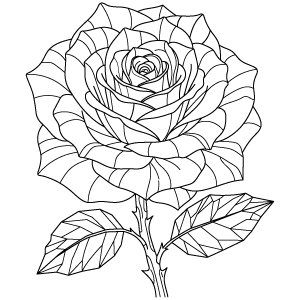

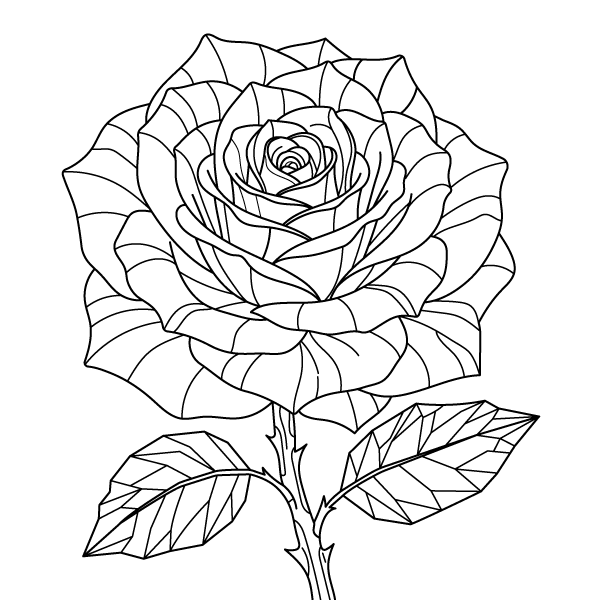

How To Draw Layered Rose Bloom Step By Step
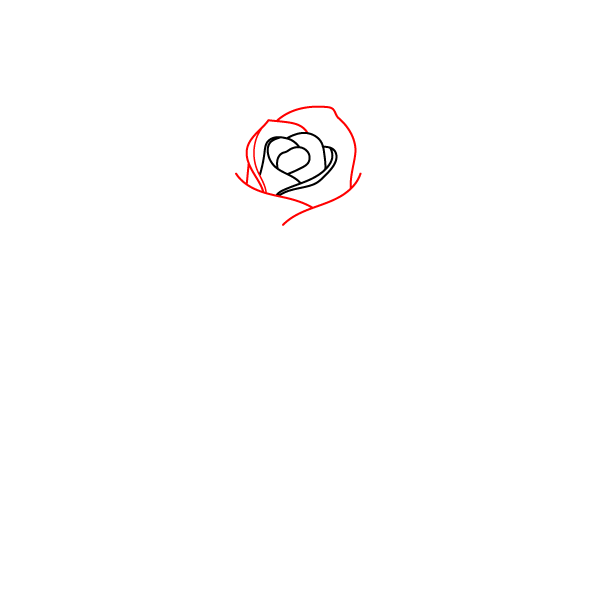
Step 1 - Draw the Rose Bud
Draw several small curved lines in the center that wrap around each other to make a tiny rosebud.
Step 2 - Add Inner Petals
Draw two larger curved lines wrapping around the bottom and sides of the central bud.
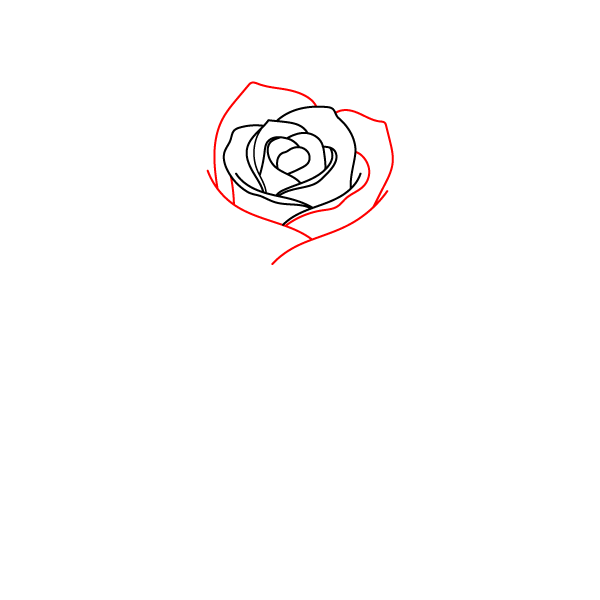
Step 3 - Expand the Petals
Draw two more wavy lines on the top and left to make the petals look bigger.
Step 4 - Grow the Bloom
Add three more curved lines around the top, left side, and bottom to expand the flower.
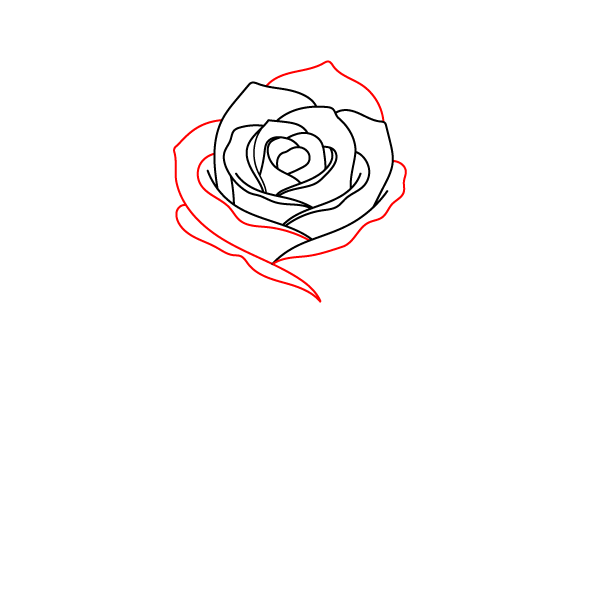
Step 5 - Add Outer Petals
Draw three large, wavy lines on the left, right, and bottom to create the next layer of petals.
Step 6 - Make the Rose Fuller
Add four more curved lines around the outer edges, especially at the top and bottom left.
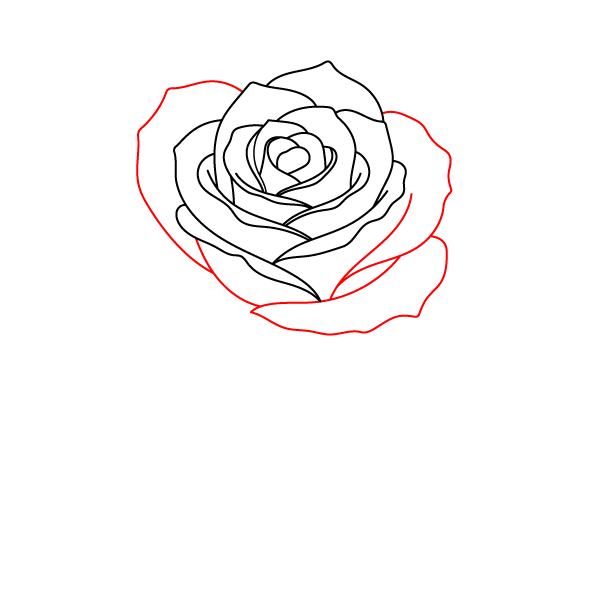
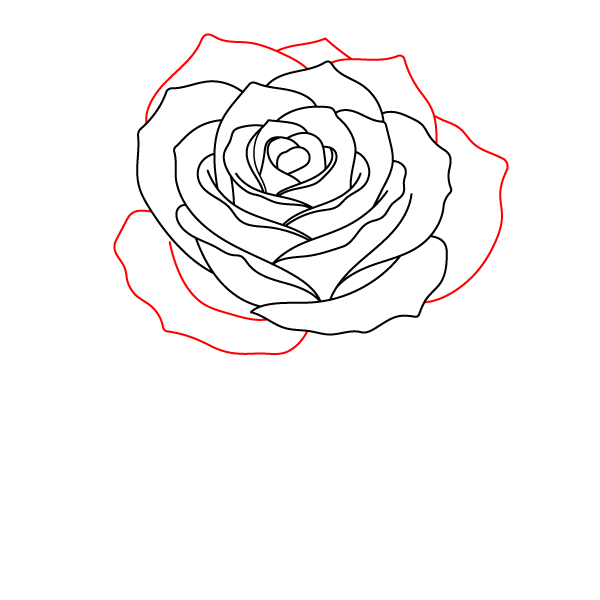
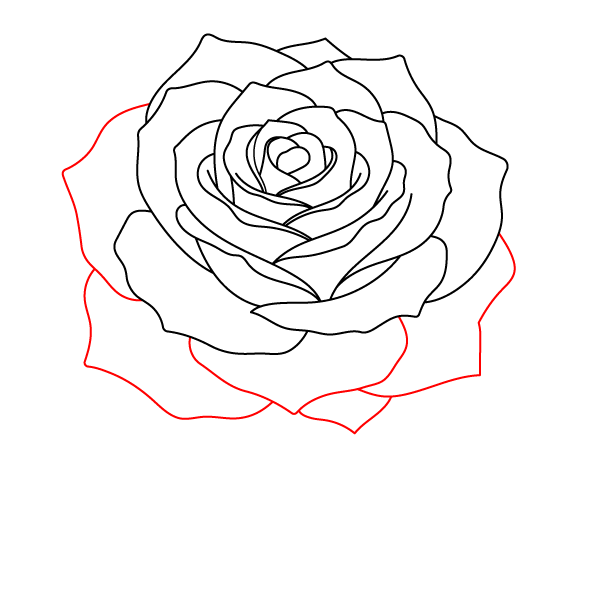
Step 7 - Draw the Final Petals
Draw the last big, wavy petal outlines around the bottom and right sides of the flower.
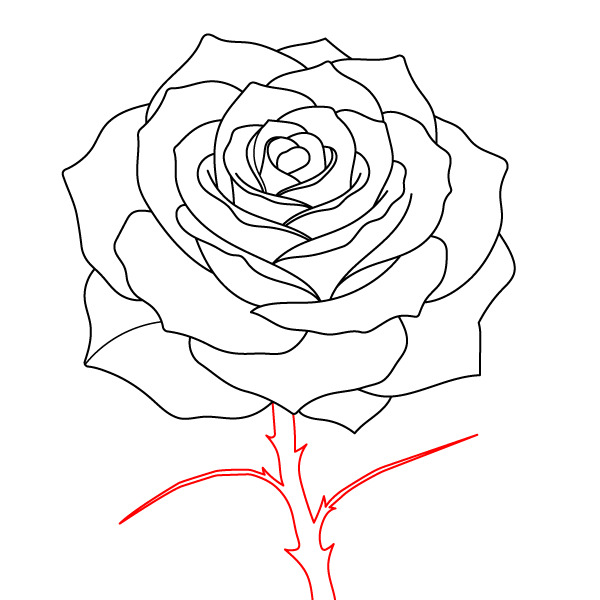
Step 8 - Draw the Stem
Draw a long stem stretching down from the bottom with small sharp thorns and two side branches.
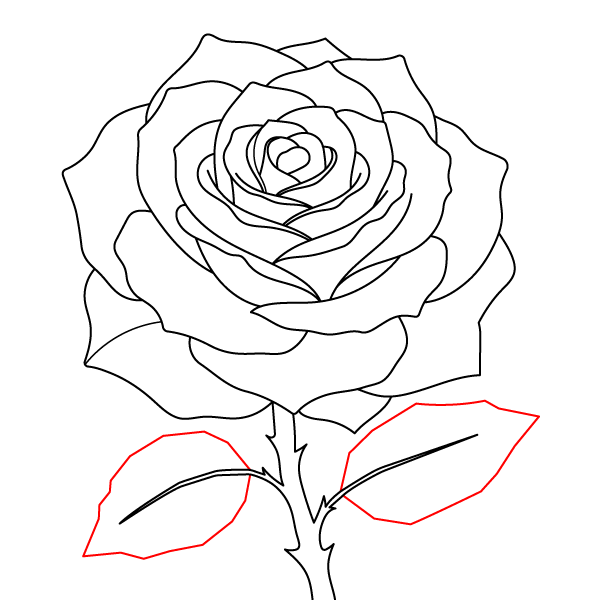
Step 9 - Add the Leaves
Draw the pointy outlines of two large leaves on the ends of the side branches.
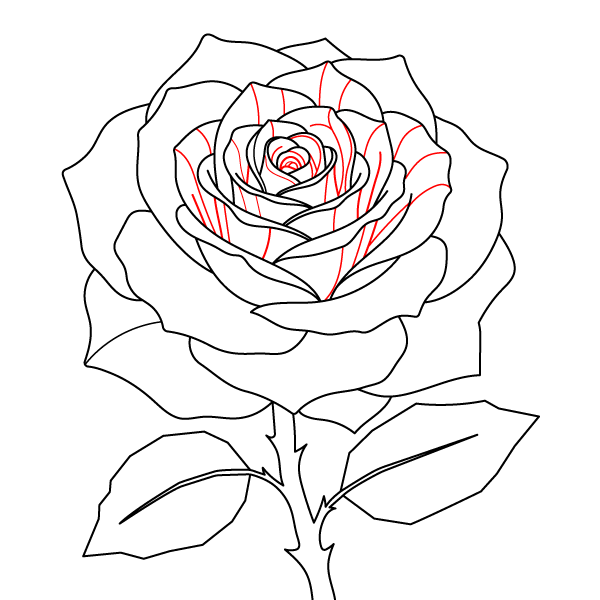
Step 10 - Detail the Center
Draw many tiny, curved lines inside the middle petals to create soft details.
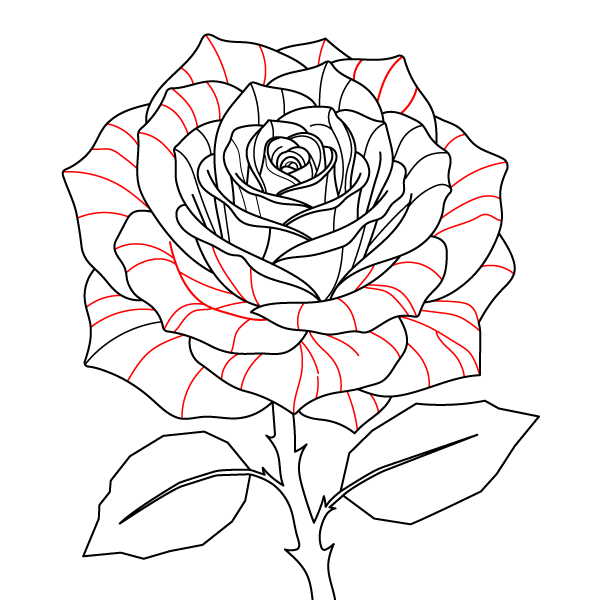
Step 11 - Detail the Outer Petals
Draw long, gently curved lines spreading outward on all the larger outer petals.
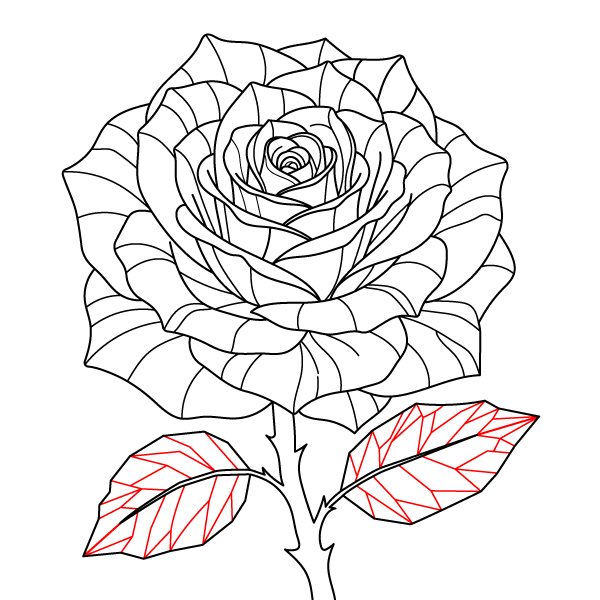
Step 12 - Add Leaf Veins
Draw lots of small, straight lines inside both leaves to make the leaf veins.
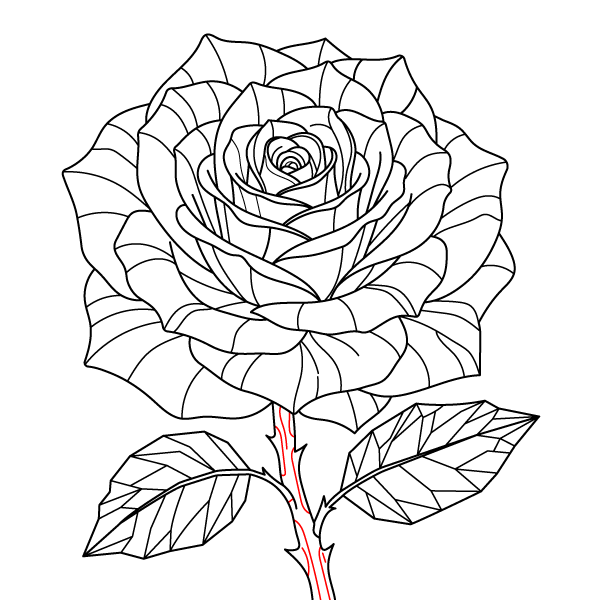
Step 13 - Texture the Stem
Draw a few vertical lines inside the main stem to give it texture.
Step 14 - Finish the Drawing
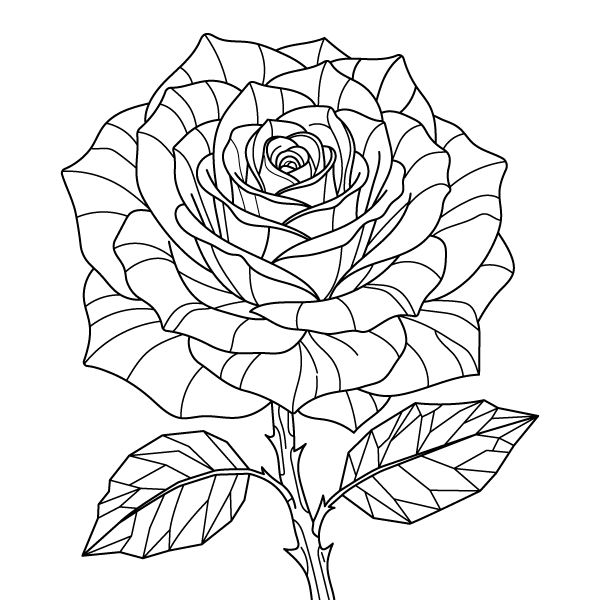
Darken and trace all the lines cleanly to complete your beautiful, layered rose.