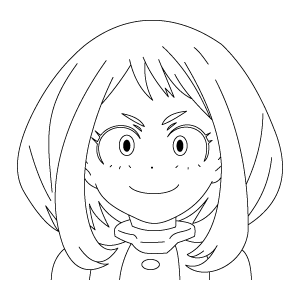
How To Draw Izuku Midoriya Step By Step
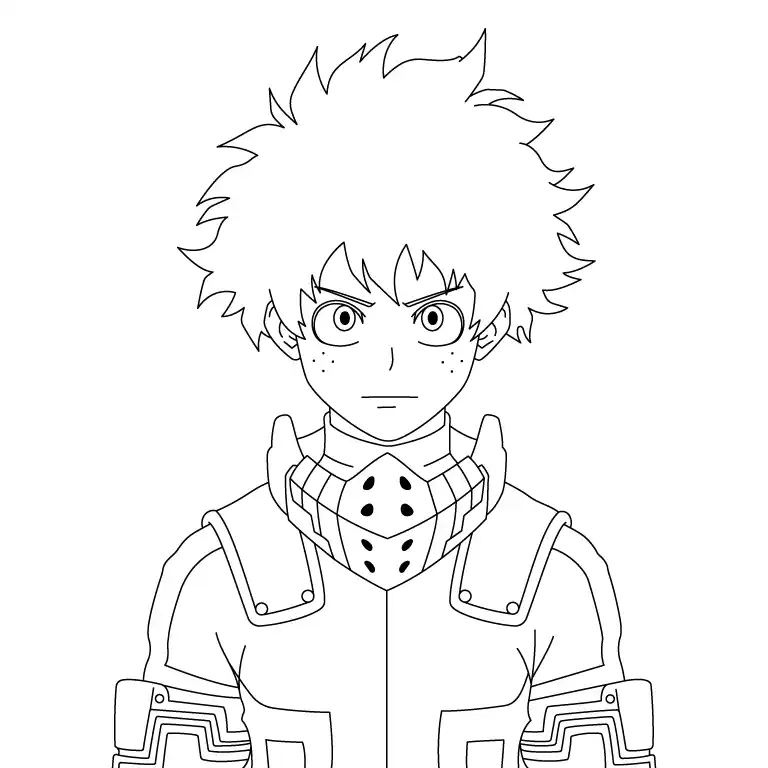
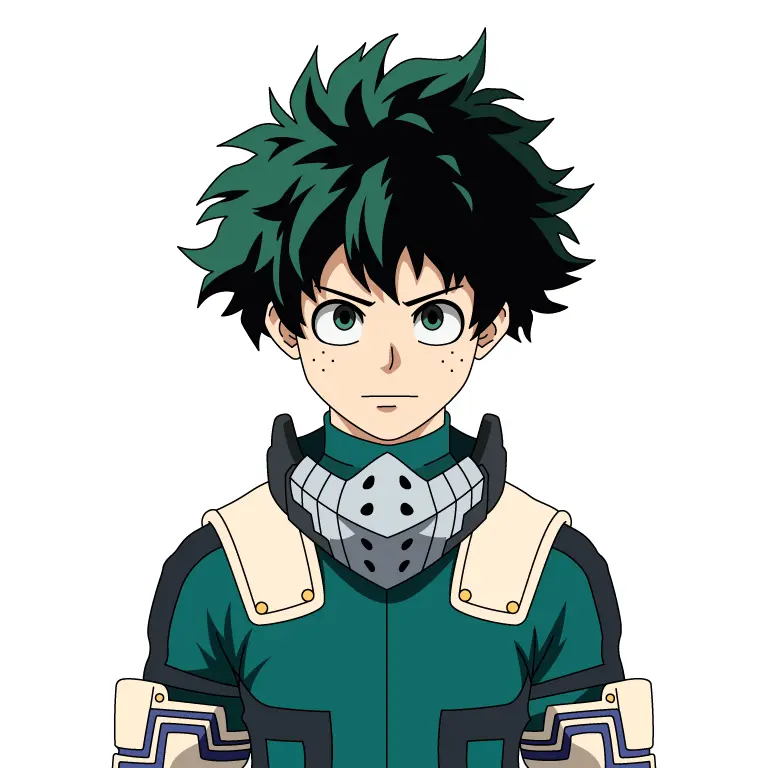
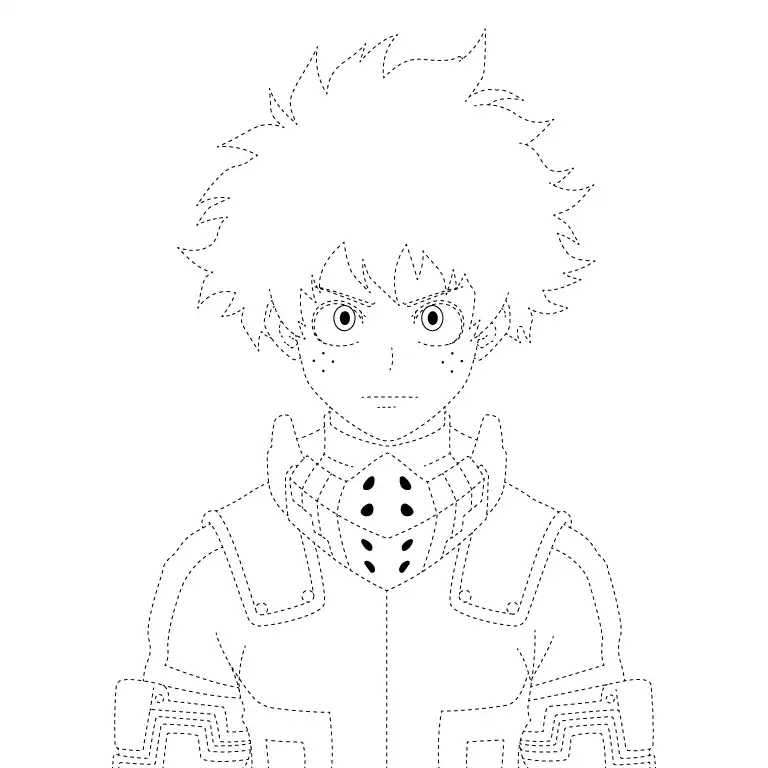
This step-by-step guide will teach you how to draw Izuku Midoriya, the determined and heroic character from My Hero Academia. Follow the instructions and use the reference image to accurately sketch his iconic hairstyle, expressive features, and unique outfit. This guide is great for artists of any skill level who want to recreate Izuku’s dynamic appearance.
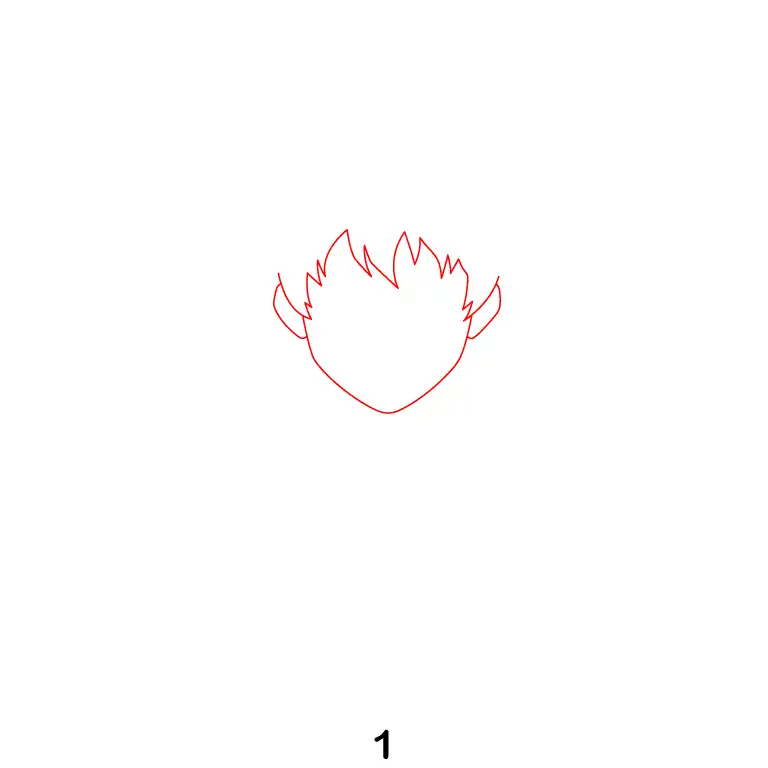
Step 1 - Draw the Hair and Face Shape
Start by drawing Izuku Midoriya's wild, spiky hair front hair on face. Then, outline his face with a smooth, rounded shape that narrows slightly toward the chin and draw a curved lined on both sides of the face for ears.
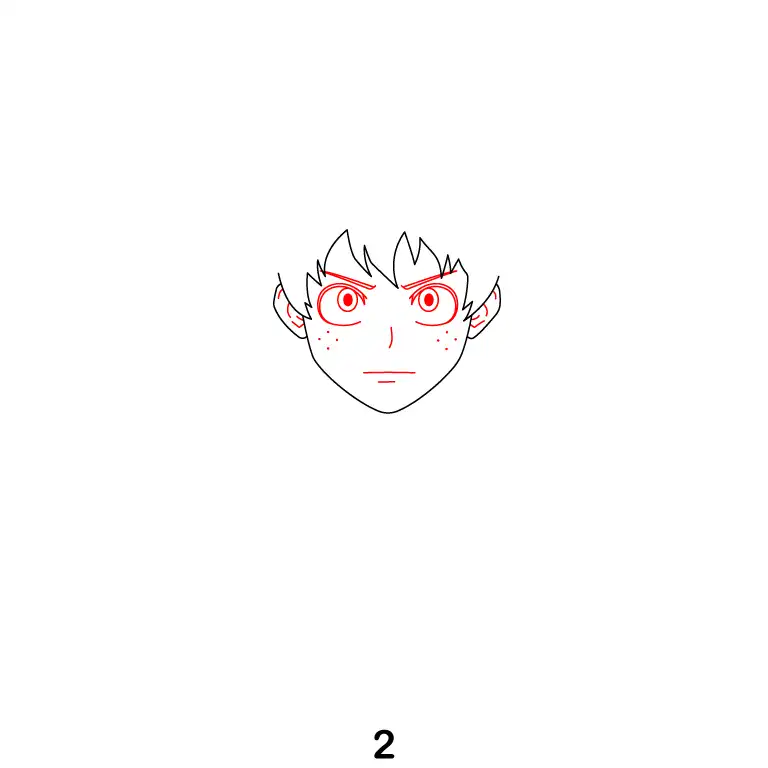
Step 2 - Add Facial Details
Draw two large, expressive eyes positioned symmetrically on the face. Include the pupils in the center of each eye and small, circular freckles under them for detail. Then draw a small vertical line for nose and horizontal line for his mouth below the eyes. Don't forget to add details in the ear.
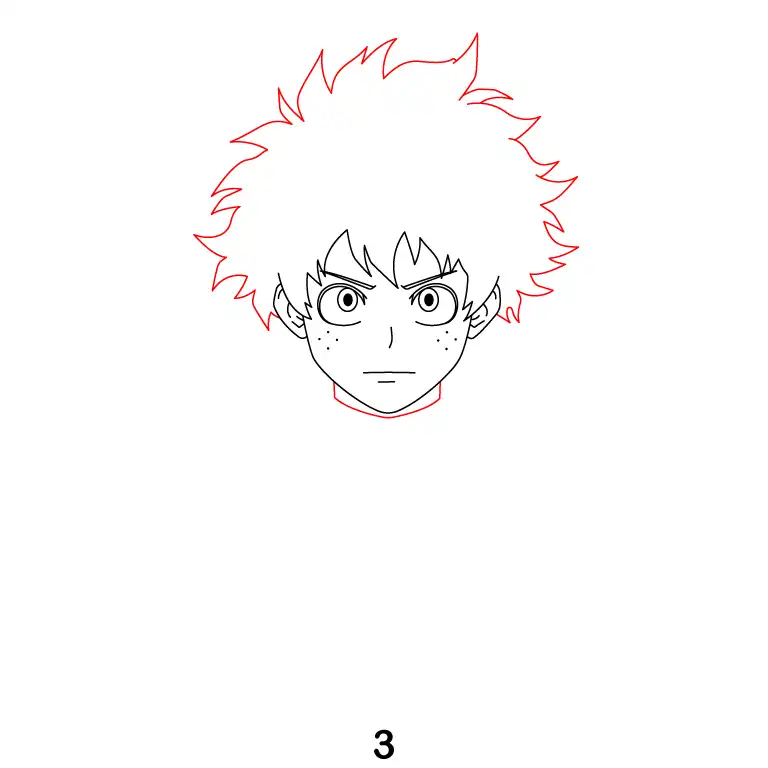
Step 3 - Draw the Hair and Neck
Sketch his wild, spiky hair using irregular, pointed shapes to capture its messy appearance. Add two short lines extending down from the face for the neck.
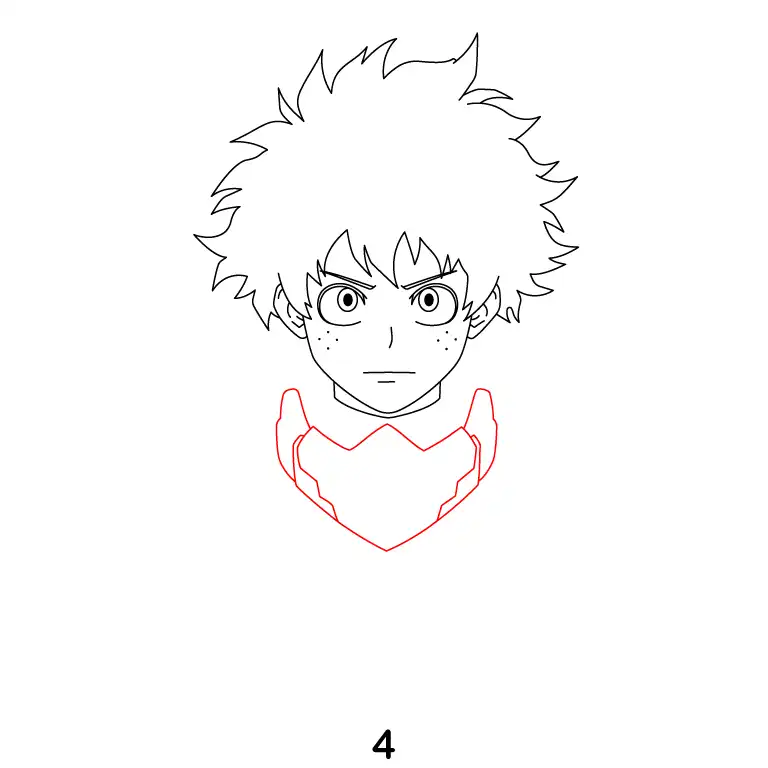
Step 4 - Draw Deku Mask Shape
Draw a rough outline of Izuku Midoriya’s mask. Create a shape that resembles a rectangular frame with rounded edges to form the base of the mask. Ensure the top and bottom edges are slightly curved to follow the contours of the face.
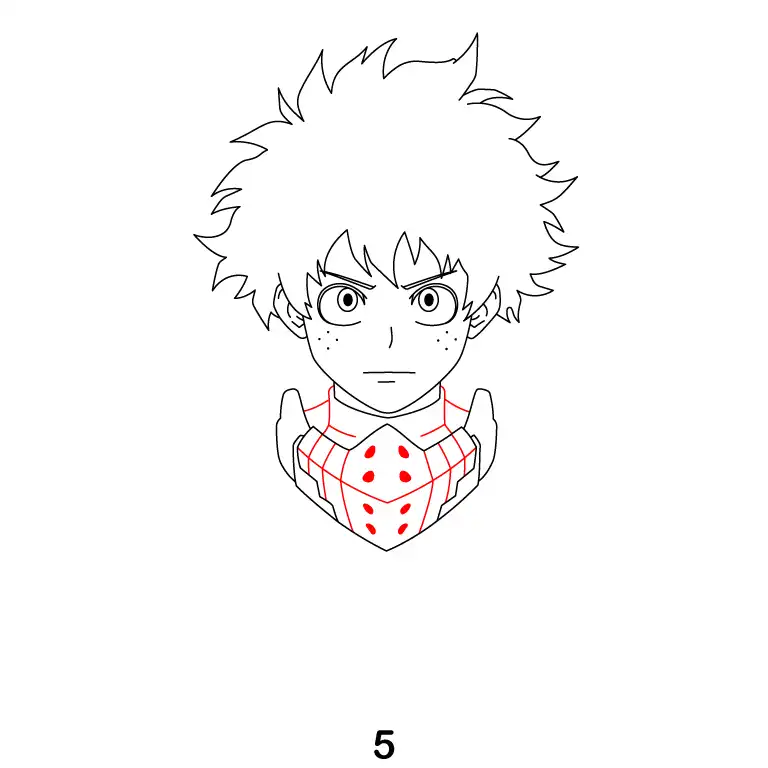
Step 5 - Add the Mask Details and Expand the Neck
Extend lines from the neck to complete its shape. Add a central line on the mask to divide it into two parts. Draw four almond-shaped dark spots above and four below the divider. Finish the mask by adding curved lines on both sides.
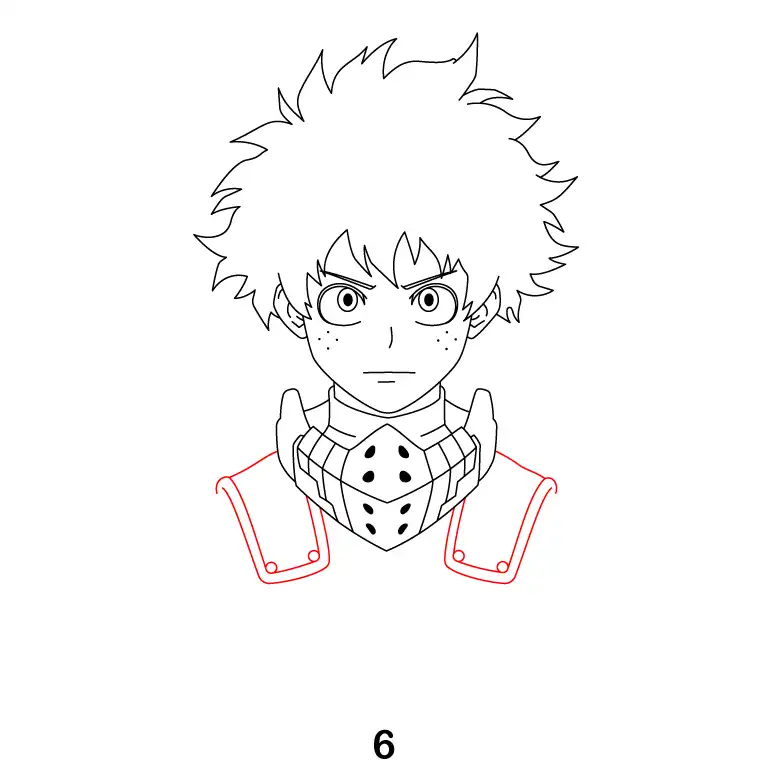
Step 6 - Draw the Shoulder Pads
Extend lines outward from the neck to form the shoulders. Draw the shoulder pads on each side, shaping them as rectangles with bolts or rivet-like details for added realism.
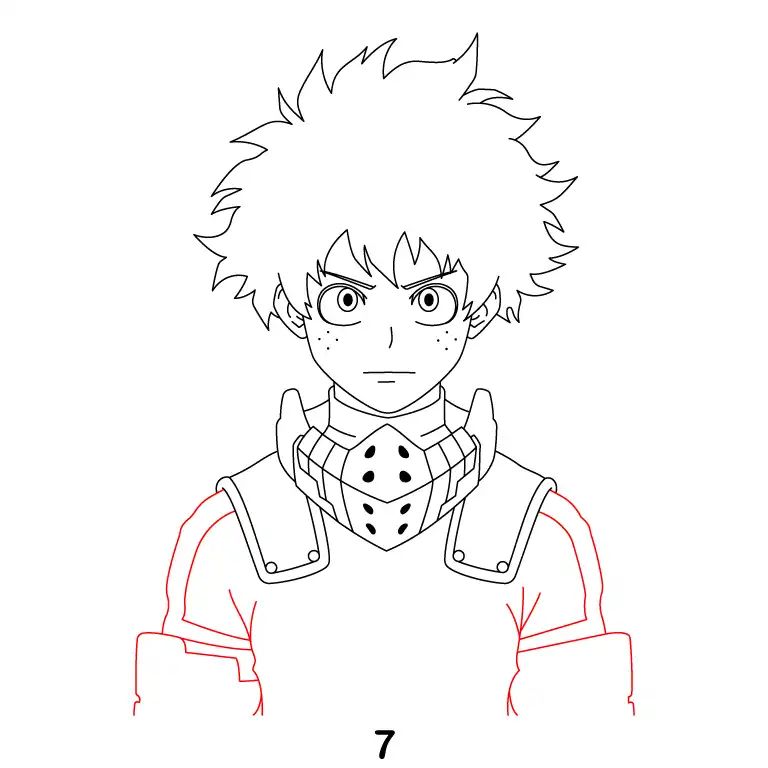
Step 7 - Add Upper Arms and Sleeves
Extend lines downward from the shoulder pads to form his upper arms. Sketch the folds of his sleeves to indicate movement and add some natural texture to the outfit.
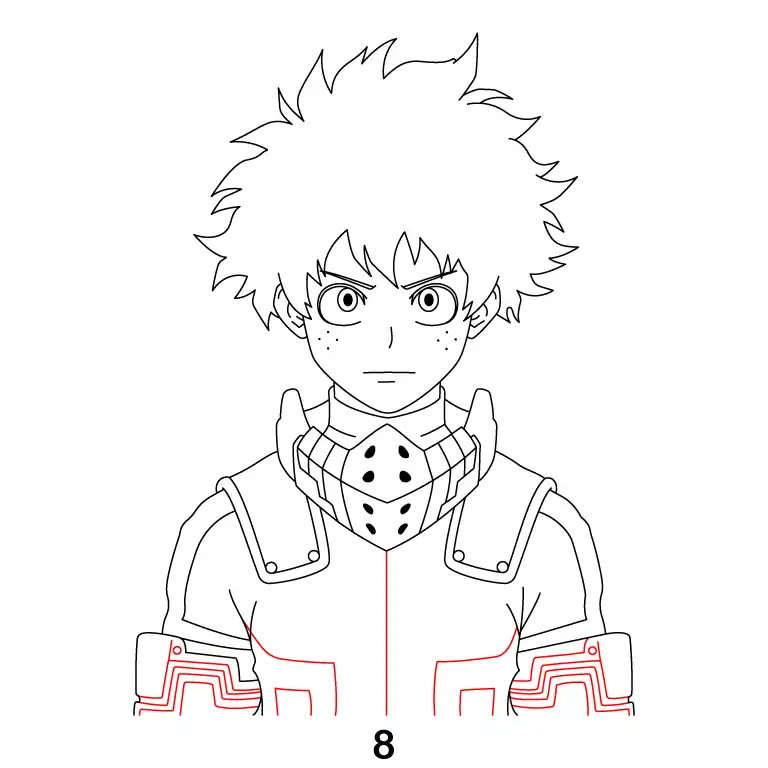
Step 8 - Add Sleeve and Arm Details
Draw the intricate designs on his sleeves, including the rectangular patterns and any additional markings on the gloves. These details add depth and character to his hero costume.
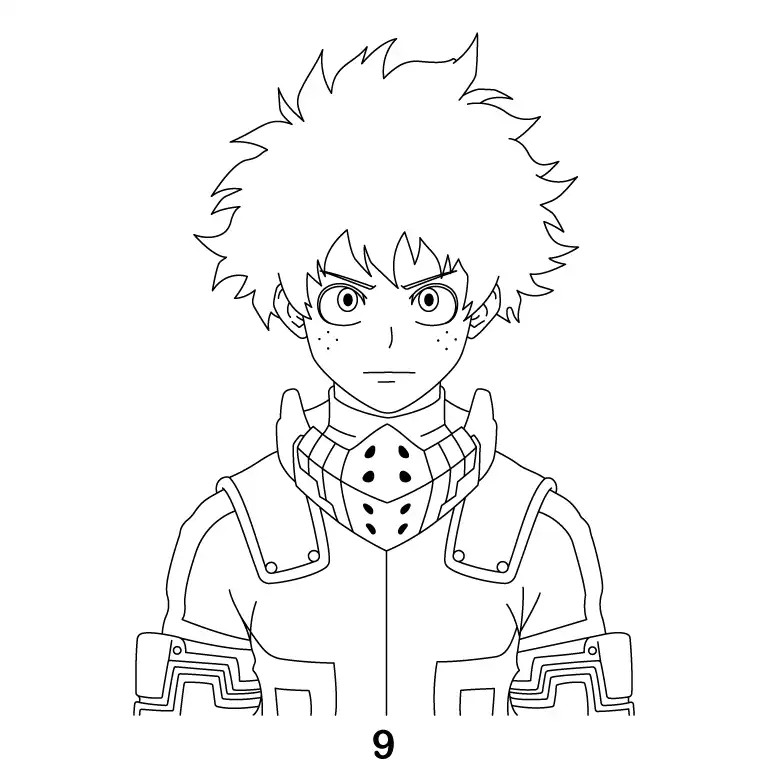
Step 9 - Finalize the Drawing
Clean up the sketch by erasing unnecessary lines and darkening the final outlines. Add finishing touches to the details of his costume and any creases or folds in his outfit. Your drawing of Izuku Midoriya is now complete!
