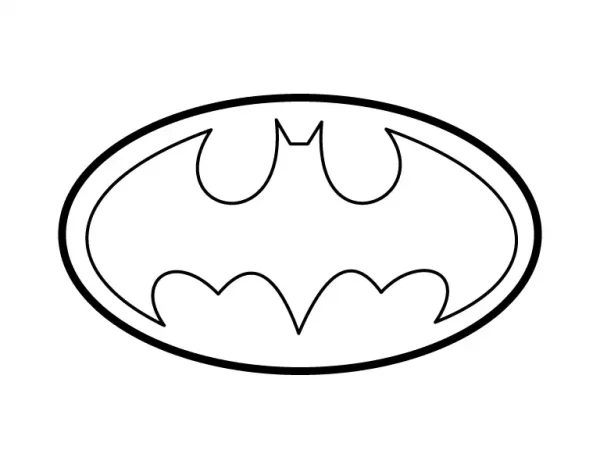
How To Draw Batman Logo Step By Step
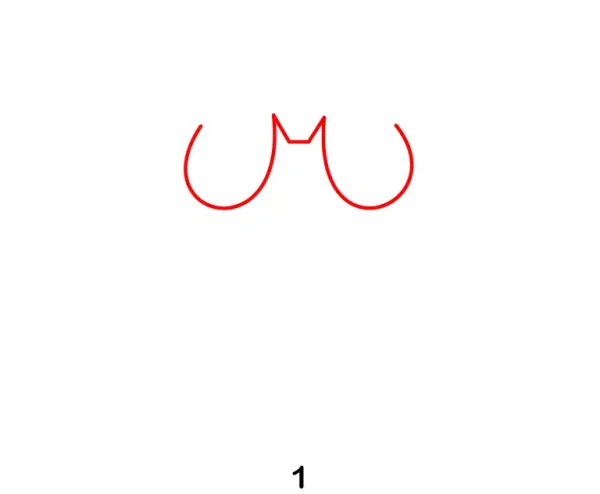
Step 1 - Draw the Top Shape
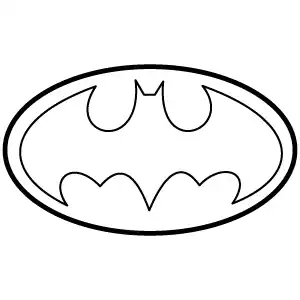
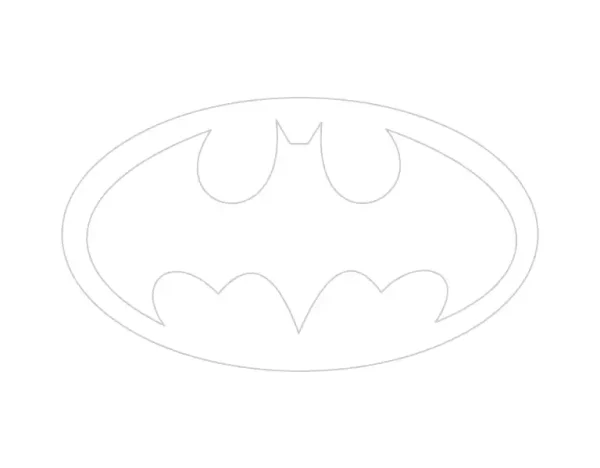
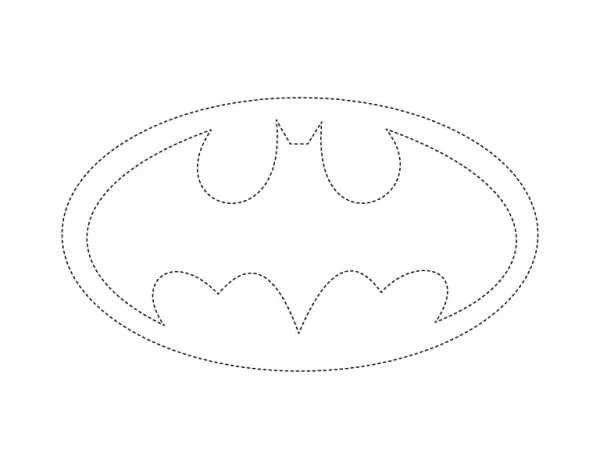
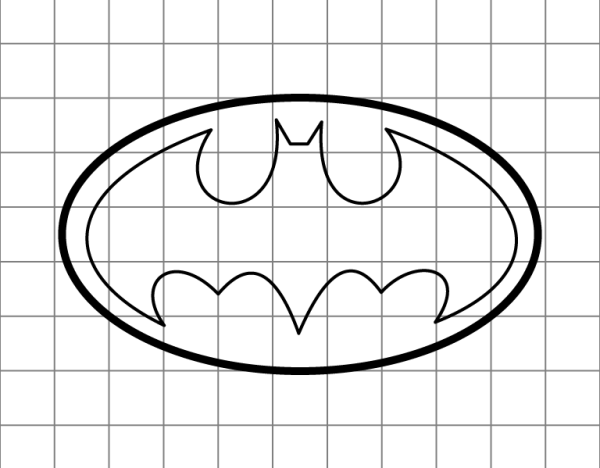
Begin by drawing the top portion of the bat. Sketch two curved lines forming the bat's "ears" and the top loops of its wings. These should look like two mirrored U-shapes connected by a sharp "M" in the middle.
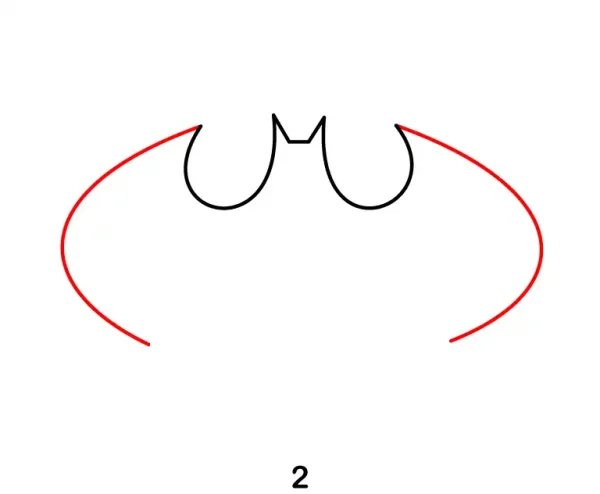
Step 2 - Extend the Wings
From the ends of the U-shapes, draw two large arcs outward and downward to form the wings of the bat. These lines should curve smoothly, resembling a wide "W" spread across the bottom.
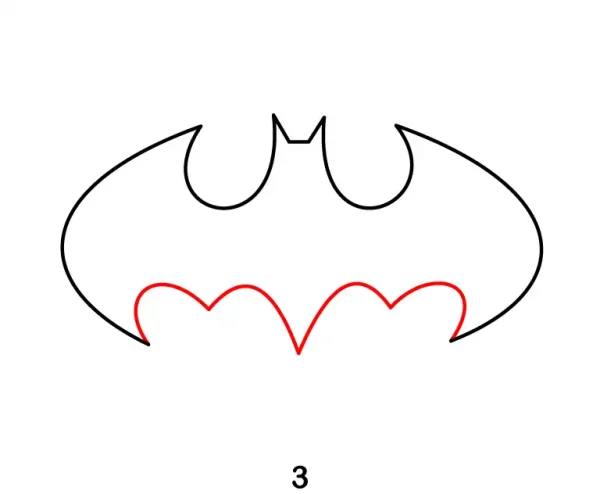
Step 3 - Draw the Bottom Edges
Connect the two arcs with a series of four smaller, sharp curves that form the bottom of the bat's wings. These should look like three points in a smooth rhythm, mirroring the top points of the bat.
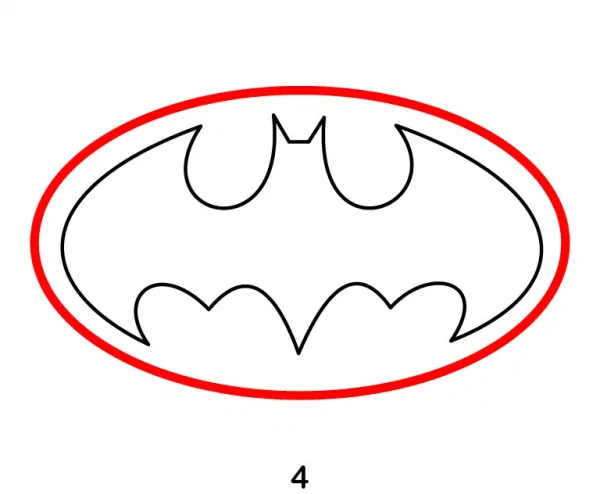
Step 4 - Add the Oval Frame
Draw an oval around the bat shape to enclose it completely. Make sure the bat is centered within the oval.
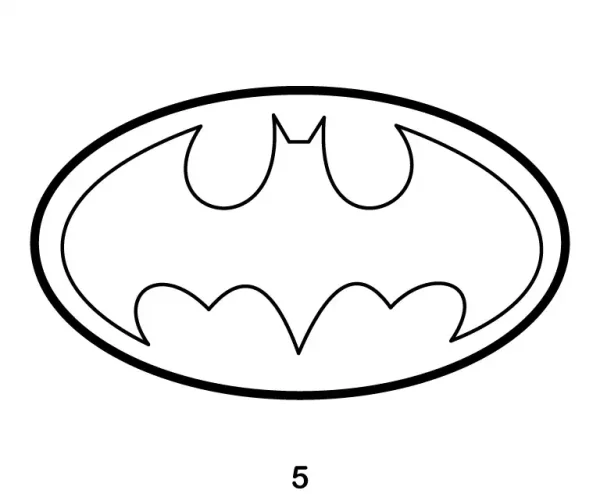
Step 5 - Finalize Batman Logo
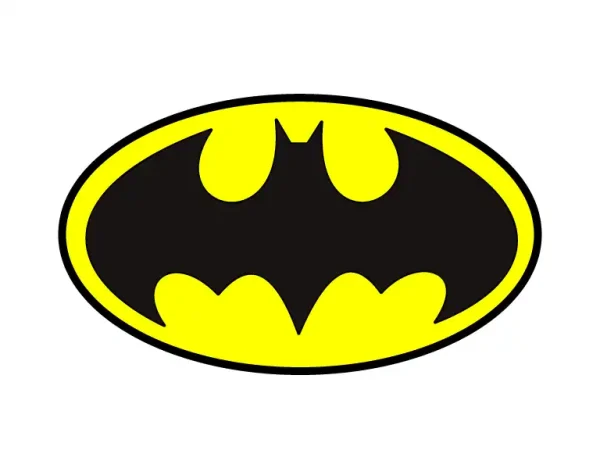
Darken the lines of the bat and the surrounding oval frame. Erase any unnecessary construction lines to create a clean and polished Batman logo.

