How To Draw Apple Logo Step By Step
This step-by-step guide will help you draw the sleek and iconic Apple Logo. Follow the clear instructions and use the reference image to accurately recreate its smooth curves and minimalist design. This guide is perfect for artists of all levels, making it simple to sketch the Apple Logo with precision.

Step 1 - Draw the Apple Shape
Start by sketching the basic shape of an apple. Draw a smooth oval with a slightly uneven bottom to give the apple a natural look.
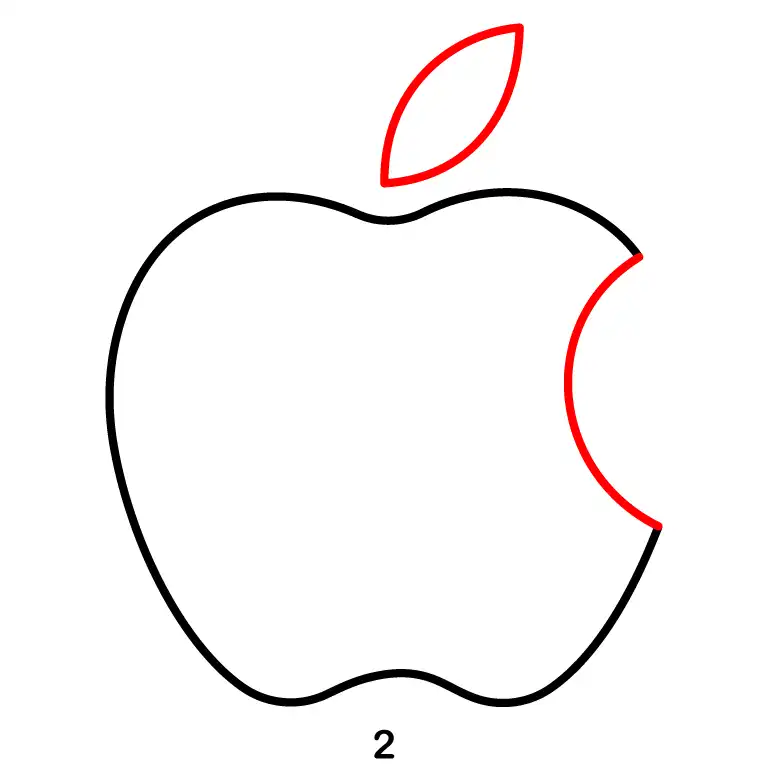
Step 2 - Add the Bite and Stem
Draw a bite mark on the right side of the apple by creating a wavy line to form the curve of the bite. Then, add a small, slightly curved rectangle at the top of the apple to create the stem.

Step 3 - Add Final Touches
Refine the apple’s curves, ensuring smooth edges, and complete the logo by outlining everything neatly. Your apple logo is now complete!


