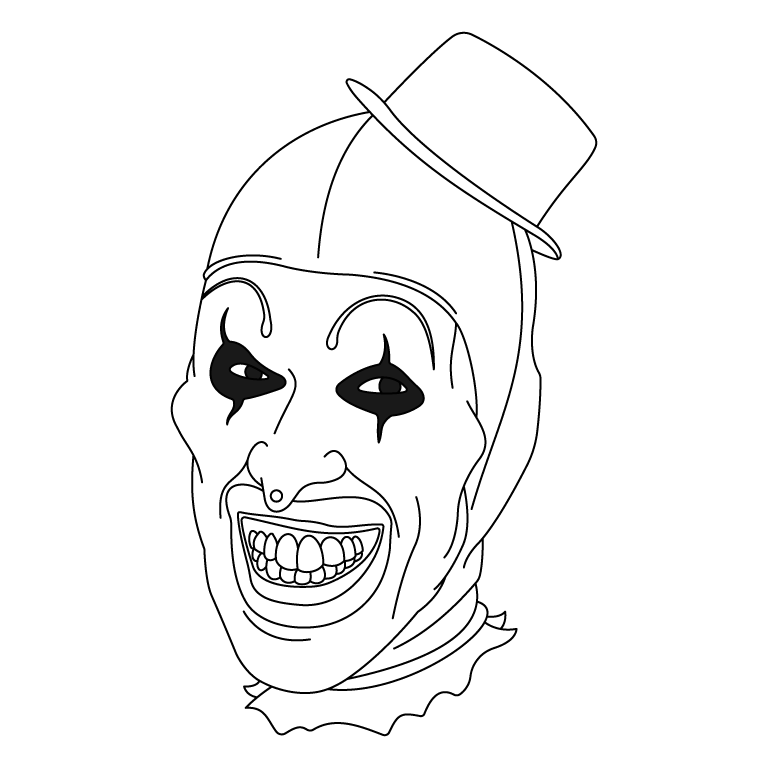
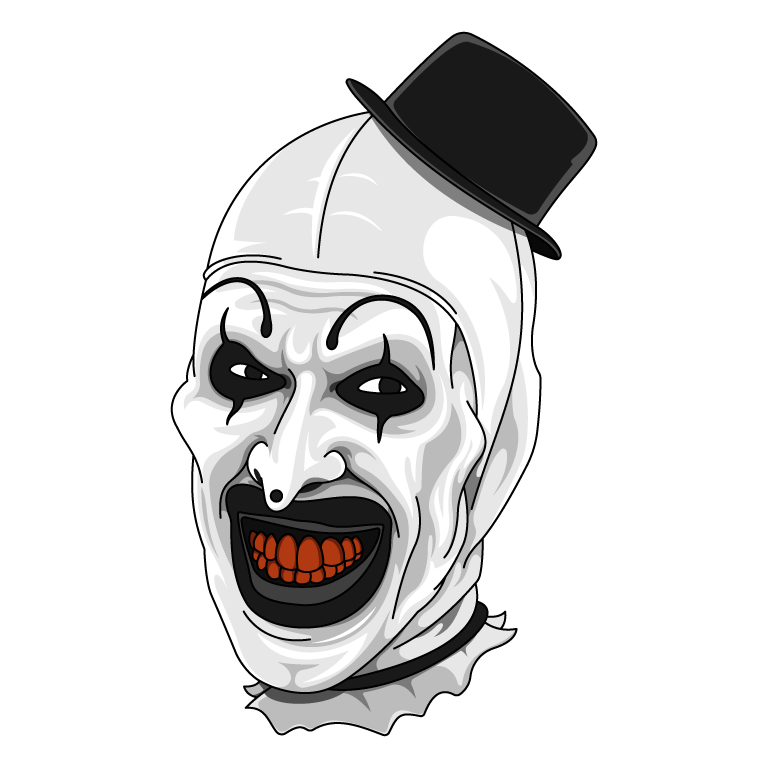
The coloring sheet presents a detailed black-and-white outline of the clown's face, capturing its distinct features. The bold lines outline the expressive eyes, the wide mouth, and the top hat, while finer details are included for precision. It’s perfect for users to experiment with different color schemes while maintaining the character’s unique style.
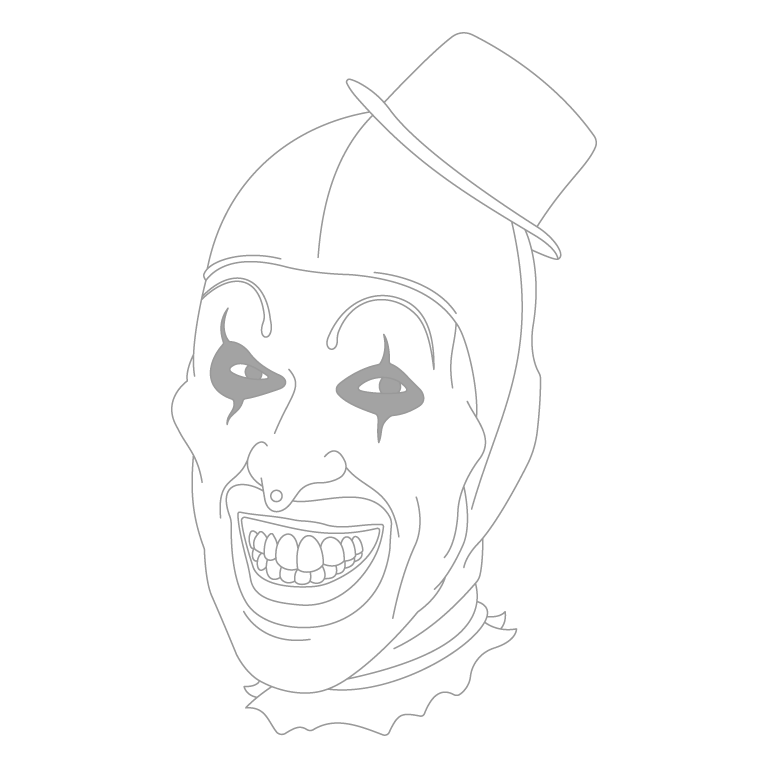
This sheet features a light gray outline of the clown’s face and accessories, providing a subtle guide for recreating the design. Key details like the sharp eye makeup, large smile, and hat are clearly visible, making it easier for users to follow along. The soft lines help focus on each step of the tracing process without overwhelming the overall composition.
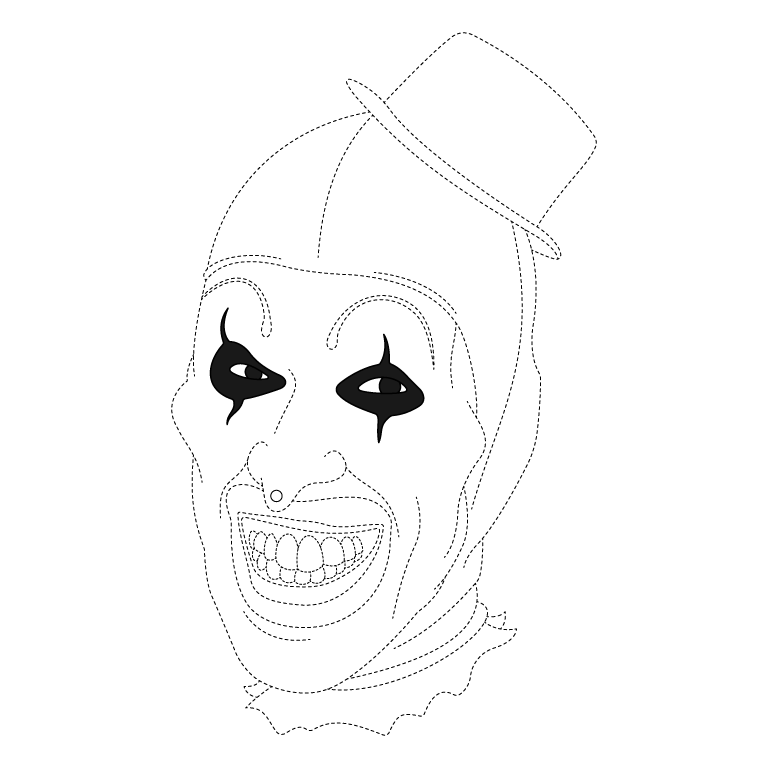
The tracing sheet simplifies the clown’s design into dotted lines, highlighting the basic shapes of the face, hat, and mouth. This format is ideal for beginners, as it breaks down the design into manageable parts while ensuring the most recognizable features, such as the expressive eyes and grin, are retained for clarity.
How To Draw Art The Clown Head Step By Step
This step-by-step guide will help you draw Art the Clown, a character with a unique and striking appearance. Follow the steps to draw his exaggerated facial features, dark eye makeup, wide grin, and signature small hat. Use the reference image to carefully match the details and proportions for accuracy. Grab your pencils and start drawing Art the Clown!
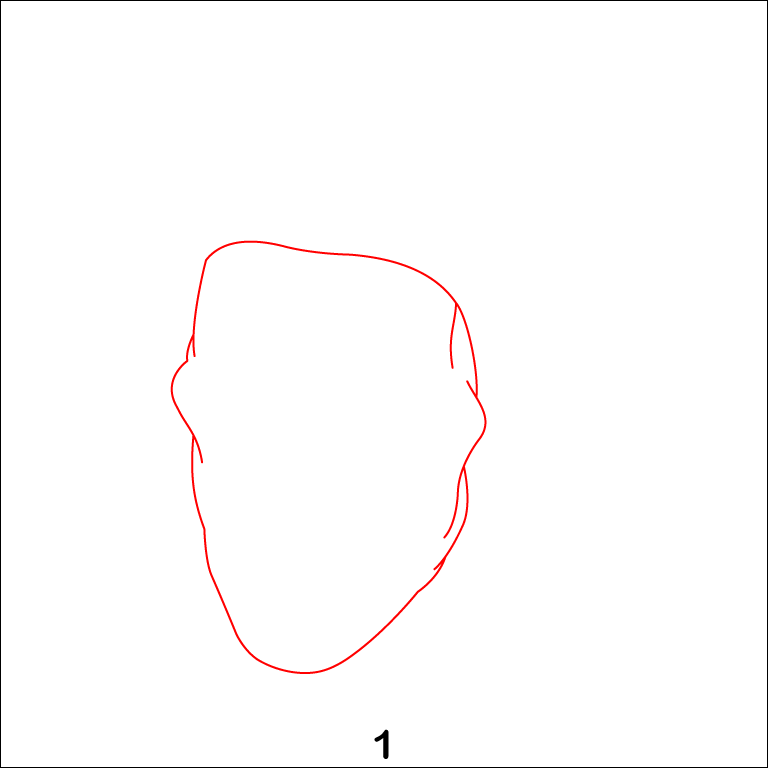
Step 1 - Outline the Head
Begin by sketching the basic shape of the head. Use a loose, elongated oval with irregular curves to capture the unique structure of the clown's face. Note the prominent cheekbones and the narrow, sharp chin to reflect the character’s distinct appearance. Ensure the lines are soft at this stage, as you'll refine them later.
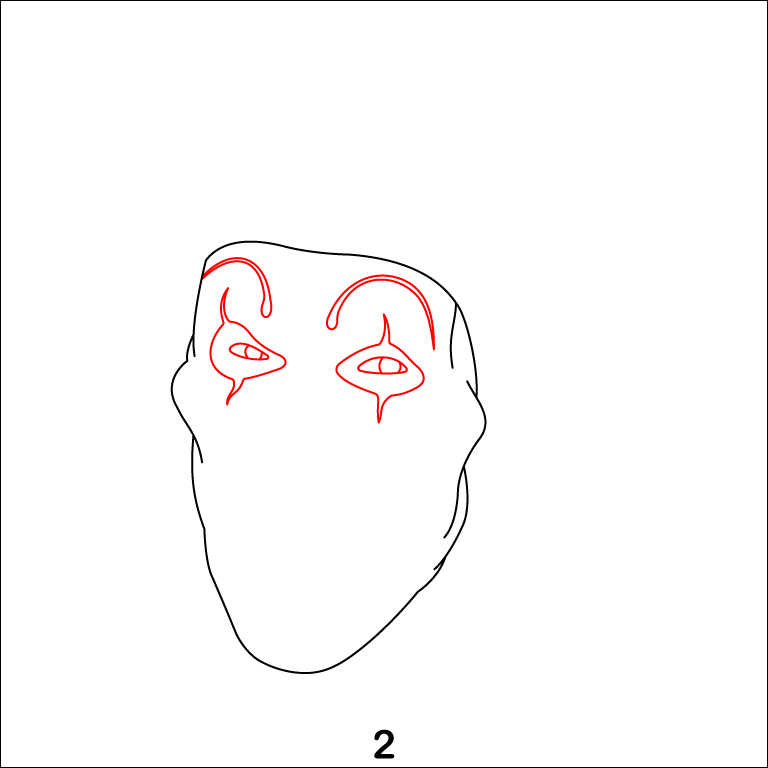
Step 2 - Add the Eyes and Eyebrows
Focus on the eyes next, which are a key feature. Draw two almond-shaped eyes, leaving space for pointed edges at the inner corners to give a menacing, sharp look. Above each eye, sketch arched, dramatic eyebrows that curve downward toward the nose, emphasizing an evil expression. Keep the lines bold and slightly jagged for added creepiness.
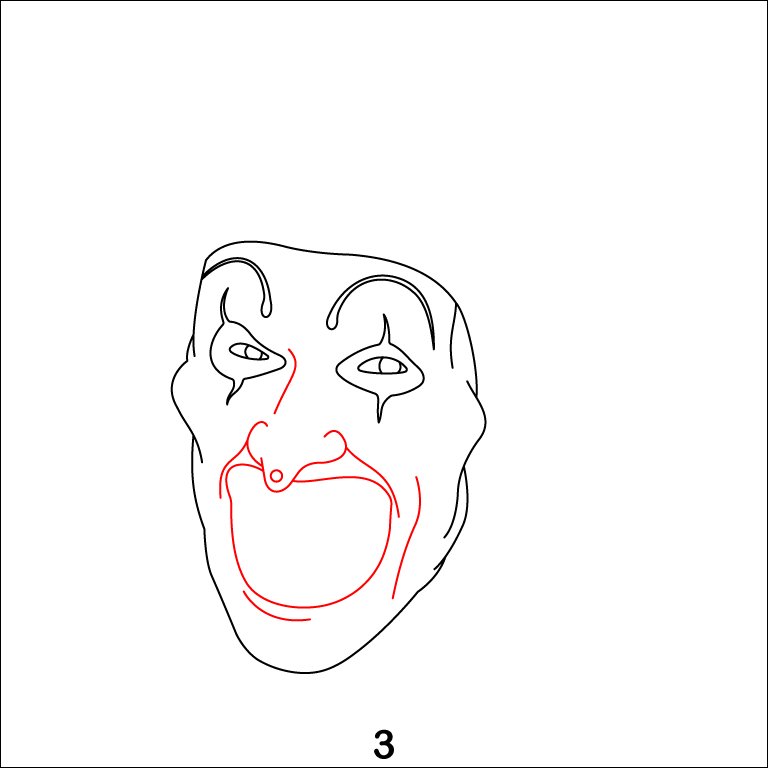
Step 3 - Draw the Nose and Mouth
Detail the clown’s nose, adding a small, pointed tip in the center of the face. Then, move to the wide-open mouth, drawing the shape with an exaggerated curve. Include deep creases and folds at the corners of the mouth to enhance the unsettling grin. Be sure to leave enough space inside the mouth for the teeth in the next step.
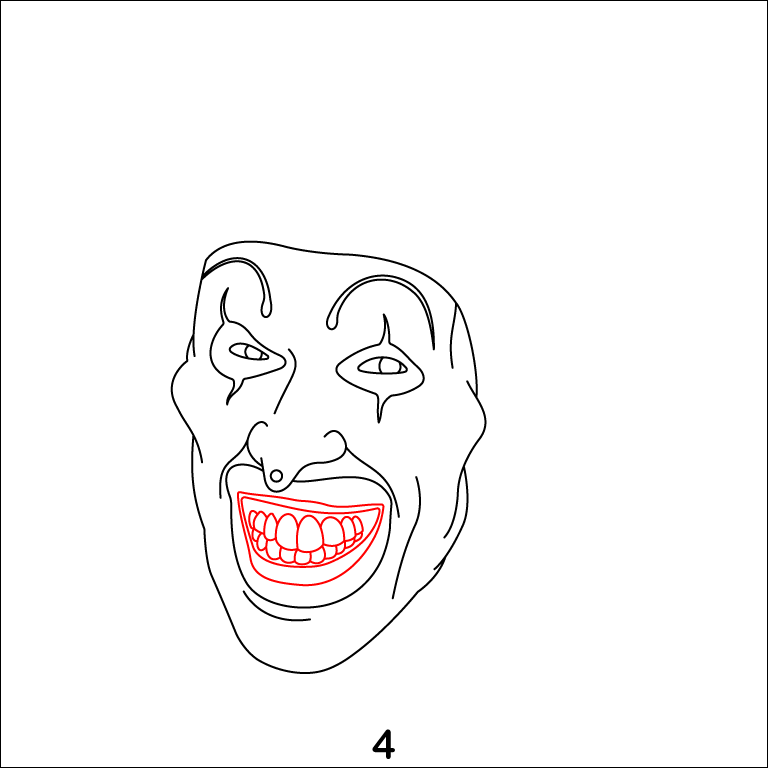
Step 4 - Add the Teeth
Inside the open mouth, draw rows of sharp, irregular teeth. Start with the top row, filling the space with closely packed, pointed teeth, and then do the same for the bottom row. Add fine lines between the teeth and slight variations in size and spacing to make them appear natural yet terrifying. Outline the gums lightly to frame the teeth.
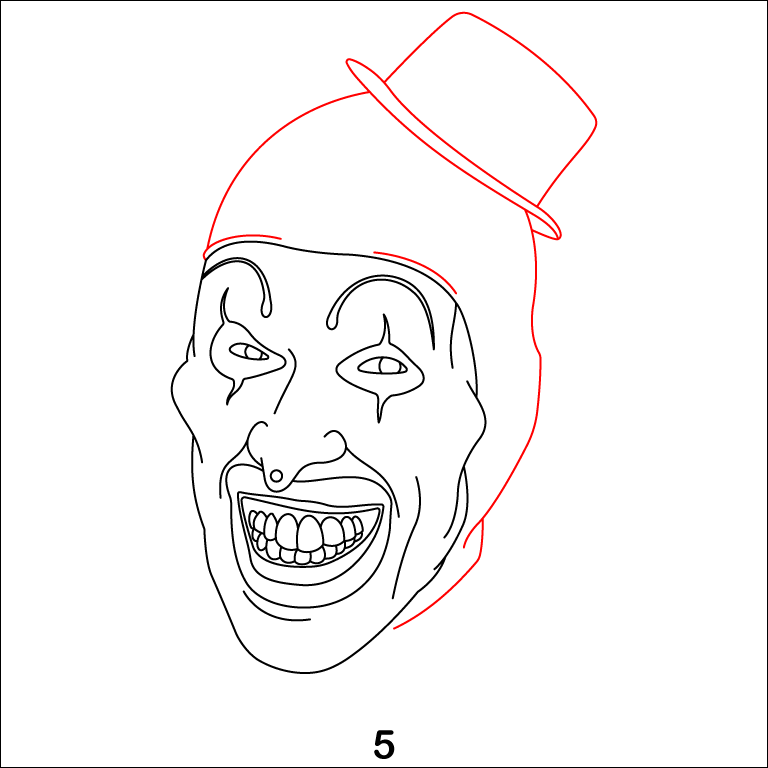
Step 5 - Draw the Hat and Head Details
Sketch a small, tilted top hat resting on the crown of the head. The hat should have a slightly rounded base and a narrow brim to match the clown's odd proportions. Add folds and creases along the sides of the head to show wrinkles and the curvature of the skull. These details will bring out the character’s eerie and exaggerated features.
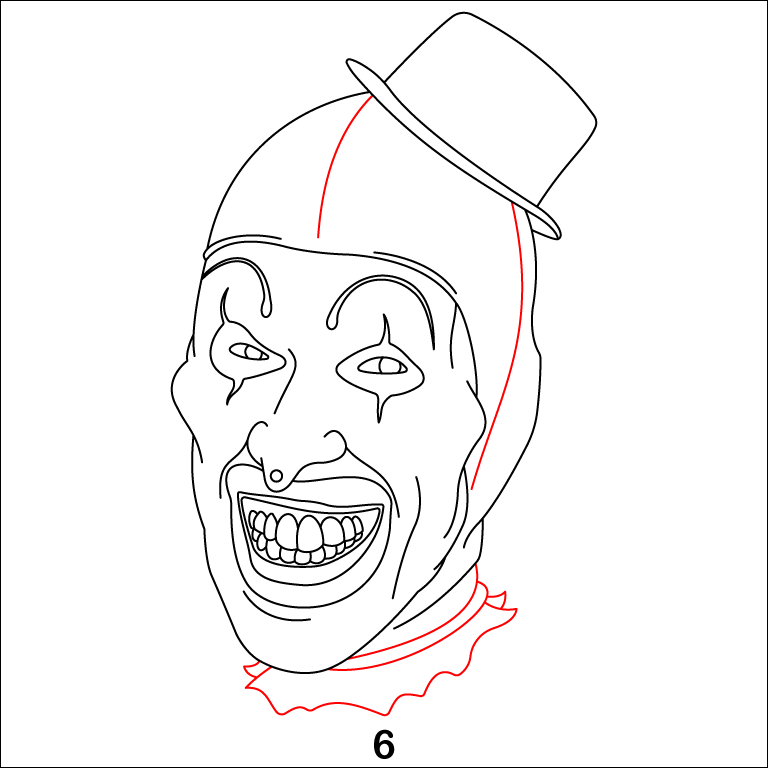
Step 6 - Add the Collar and Finish the Hat
Draw the ruffled collar around the base of the neck using wavy, overlapping lines to give it a voluminous, frilly appearance. Complete the hat by refining the brim and adding a few subtle lines for texture. Ensure the hat appears securely placed and slightly tilted for a whimsical yet unsettling touch.
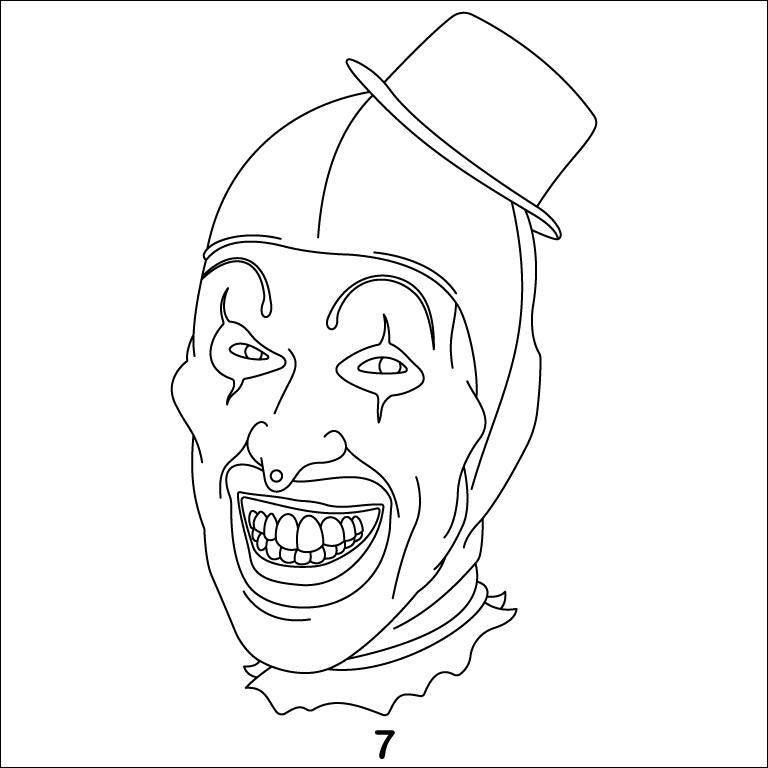
Step 7 - Finalize the Drawing
Refine all the features of the clown, ensuring the symmetry of the eyes, the smoothness of the collar lines, and the sharpness of the teeth. Add faint vertical lines down the face to suggest subtle contours or creases for added realism. Erase any unnecessary construction lines and darken the final outlines to complete the drawing of Art The Clown Head.
