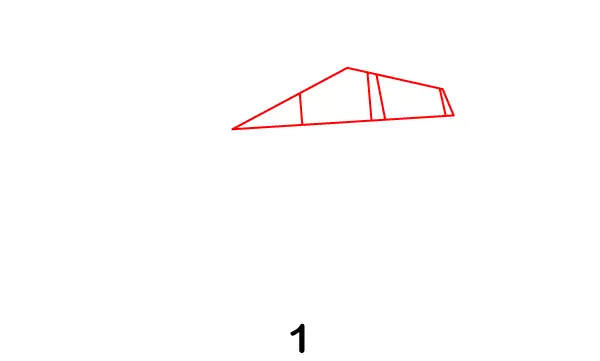
Draw a trapezoid-like shape for the side windows. Add vertical divider lines inside the window to separate the front and rear sections. Keep all lines sharp and straight to match the futuristic, angular design.
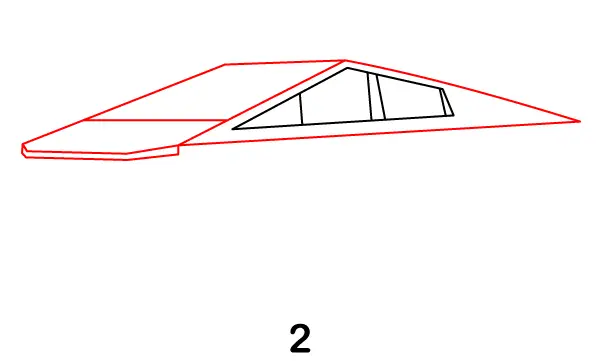
Step 2 – Extend the Front and Rear Body
Now extend the roofline forward to create the pointed front hood. Then stretch the back line toward the rear to form the truck’s long, sloped body. Add a thin line under the front to begin shaping the bumper area. Keep everything geometric with clean, straight edges to capture the Cybertruck’s unique design.
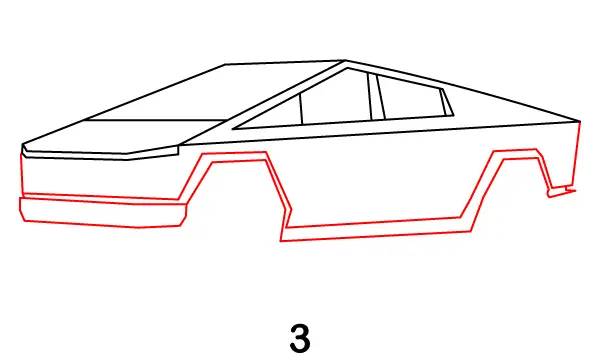
Step 3 – Draw the Lower Body and Wheel Arches
Sketch the lower portion of the truck by adding a long base line beneath the body. Then draw two angular wheel arches—one near the front and one near the rear. Unlike regular cars, these arches should have sharp, polygon-like edges instead of smooth curves. Connect all lines carefully to complete the truck’s overall body shape.
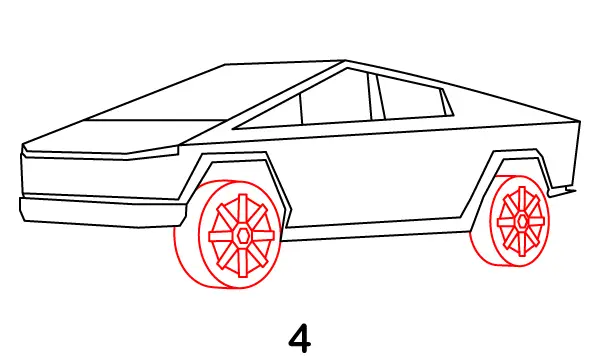
Step 4 – Add the Wheels and Rims
Draw two large circles under the wheel arches for the tires. Inside each tire, add detailed rims using straight lines and geometric patterns to match the futuristic style. You can create a star-like or segmented design for the rims to give them a bold, modern look.
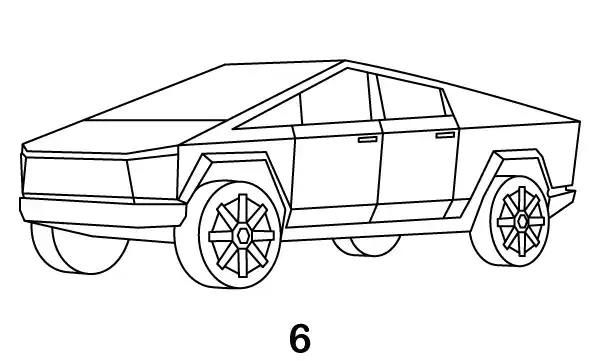
Step 5 – Add Body Panels and Details
Enhance the truck by adding panel lines across the body. Draw vertical and diagonal lines to separate different sections like doors and panels. Add small rectangular shapes for the door handles. Don't forget to add the other two wheels.
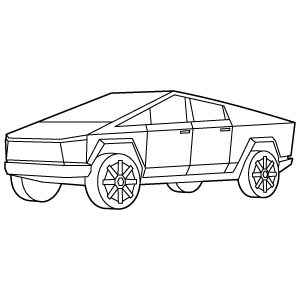
Step 6 – Complete Tesla Cybertruck the Drawing
Go over your entire drawing with darker, cleaner lines. Erase any extra sketch marks and smooth out uneven edges. Refine details like the wheels, panels, and window lines to make everything look sharp and polished. Once finished, your Tesla Cybertruck drawing is complete and ready for shading or coloring.