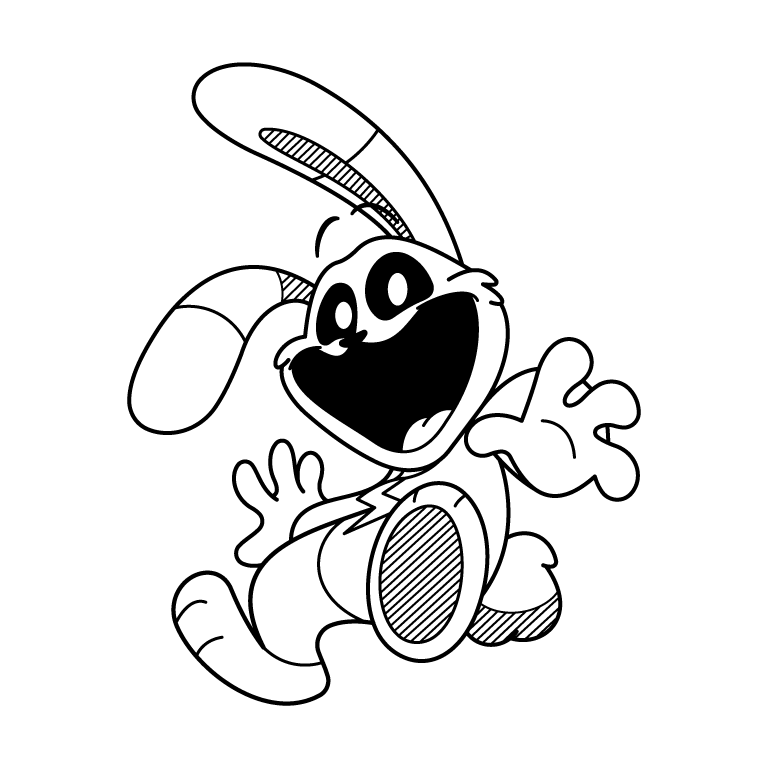
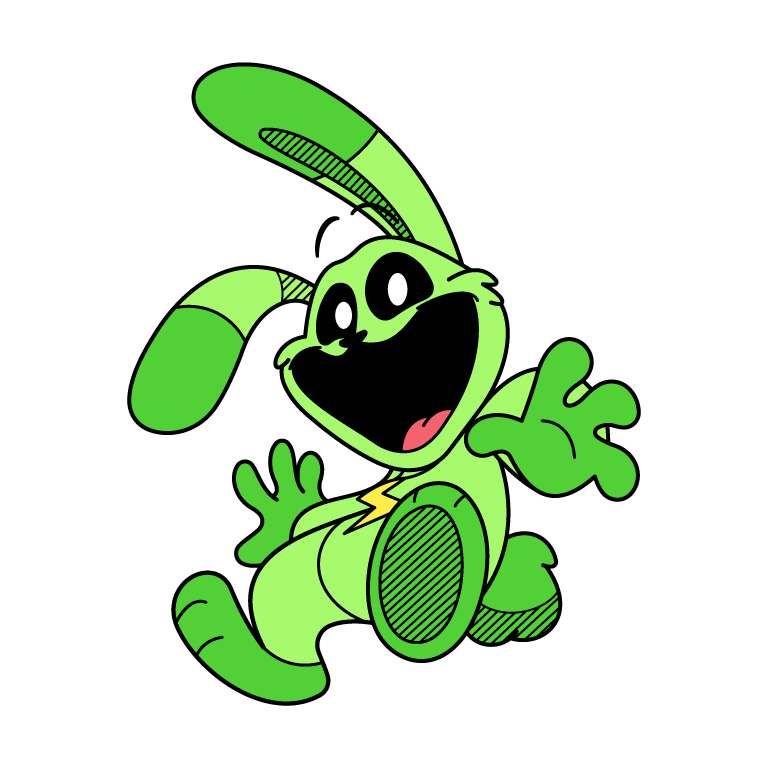
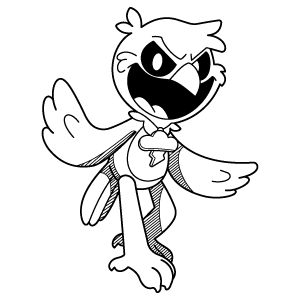
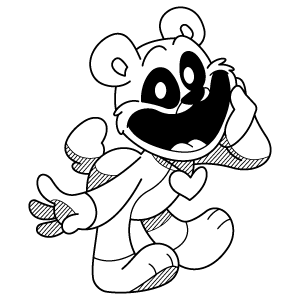
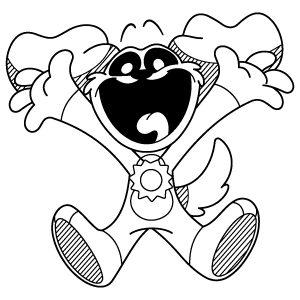
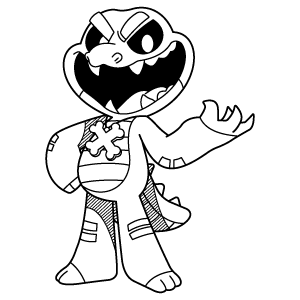
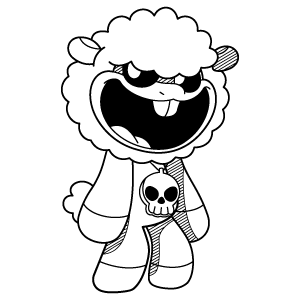
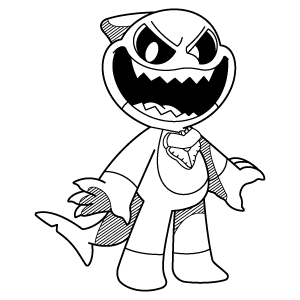
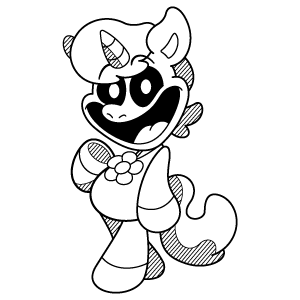
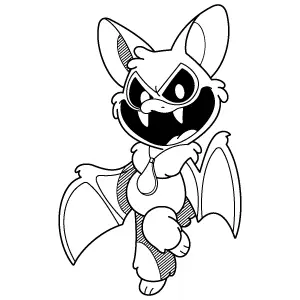
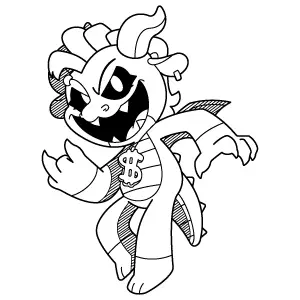
This energetic black-and-white illustration of Hoppy Hopscotch is ready for a creative burst of color. With its energetic pose and cheerful design, this coloring sheet is perfect for kids and adults alike. Use your favorite shades to add personality and vibrance to this fun-loving character.
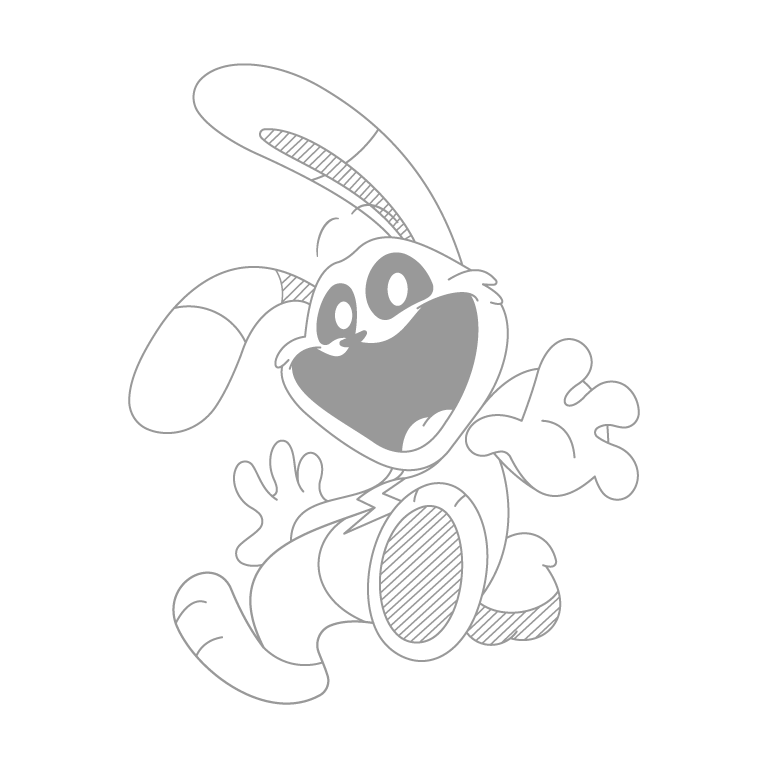
This traceable version of Hoppy Hopscotch is designed with clear, simplified outlines to help you practice your tracing skills. The light lines make it easy to recreate the character’s fun and energetic pose while improving your drawing confidence and technique.
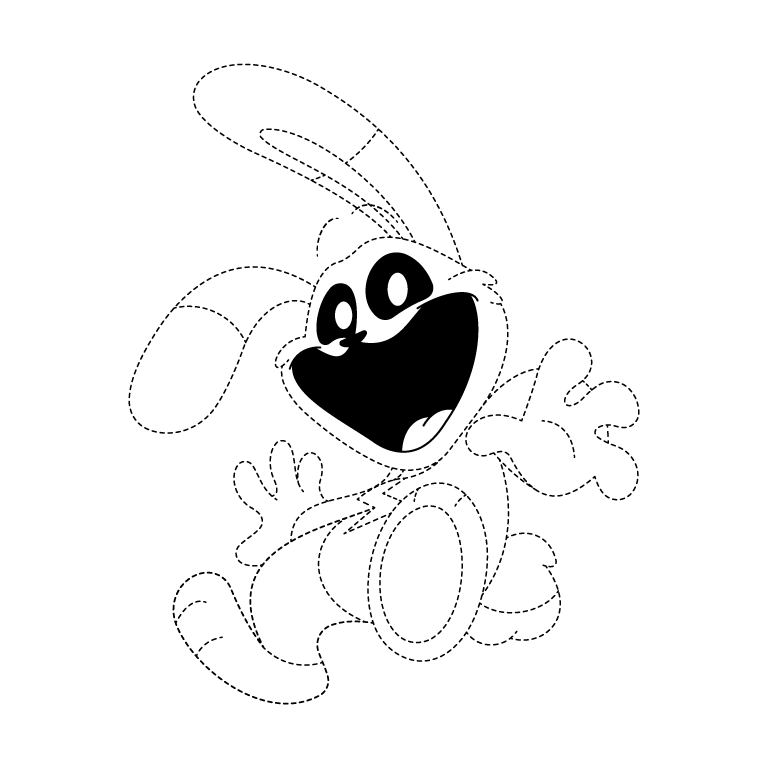
This dotted-line version of Hoppy Hopscotch is ideal for tracing practice. Follow the dots to complete the design and refine your artistic skills. It’s a simple and enjoyable way to learn drawing while exploring this cheerful character’s playful design.
How To Draw Hoppy Scotch Step By Step
This step-by-step guide will help you draw Hoppy Hopscotch, a lively bunny with a big smile and energetic pose. Follow the steps to draw his long ears, expressive face, and playful arms and legs. Use the reference image to ensure the details and proportions are accurate for the best result. Grab your pencils and start drawing Hoppy Hopscotch!
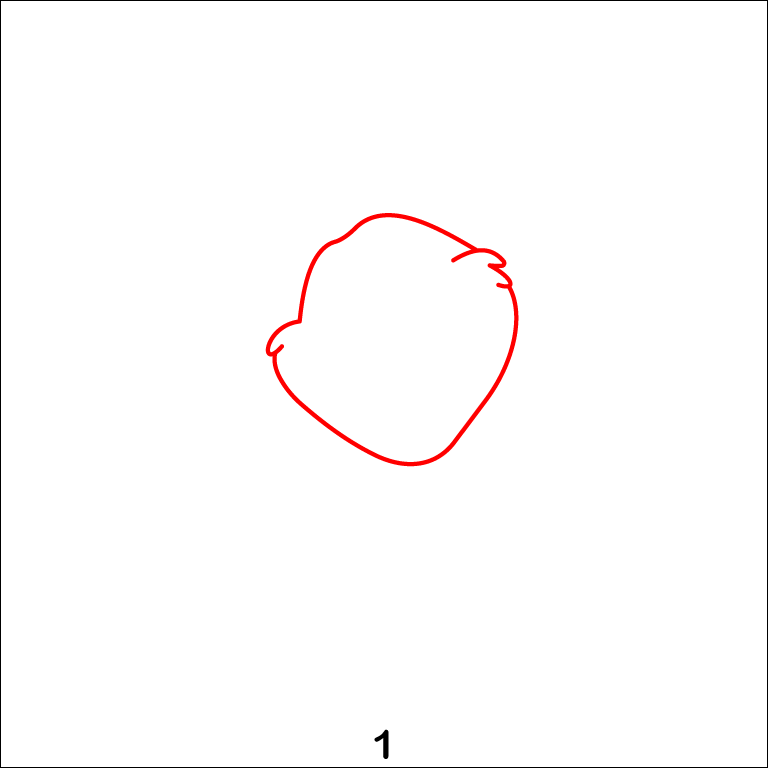
Step 1 - Outlining the Head Shape
Start by sketching the overall head outline, including the slight curve for the cheeks and the rounded top of the head. Add a small dip on the right side to define the contours of the character's unique facial shape.
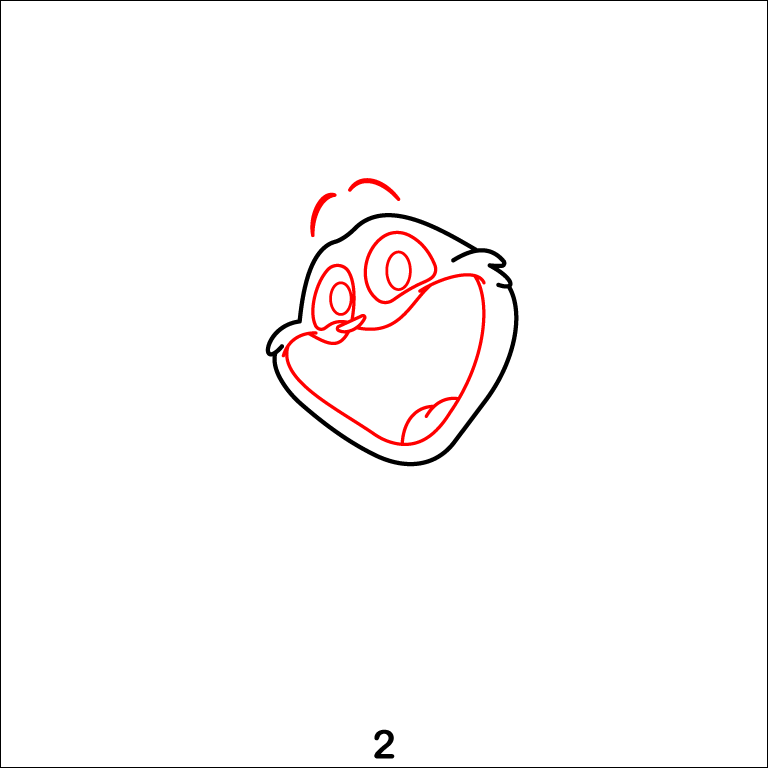
Step 2 - Adding Facial Features
Draw the wide-open mouth with rounded edges, then include the tongue inside. Sketch two large eyes with expressive pupils and add the small eyebrows just above. These features will help establish the character's cheerful expression.
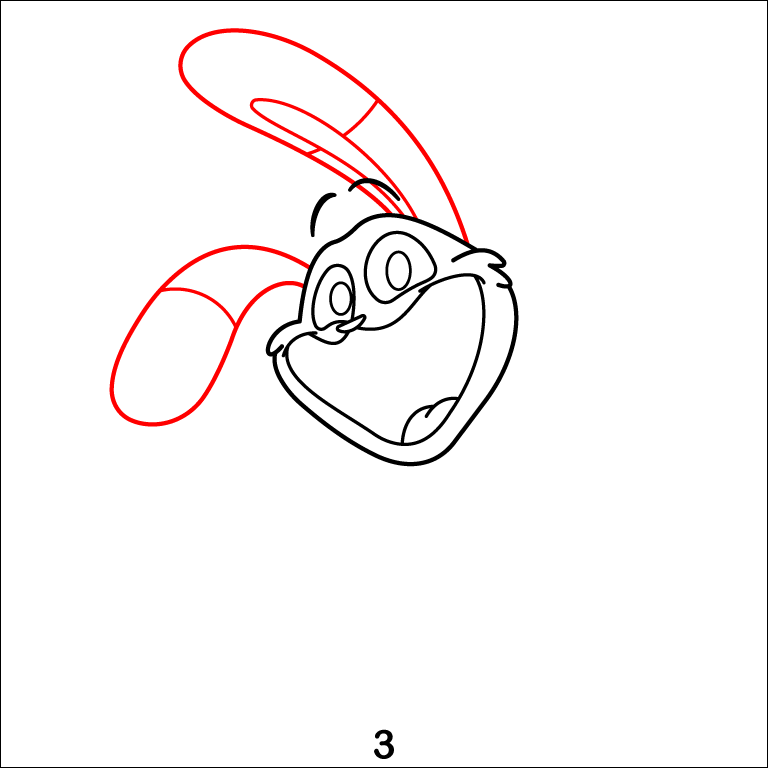
Step 3 - Drawing the Ears
Extend two long, curved shapes from the top of the head to create the ears. Add inner ear details by drawing parallel lines within the ear shapes. Ensure the curves are smooth to reflect the floppy, playful ears.
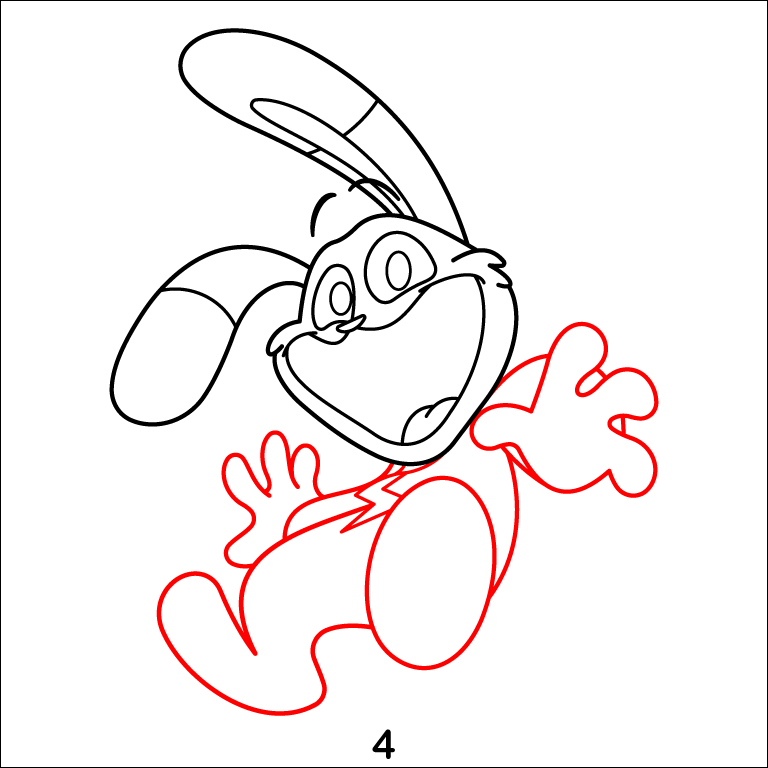
Step 4 - Sketching the Arms and Torso
Add the body by drawing the rounded torso and extending the arms outward in an enthusiastic pose. The hands should include clearly defined fingers to highlight the energy in the character's stance, don't forget to draw the lighting bolt emblem below his head.
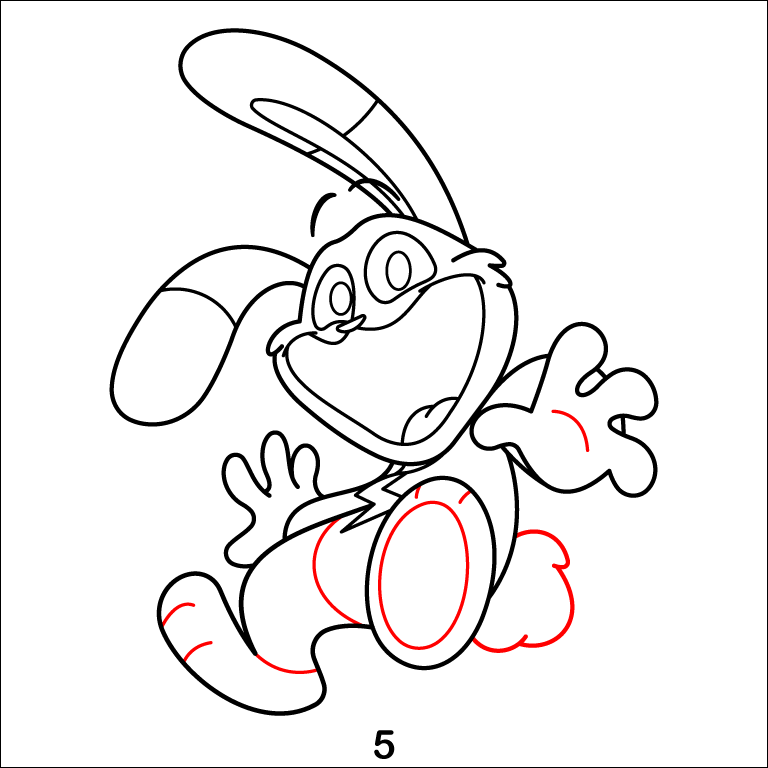
Step 5 - Creating the Legs and Tail
Draw the legs with rounded, bent shapes to reflect a dynamic, jumping posture. Add the tail on the left side, curving it slightly upward. This will enhance the movement of the overall pose.
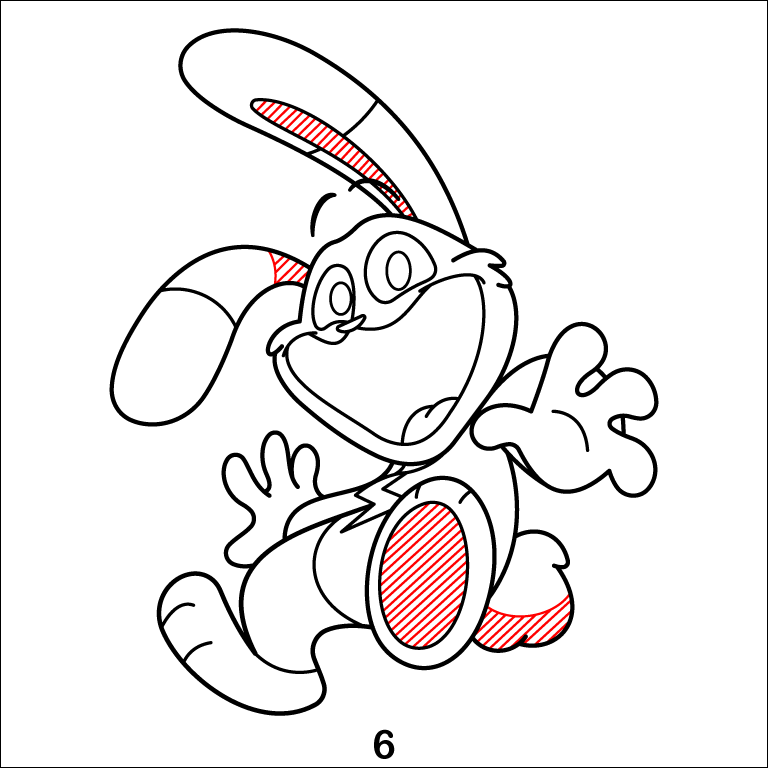
Step 6 - Adding Stripes and Patterns
Include details like the stripes inside the ears, on the legs, and on the tail. These details help define the character's unique features. Use diagonal lines for the patterns to create a fun and energetic vibe.
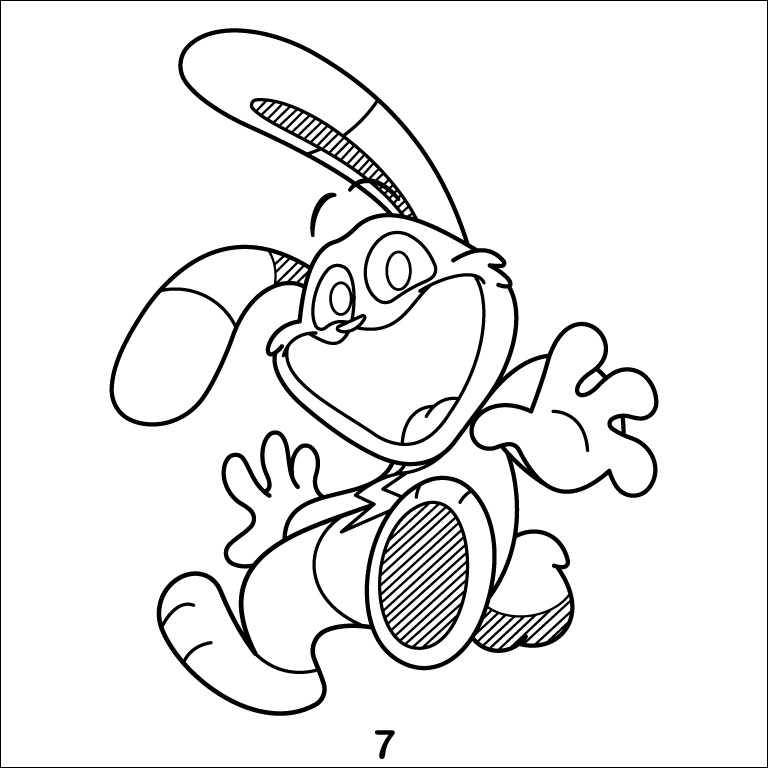
Step 7 - Final Details and Clean-Up
Complete the drawing by refining the outlines and adding finishing touches, such as the detailed lining in the inner ears, the legs, and the tail. Erase any unnecessary guidelines to clean up your sketch.
