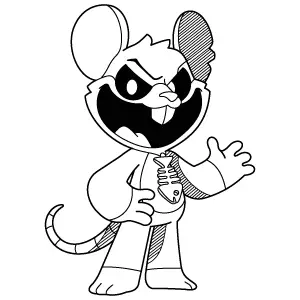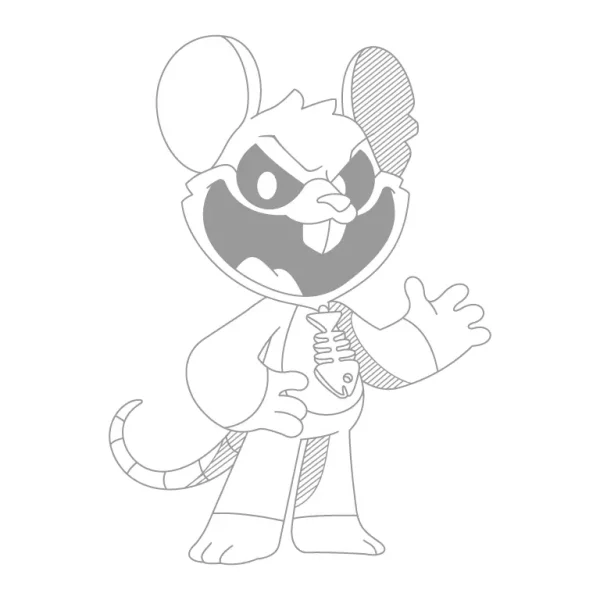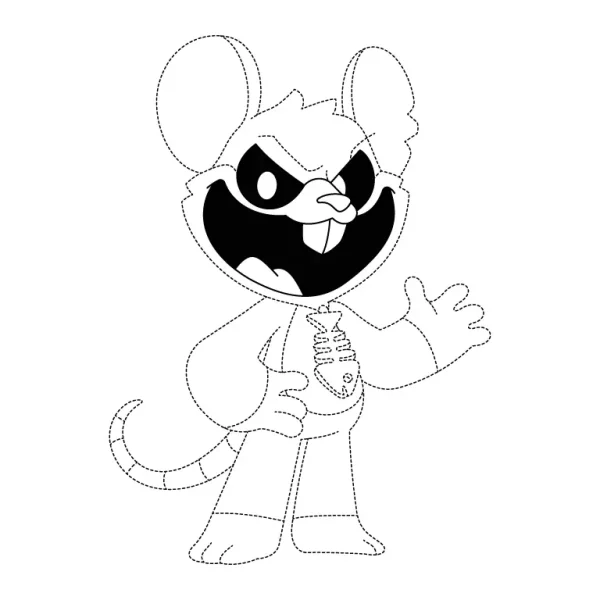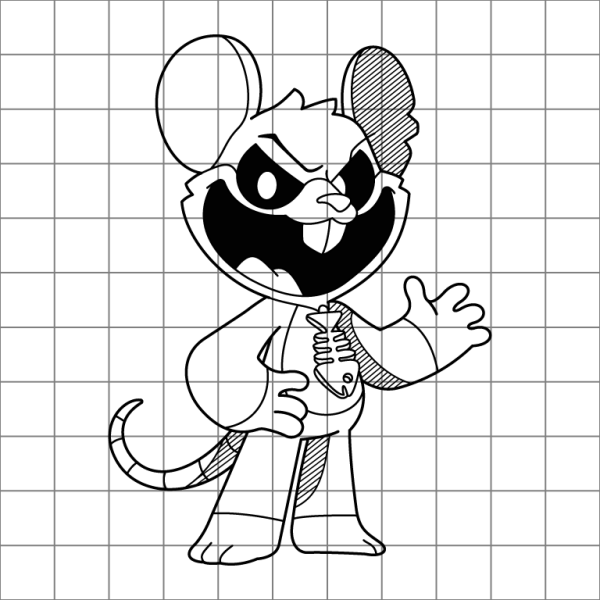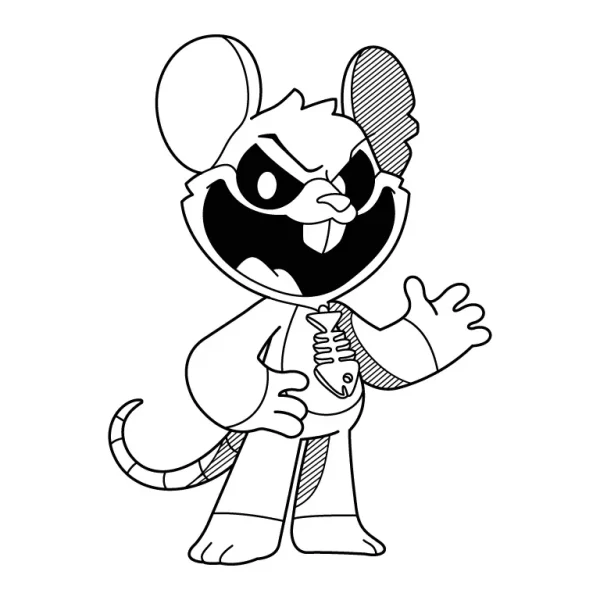
How To Draw Touille Step By Step
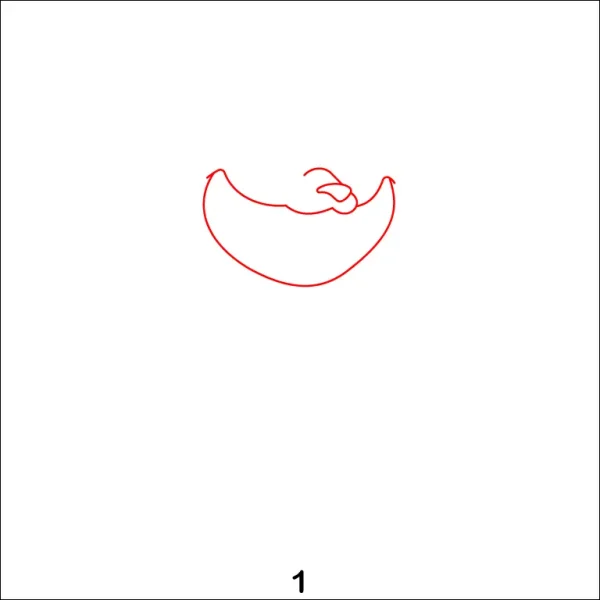
Step 1 - Drawing the Mouth and Nose
Start by sketching the mouth in a wide, curved shape with a sharp grin. Add triangular teeth for a fierce look. Then, place a small, curved nose just above the center of the mouth. This will be the base for the character’s facial features.
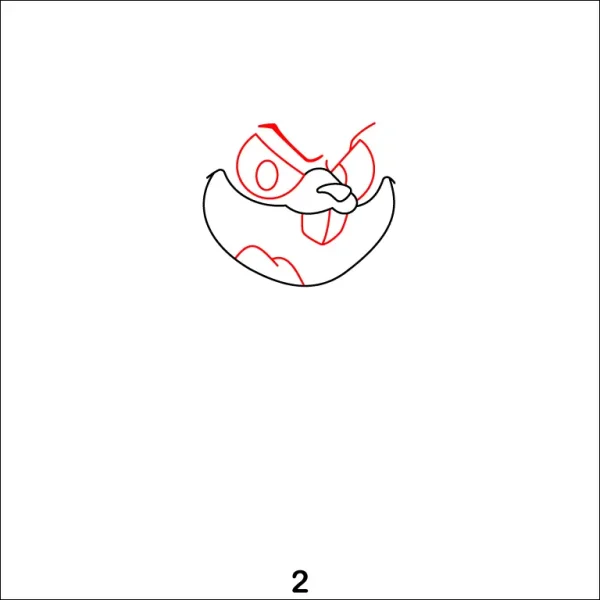
Step 2 - Adding Eyes and Eyebrows
Draw two large eyes above the mouth. Make them oval-shaped with bold outlines. Add pupils for expression. Sketch thick, sharp eyebrows above the eyes to give a mischievous or angry look. This step sets the tone for the character’s personality.
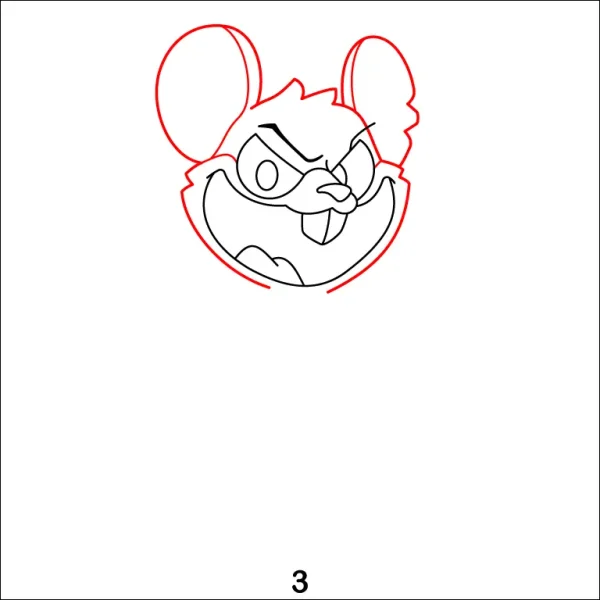
Step 3 - Drawing the Face Shape
Create the outline of the face around the eyes, nose, and mouth. Add two large, circular ears on either side of the head, and complete the face shape with a smooth curve connecting the lower jaw. Ensure the ears look proportional to the face.
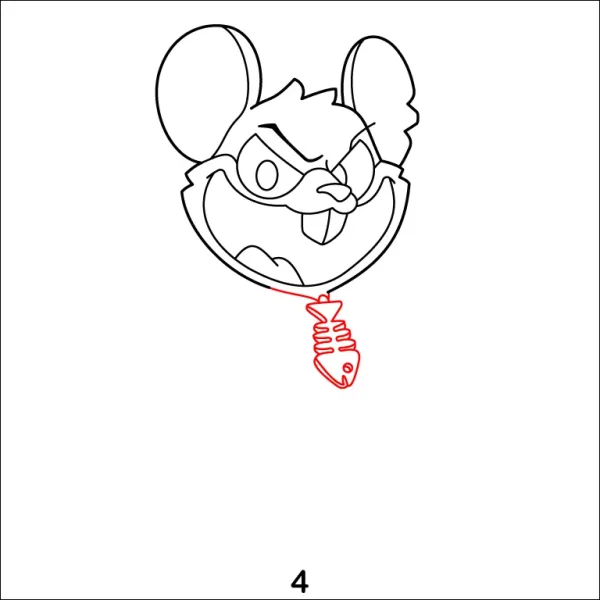
Step 4 - Adding the Necklace
Draw a necklace hanging below the face. Add a detailed pendant, such as a fish skeleton, to make the design unique and interesting. Connect the pendant to the neck with a thin string or chain.
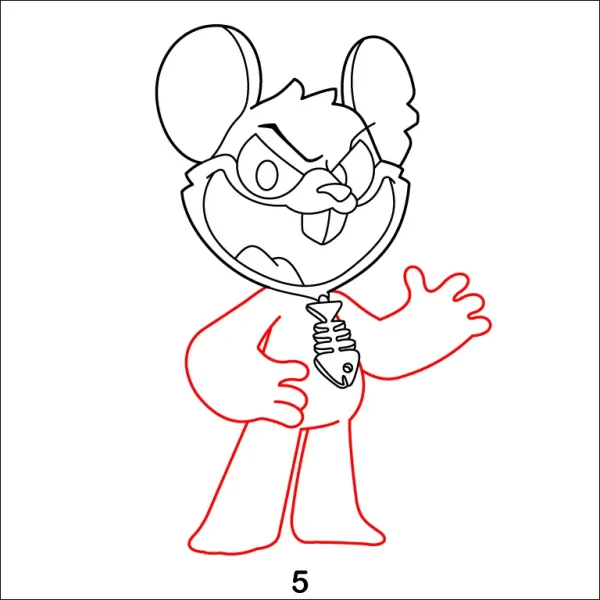
Step 5 - Sketching the Arms and Torso
Draw the arms extending out from the sides of the face. Make one arm raised as if waving, and the other arm slightly bent. Add the torso, ensuring it connects smoothly to the arms, with a wide base to make room for the legs.
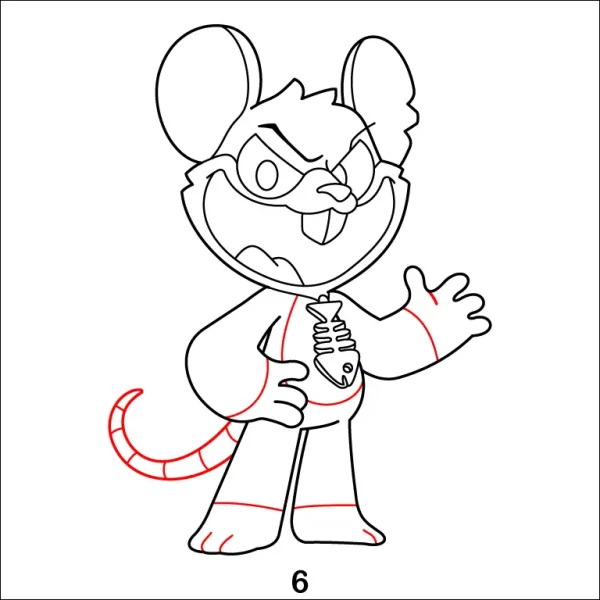
Step 6 - Adding tail and Stripes
Draw the legs at the bottom of the torso. Make them short and slightly rounded. Add a long, curved tail extending from the side of the torso. Divide the tail with a few horizontal lines to give it texture and detail.
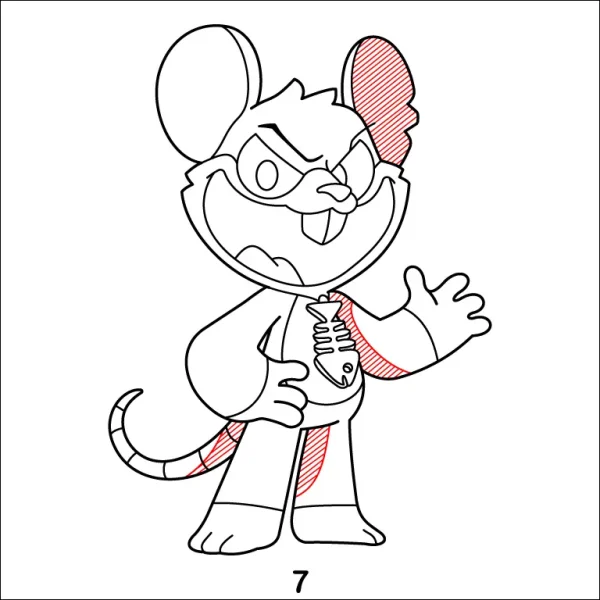
Step 7 - Shading the Stripes
Add stripes across the tail and arms for additional detail. Use curved lines to emphasize the character’s dynamic pose. Add simple shading to parts of the body, like the arms and tail, to give the drawing more depth.
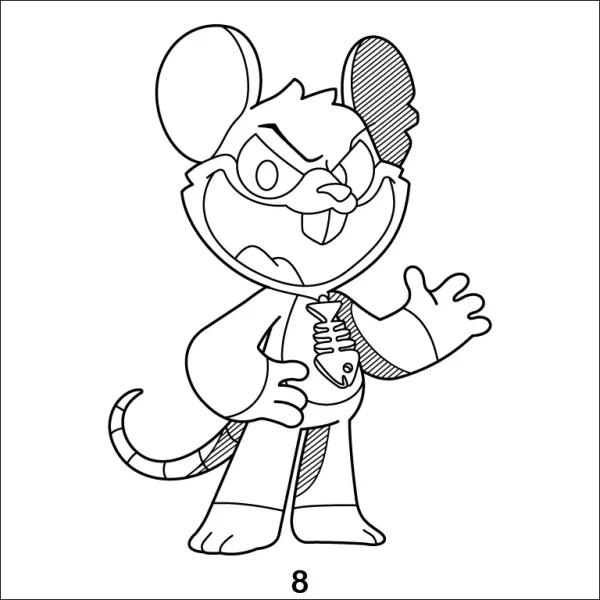
Step 8 - Final Touches
Darken the outlines to make the drawing stand out. Add more shading to areas like the ears, pendant, and legs to create contrast. Ensure all details, like the teeth and stripes, are clear and polished. Your character is now complete!

