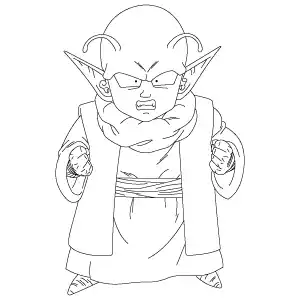

How To Draw Chi Chi Goten Step By Step
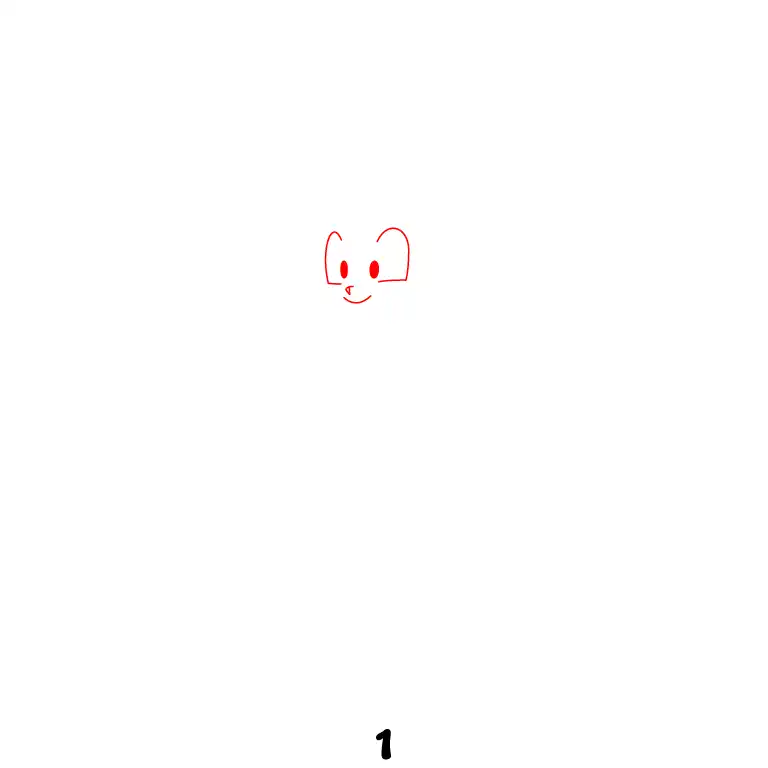
Step 1 - Draw the Face Features
Start by drawing two large, oval-shaped eyes with small black pupils. Add a tiny nose between them and a small curved line for the mouth to create a happy expression.

Step 2 - Sketch the Head and Hair
Draw the shape of the head around the eyes, adding two curved ears on the sides. Then, sketch the spiky hair using sharp, zigzag lines to give it volume.
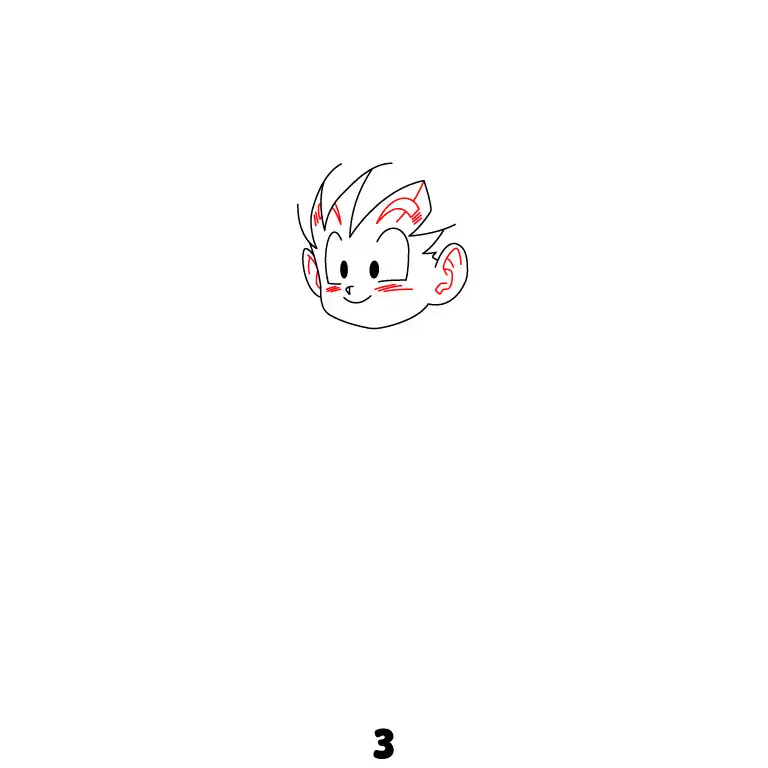
Step 3 - Add details to the Face
Add small curved lines inside the ears for depth. Draw short marks on the cheeks to give the character more expression and don't forget to add the eyebrow above each eye.
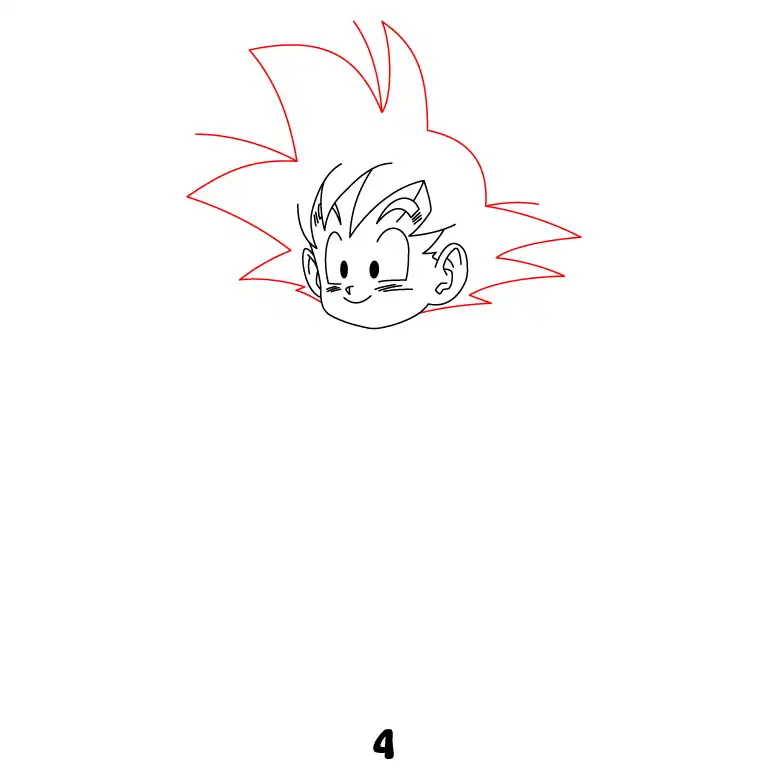
Step 4 - Complete the Hair
Extend the spiky hair further by adding more pointed sections. Keep the spikes uneven but balanced to make the style look natural.
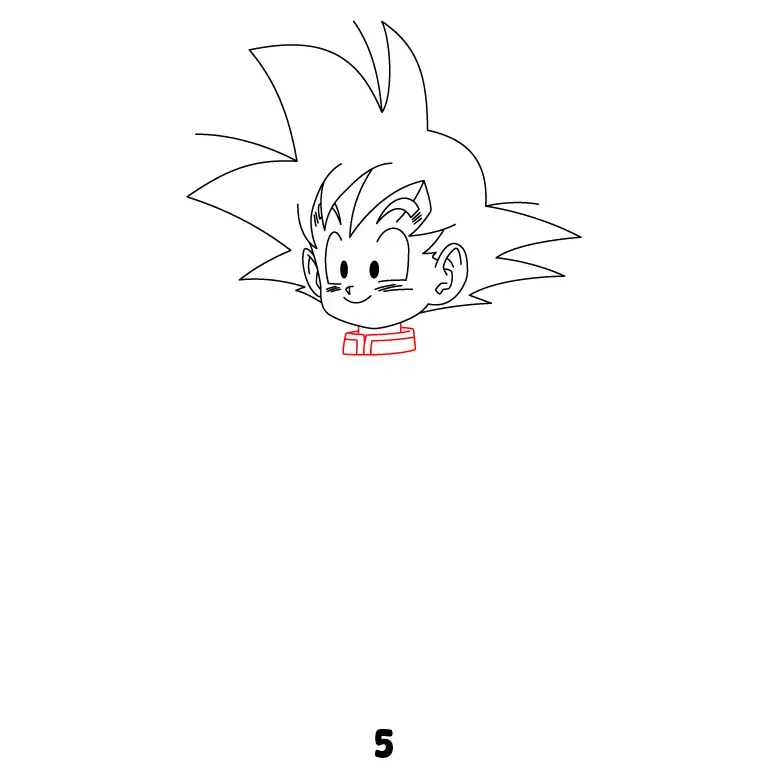
Step 5 - Draw the Collar and Upper Clothing
Below the head, draw a small, square-shaped collar. Add a few details like buttons and seams to define the clothing.
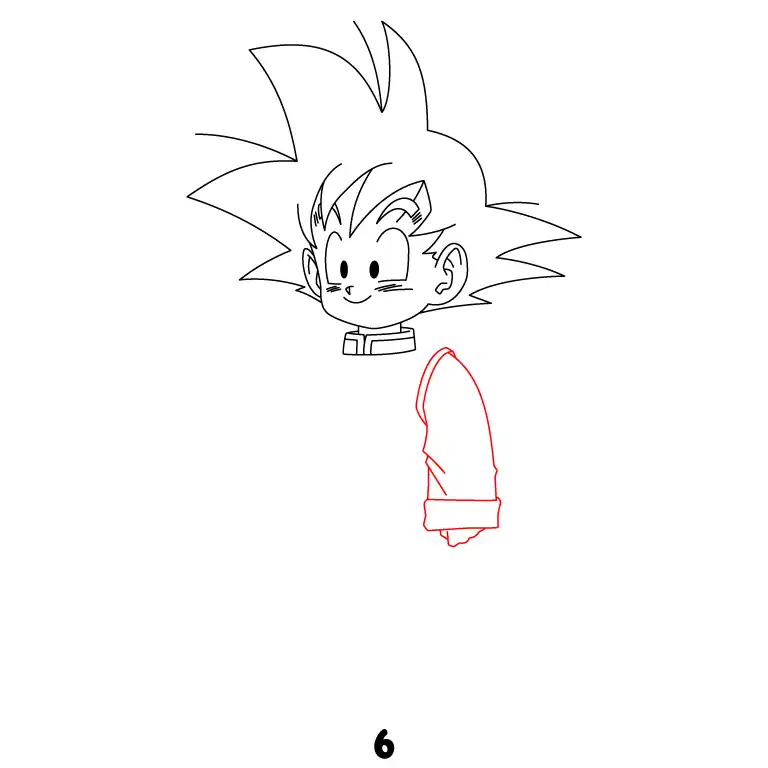
Step 6 - Start Drawing the Right Sleeve
Extend a curved line downward from the collar to create the right sleeve. Add a cuff at the end and include a few folds for a natural look.
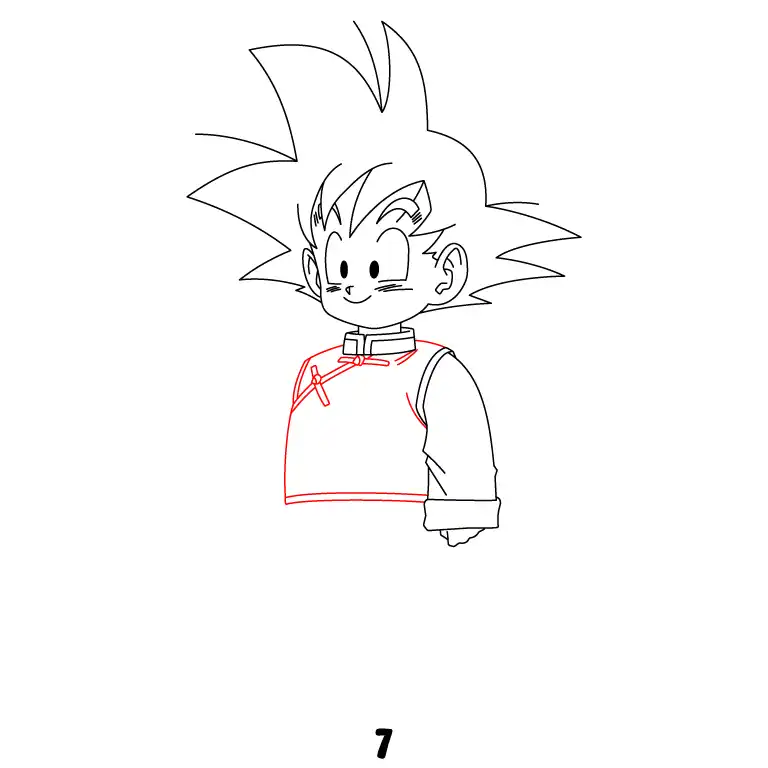
Step 7 - Complete the Upper Body
Draw the rest of the top, making sure it looks slightly loose. Add stitching and knots to give it more detail.
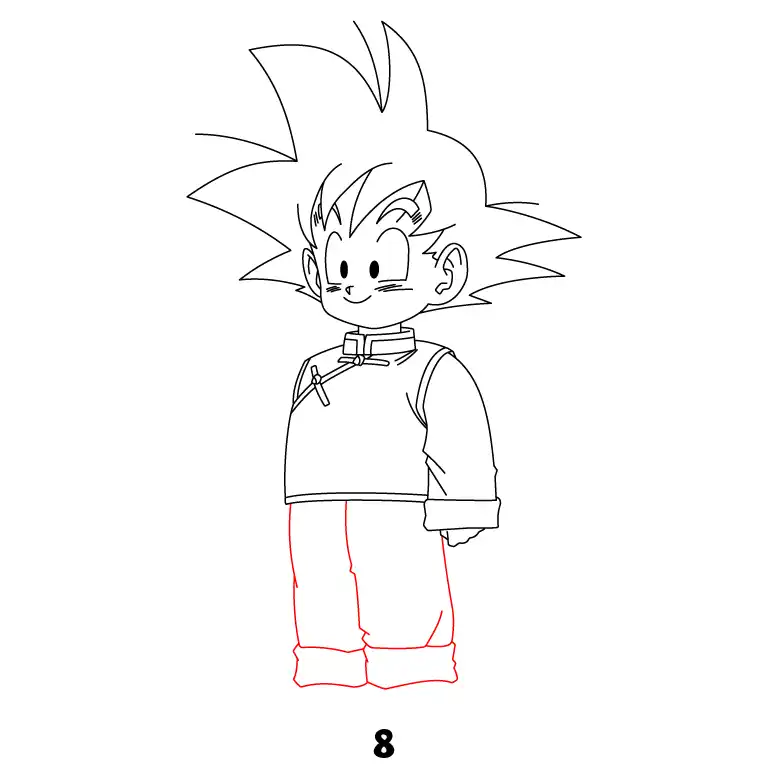
Step 8 - Draw the Pants
Extend two long, slightly curved lines downward to form the pants. Add cuffs at the bottom and include some folds to make them look natural.
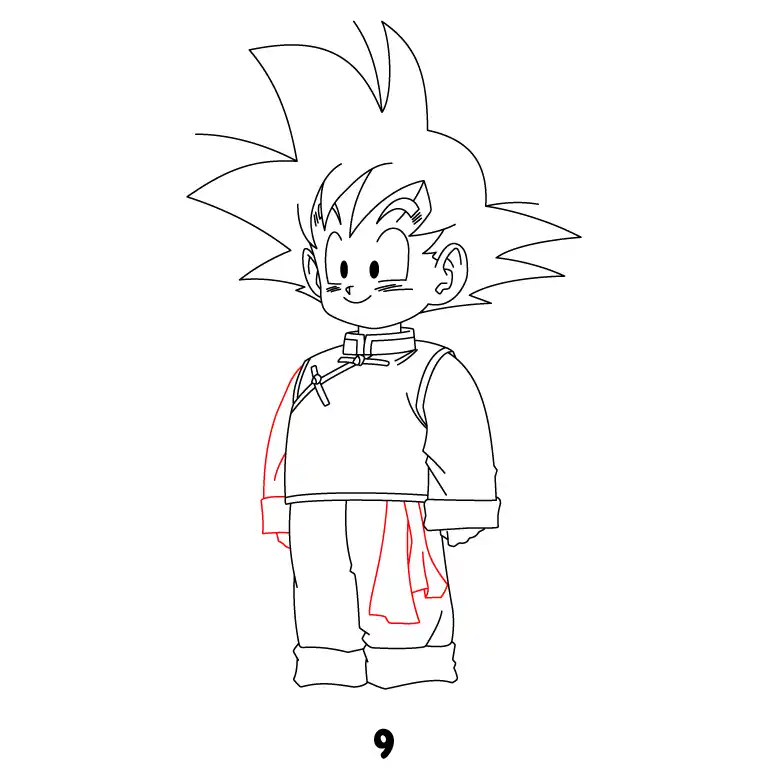
Step 9 - Add the Sash and Left Sleeve
Draw a sash hanging from the waist. Then, add the left sleeve to match the right one.
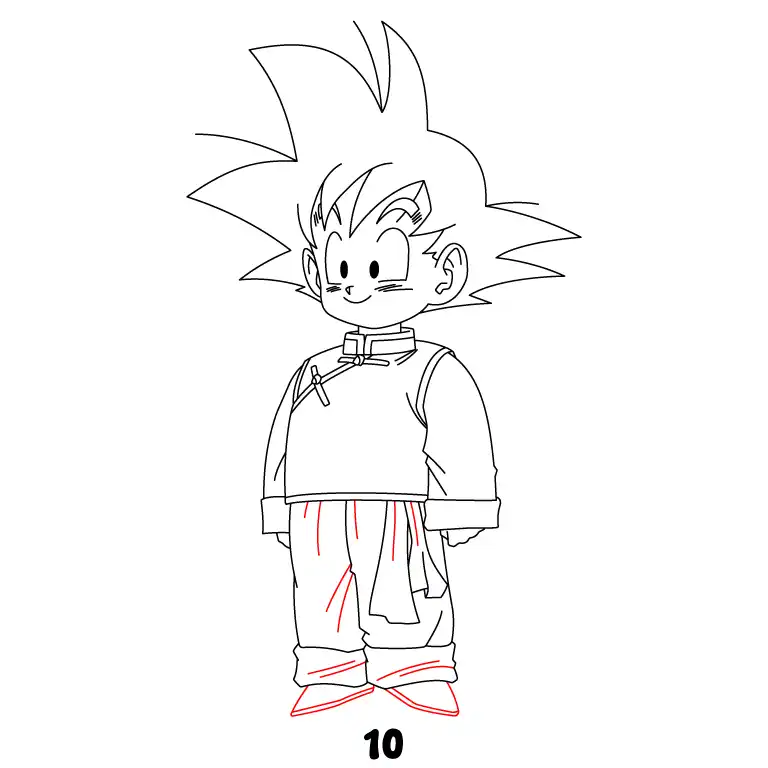
Step 10 - Add the Shoes and Details
Sketch the shoes at the bottom of the pants. Add extra folds in the pants and sash for more detail.
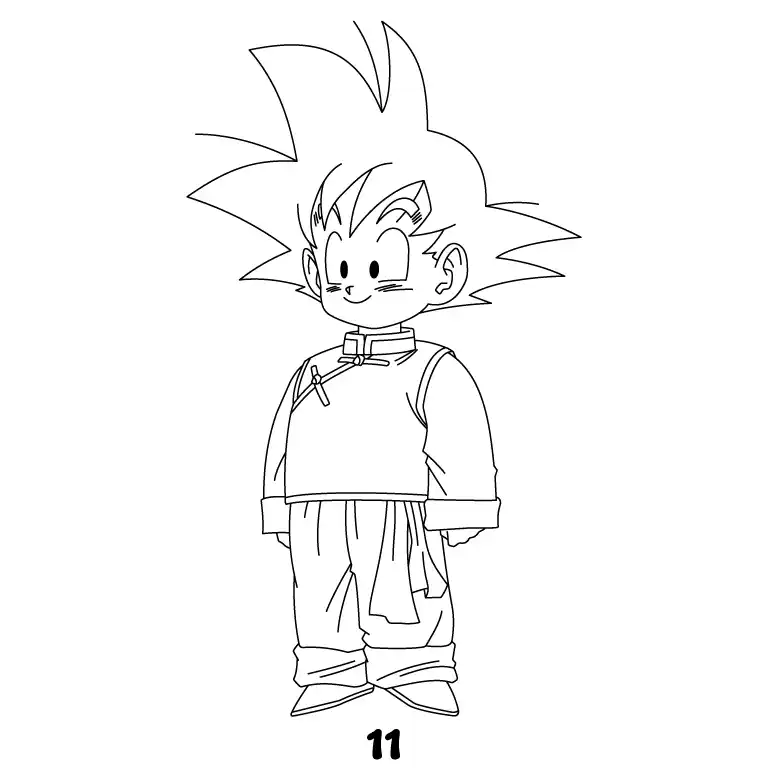
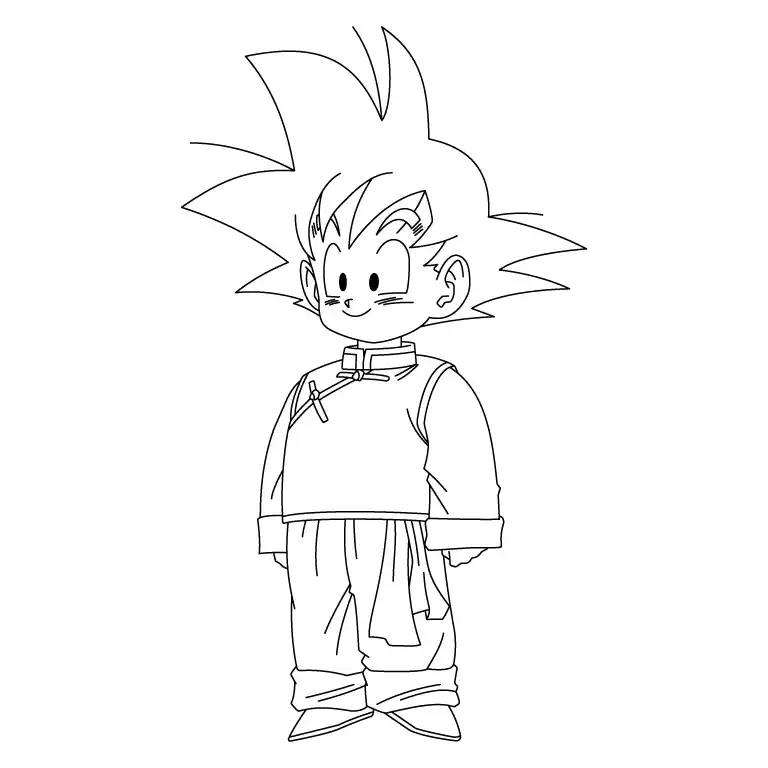
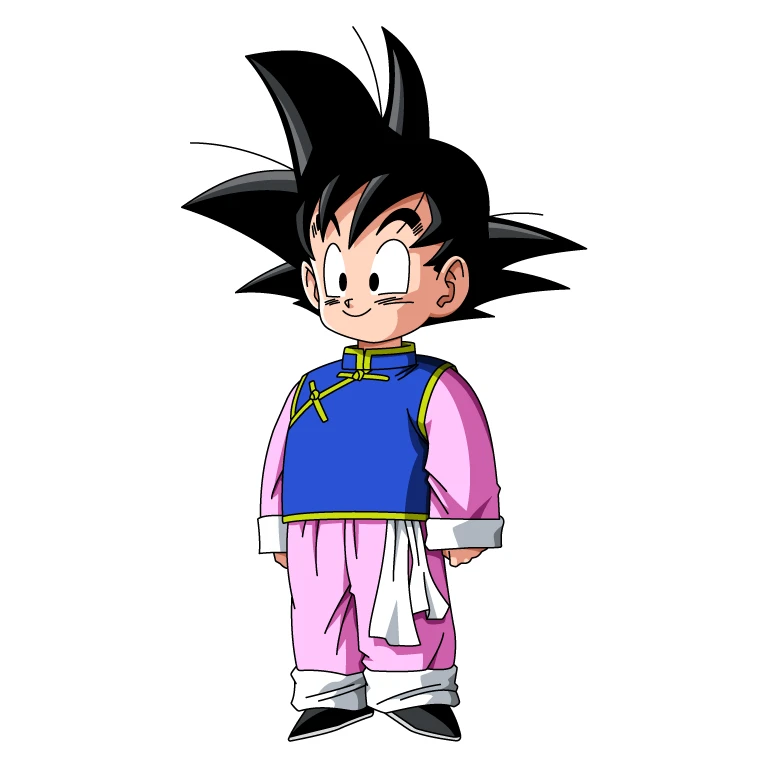
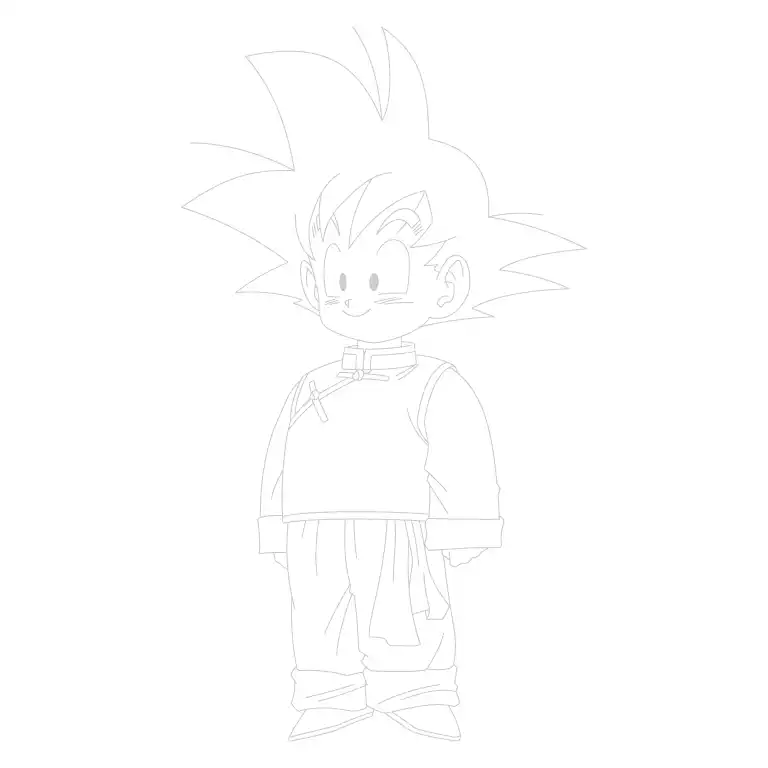
Step 11 - Complete Chi Chi Goten Drawing
Go over the lines, making sure everything looks clean and clear. Erase any extra marks and refine the details.