How To Draw Anxiety Step By Step
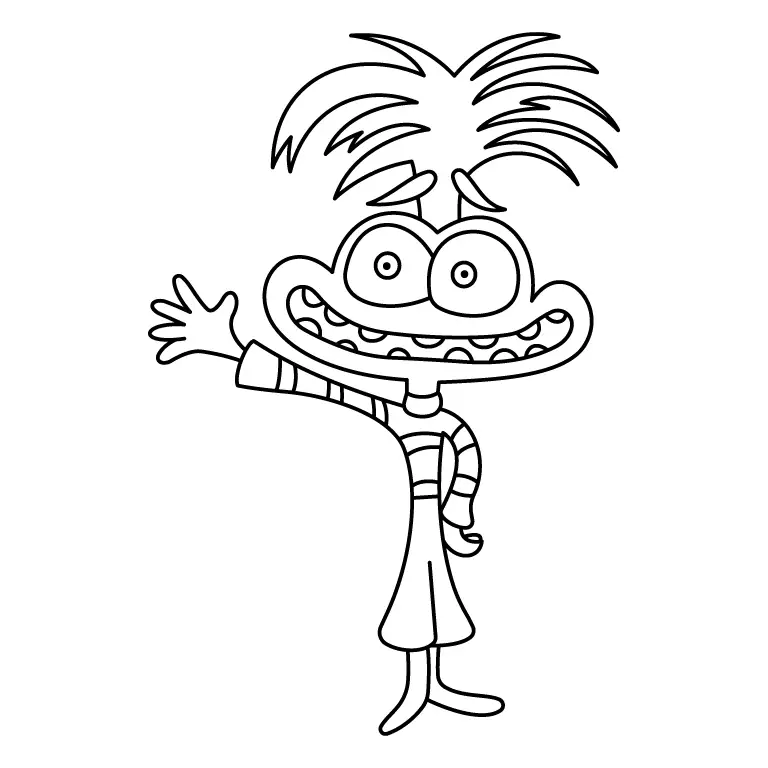
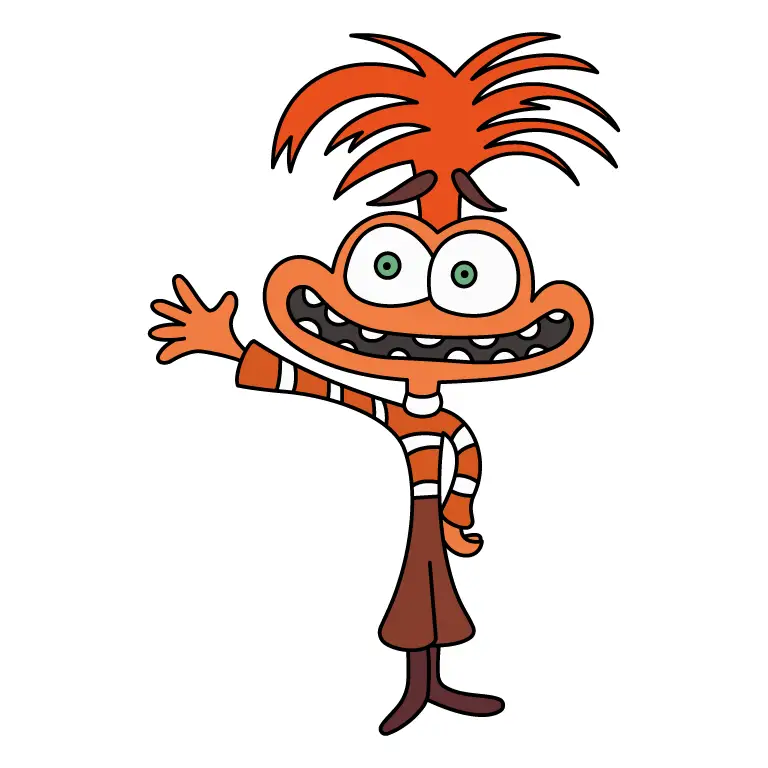
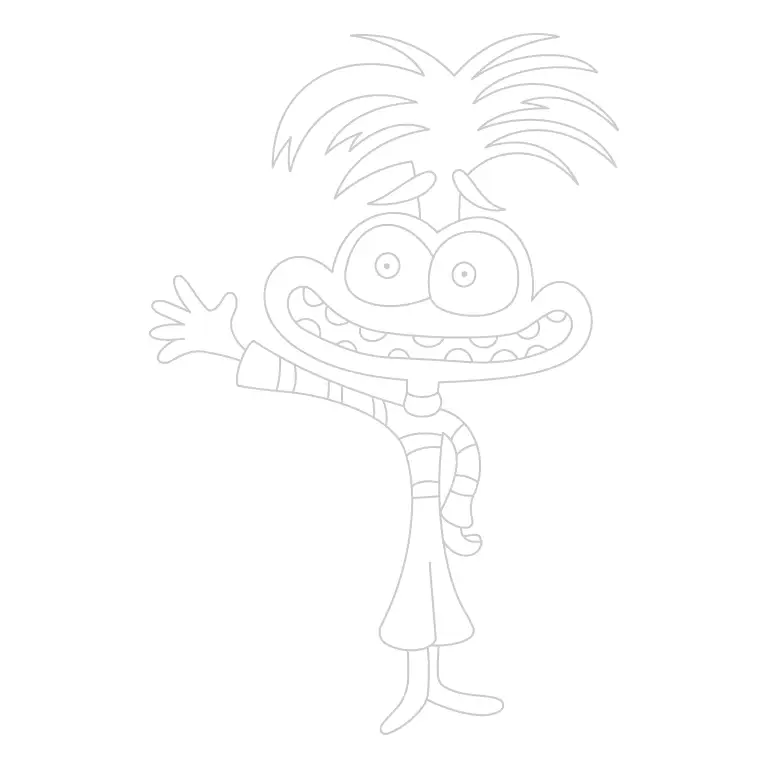
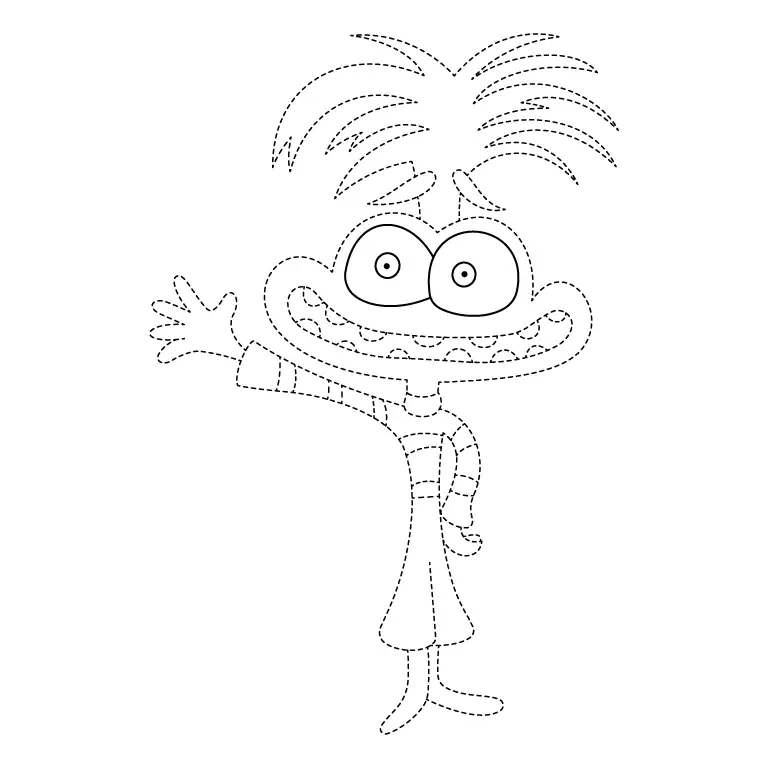
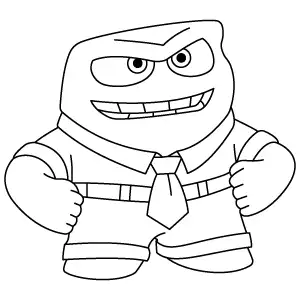
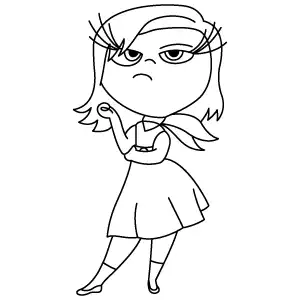
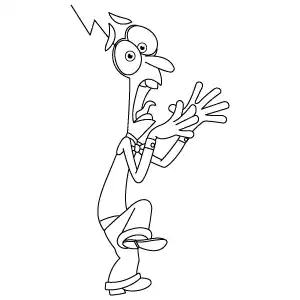
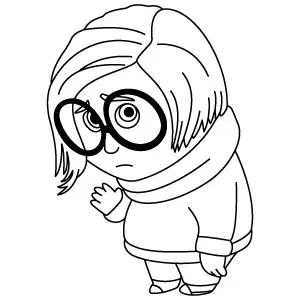
This step-by-step guide will help you draw Anxiety, the newest character from Inside Out 2. Follow the instructions closely and use the reference image to sketch their unique design and expressive features. This guide is simple to follow and suitable for beginners and experienced artists, making it easy to illustrate Anxiety’s distinctive appearance.
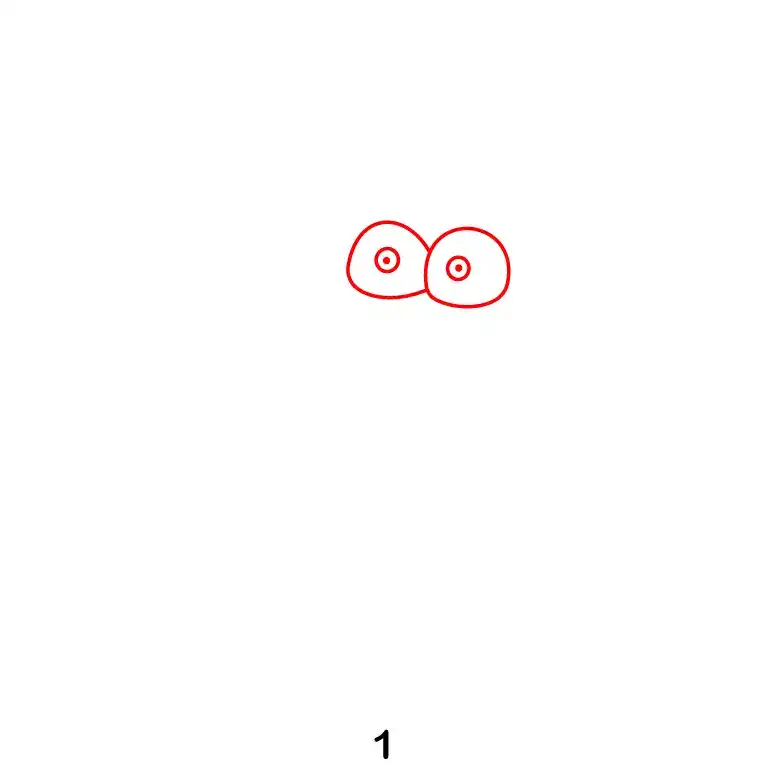
Step 1 - Draw the Eyes
Start by drawing two large circular eyes and add small, dark pupils in the middle to create an expressive look.
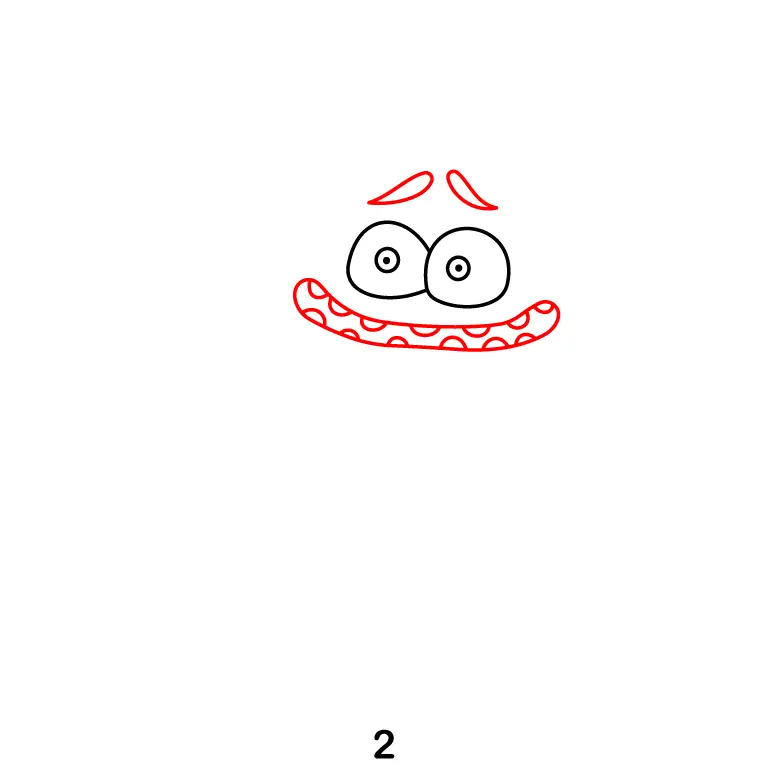
Step 2 - Add the Facial Features
Below the eyes, draw a wide, open mouth with slightly curved edges. Inside the mouth, add multiple small, sharp teeth for a nervous or excited expression. Above the eyes draw a downturn curved line for his eyerbows.
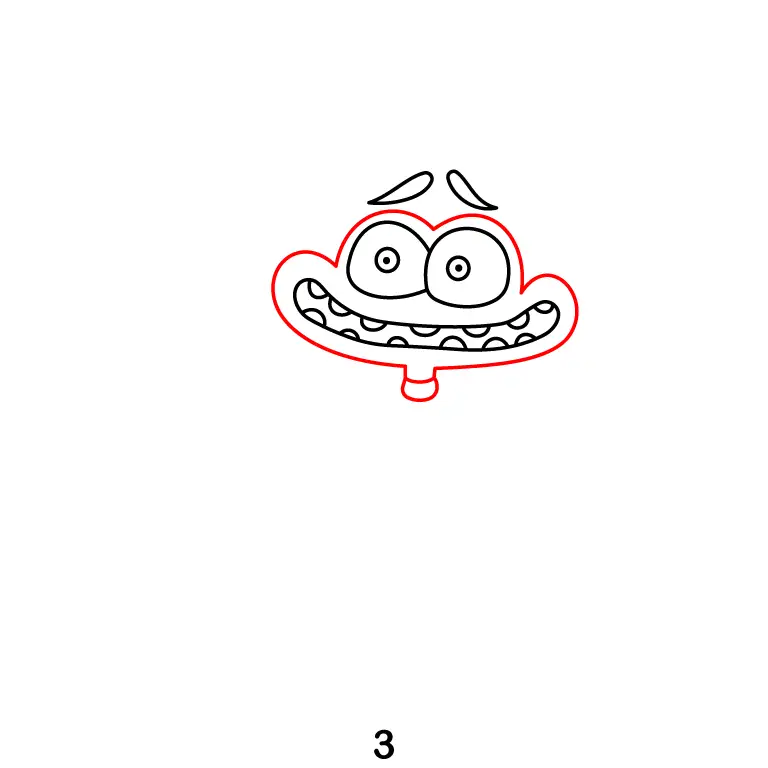
Step 3 - Draw the Face Shape
Outline the facial features from his eyes to his mouth to form the face shape. Below the face draw a small square shape for collar.
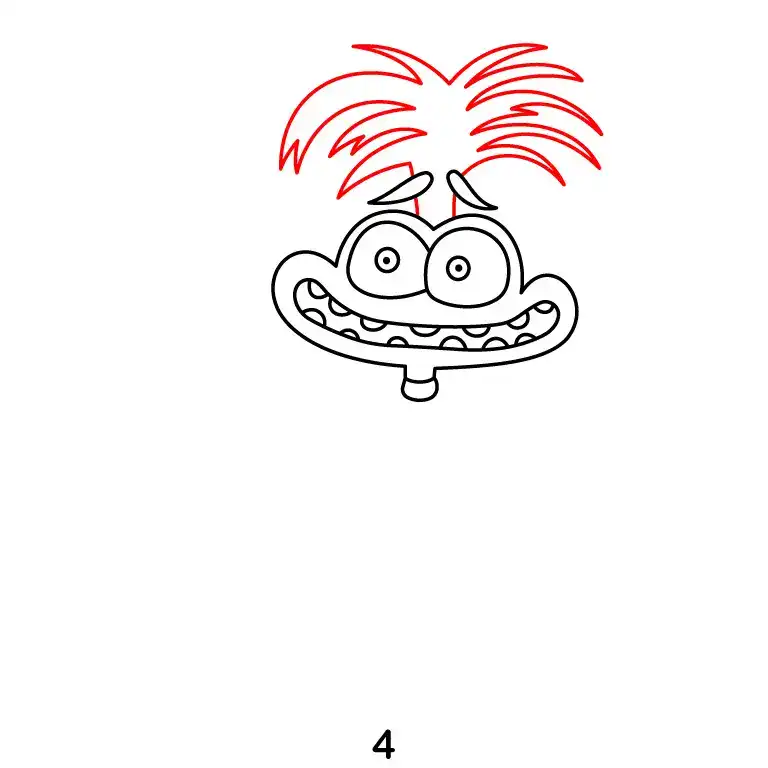
Step 4 - Add The Spiky Hair
From the open top of the head, draw Anxiety's signature wild and spiky hair. Create uneven, jagged lines pointing outward to capture the frantic energy of the character. Make sure the hair looks dynamic and irregular.
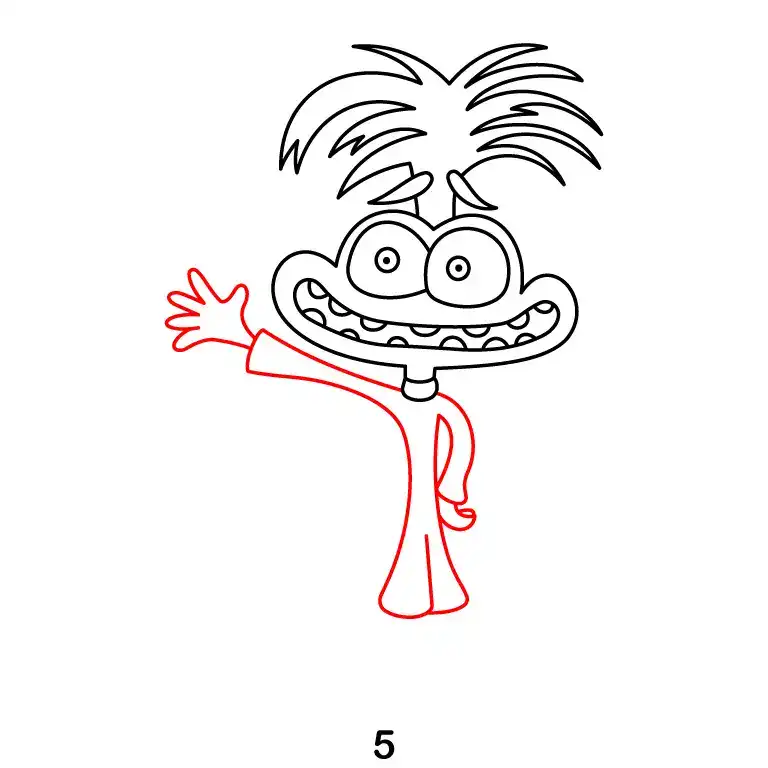
Step 5 - Draw the Body and Clothes
Draw a long, flowing torso beneath the neck with arms and hands. One hand is on the torso and the other is waving.
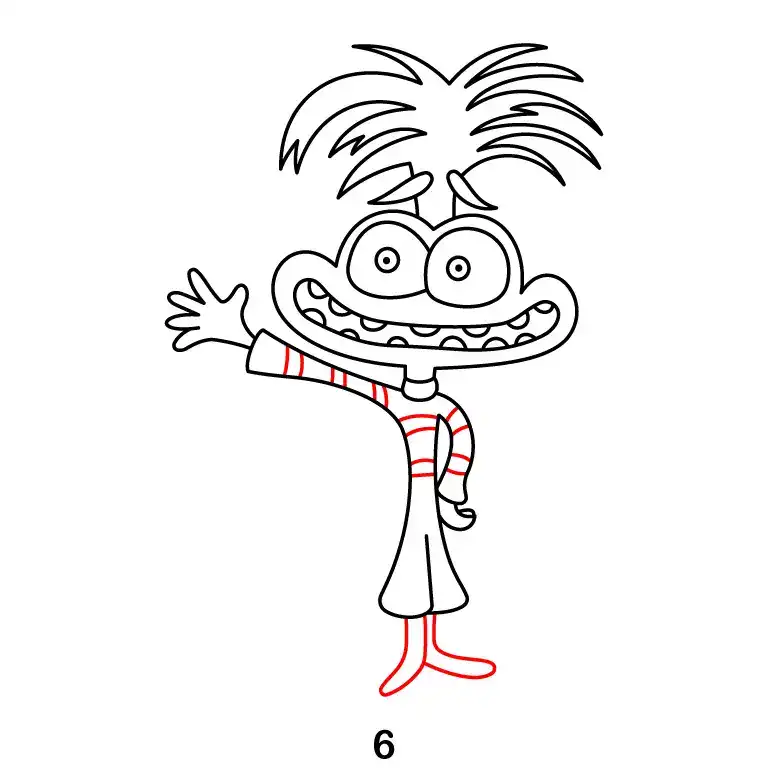
Step 6 - Add the Shirt details and legs
Add horizontal stripes across the shirt for detail. At the bottom of the torso, draw Anxiety's thin legs extending downward. Sketch small, rounded feet at the end.
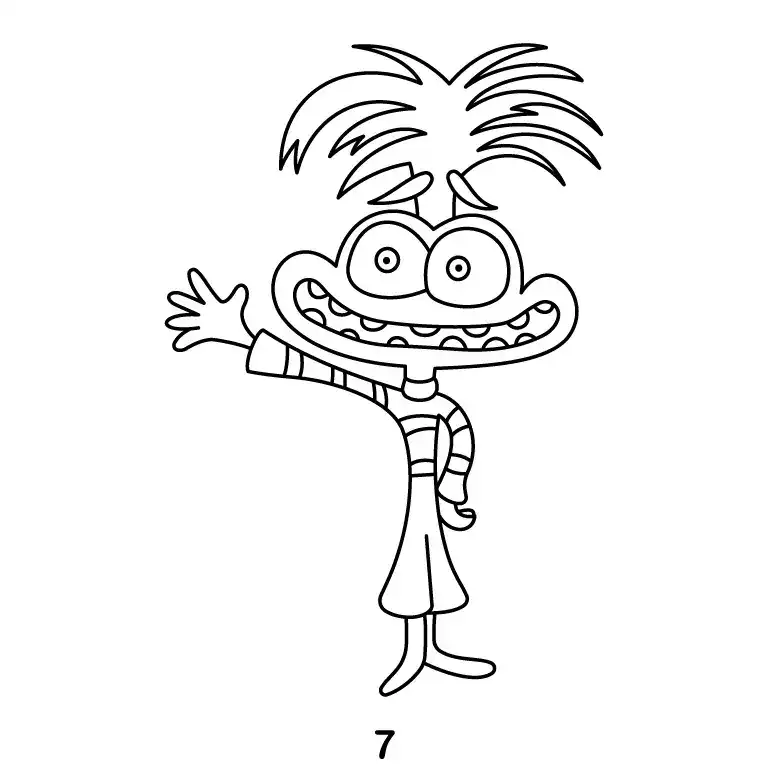
Step 7 - Finalize the Drawing
Go over the entire drawing with clean, bold lines. Erase any rough or extra marks and add shading or patterns where necessary. Your drawing of Anxiety is now complete and ready for coloring or further detailing!
